

I keep seeing black nails everywhere this winter, which is funny because black nails never really left. But this year, the finishes are sharper, the accents more deliberate. It’s not just a default shade anymore, it’s a whole category.
So I rounded up 28 versions of Winter Black Nails that actually go somewhere. Matte, glossy, glitter, foil, French tips, snowflakes, celestial motifs — short square to long almond, salon-only to doable at home. I wore half of them through real weeks, and I learned which ones survive typing and which ones demand a touch-up before dinner. This is the honest guide I wish I’d had before I booked my last appointment.
Matte Black With Satin Geometric Detail
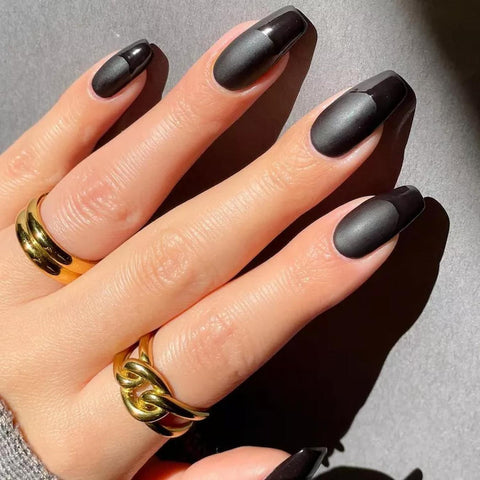
The contrast between matte and satin on the same square nail is a subtle trick, but it works. The geometric color blocks break up the black into something architectural, not flat. It feels like a winter suit for your nails. The matte side stays velvety, the satin side catches light just enough to keep it from feeling heavy. This design asks for a steady hand and a good top coat, but the result is clean and graphic. When you want black but not basic, this is it.
Refined Black French Tip with Gold Accents
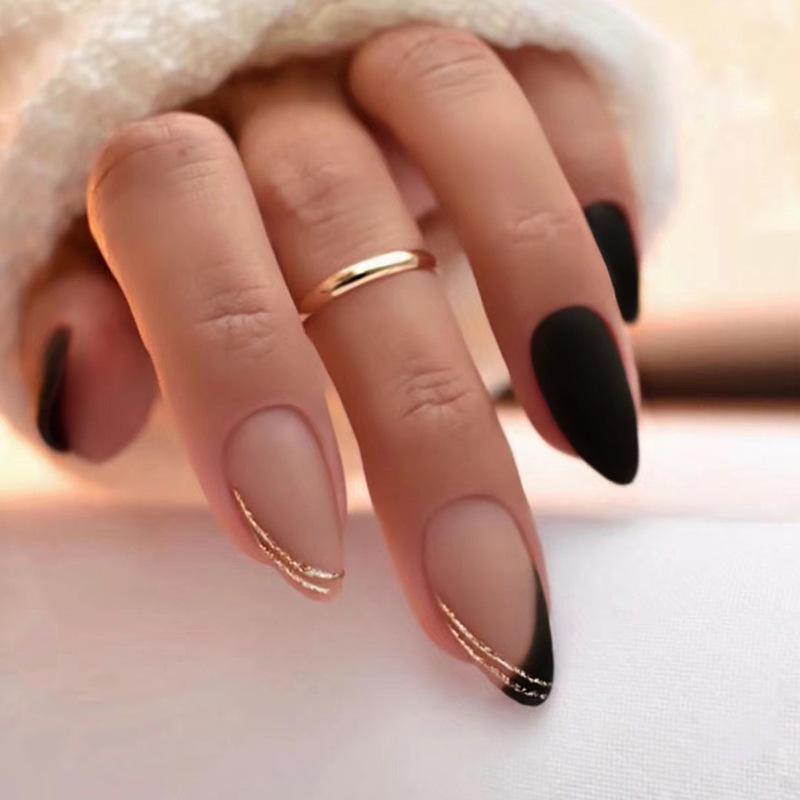
This design looks expensive, but it asks for maintenance. The black French tip on a nude base is sharp, and the thin gold lines on accent nails add a refined touch. The almond shape keeps it elegant. Expect the gold to dull slightly after a week of hand washing and lotion. The matte finish will show wear on the tips around day ten. Touch-ups on the gold lines are possible but require a steady hand and a fine brush. The French tip line itself can chip if you’re rough on your nails. If you’re gentle, this set can last two weeks before the tip needs refreshing. It’s not a set-and-forget design, but the result is worth the attention.
Mesmerizing Glossy Black Cat-Eye
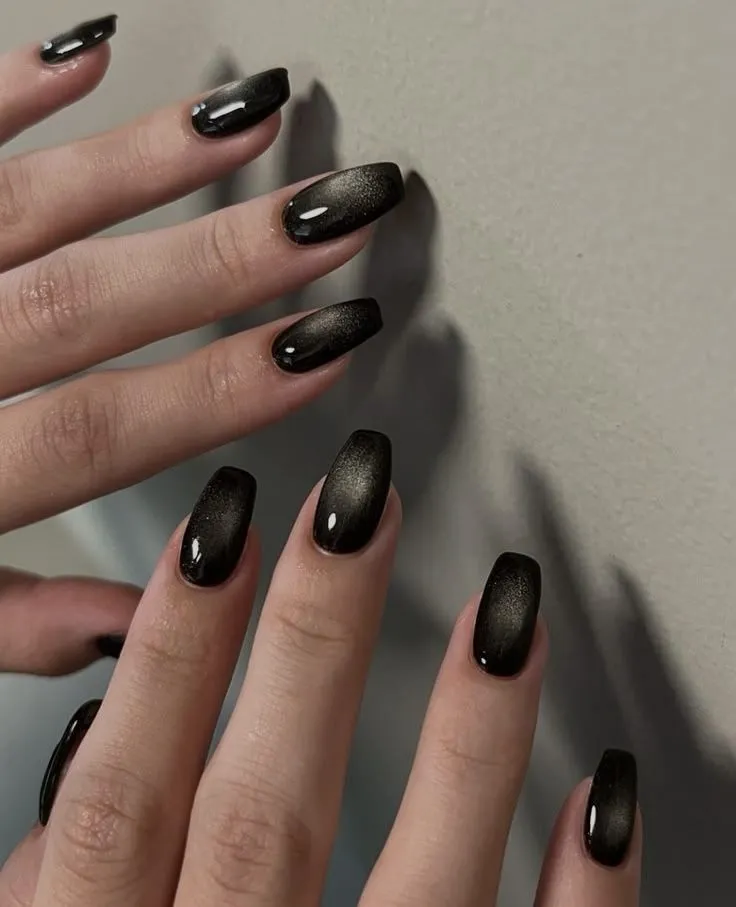
Is the cat-eye effect really worth the hype? The glossy black base is deep and the magnetic shimmer moves when you tilt your nail, but the effect is delicate. One swipe of a top coat can disturb the particles. The cat-eye line looks uneven if the magnet isn’t held steady. And if you chip it, repairing without disturbing the pattern is nearly impossible. It demands precision from the start, and the effect may not last.
Short Square Glossy Black with Rose Gold Sparkle
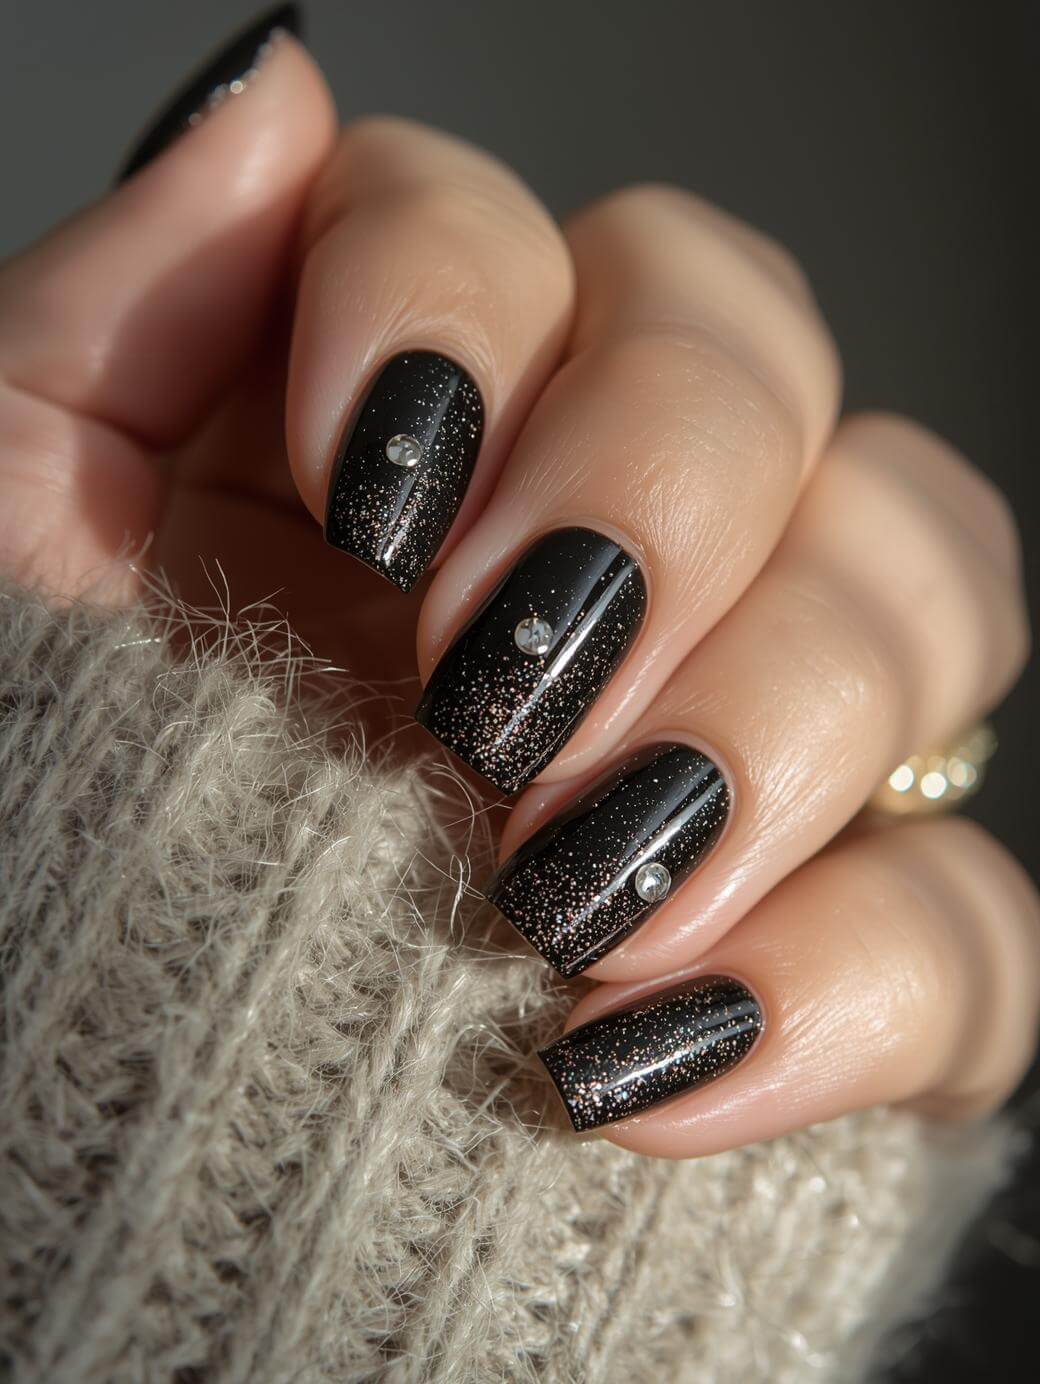
The rose gold glitter here isn’t a sprinkle, it’s a deliberate scatter. Each flake catches light differently, and the small rhinestones add a subtle dimension that powder alone can’t match. For this level of precision, book the salon. DIY glitter gradients tend to clump or look sparse, and placing rhinestones without lifting requires a steady hand and a gel top coat. If you’re asking for this, say “a sheer black base with rose gold glitter concentrated at the cuticle and fading toward the tip, plus a few tiny rhinestones on the accent nail.” The short square shape keeps it wearable for typing and contact lenses, no snagging.
Glossy Black with Festive Star Accents
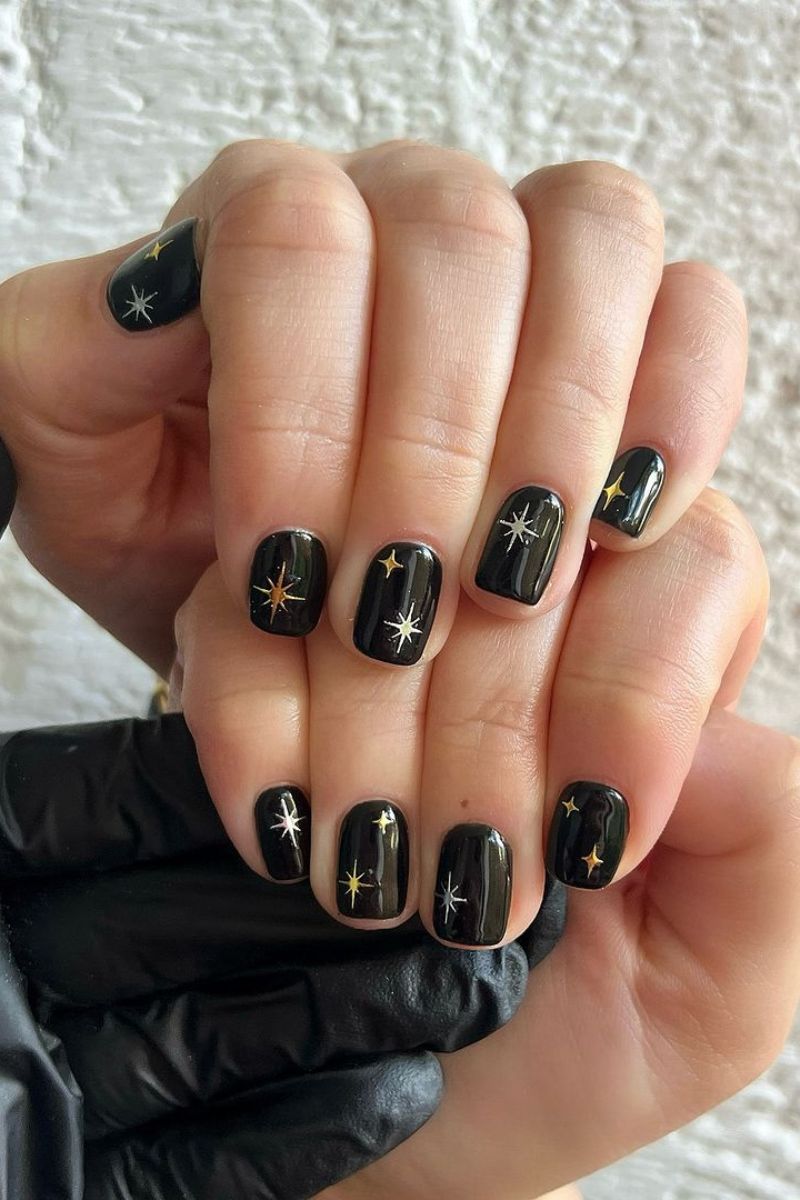
Gold and silver star decals scattered over a glossy black base. It reads like a holiday card, which is exactly the point. This is the set for someone who wants festive energy without committing to full nail art. Gold stars read warm on olive skin, silver on cool.
I wanted to love black star nails. They look great for a photo. On day five, the edges started catching on my sweater. Press the decal into the tacky layer of color, then top coat twice. Skip this if you type for a living, the edges catch on keys.
Matte Black Winter Mix with Accents
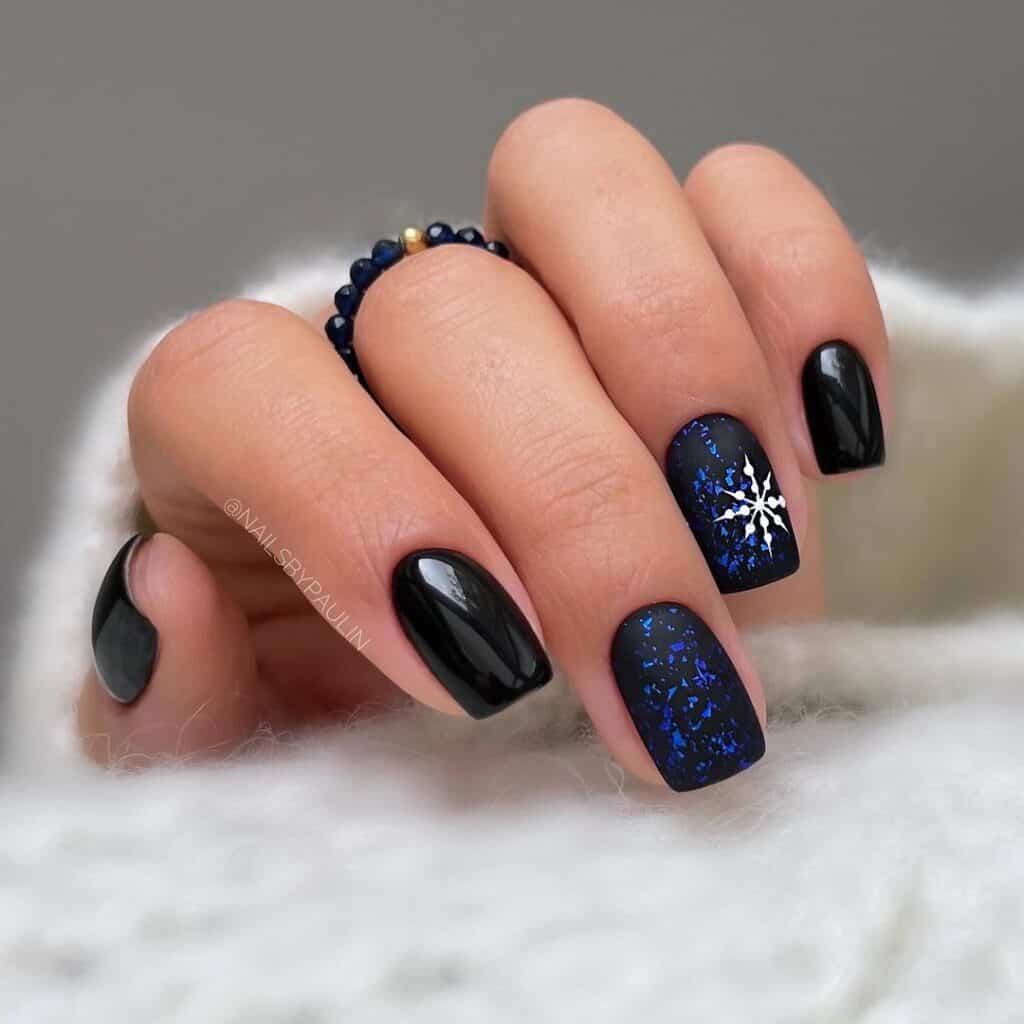
I’ll admit, I was skeptical about mixing matte, glitter, and decals on the same hand. But the technique is straightforward once you understand the order. Start with a matte black base on all nails, cure fully. On one accent nail, apply a white snowflake decal, pressing out air bubbles from the center, then seal with a matte top coat. On another nail, apply a blue glitter polish in thin coats, building opacity, then finish with a glossy top coat to preserve the sparkle. The matte top coat should be applied in a single even layer to avoid streaks.
The key is keeping the matte and glossy finishes separate so they don’t bleed. The decal needs a smooth, cured surface to adhere evenly; any dust or oil will cause lifting. For the glitter, a dense application works best, but avoid thick layers that feel bumpy. Use a fine-grade glitter for a smoother finish that doesn’t catch on sweaters. The contrast between the flat matte and the reflective glitter creates a playful look that feels intentional, not chaotic.
Glossy Black French Tips on Natural Pink
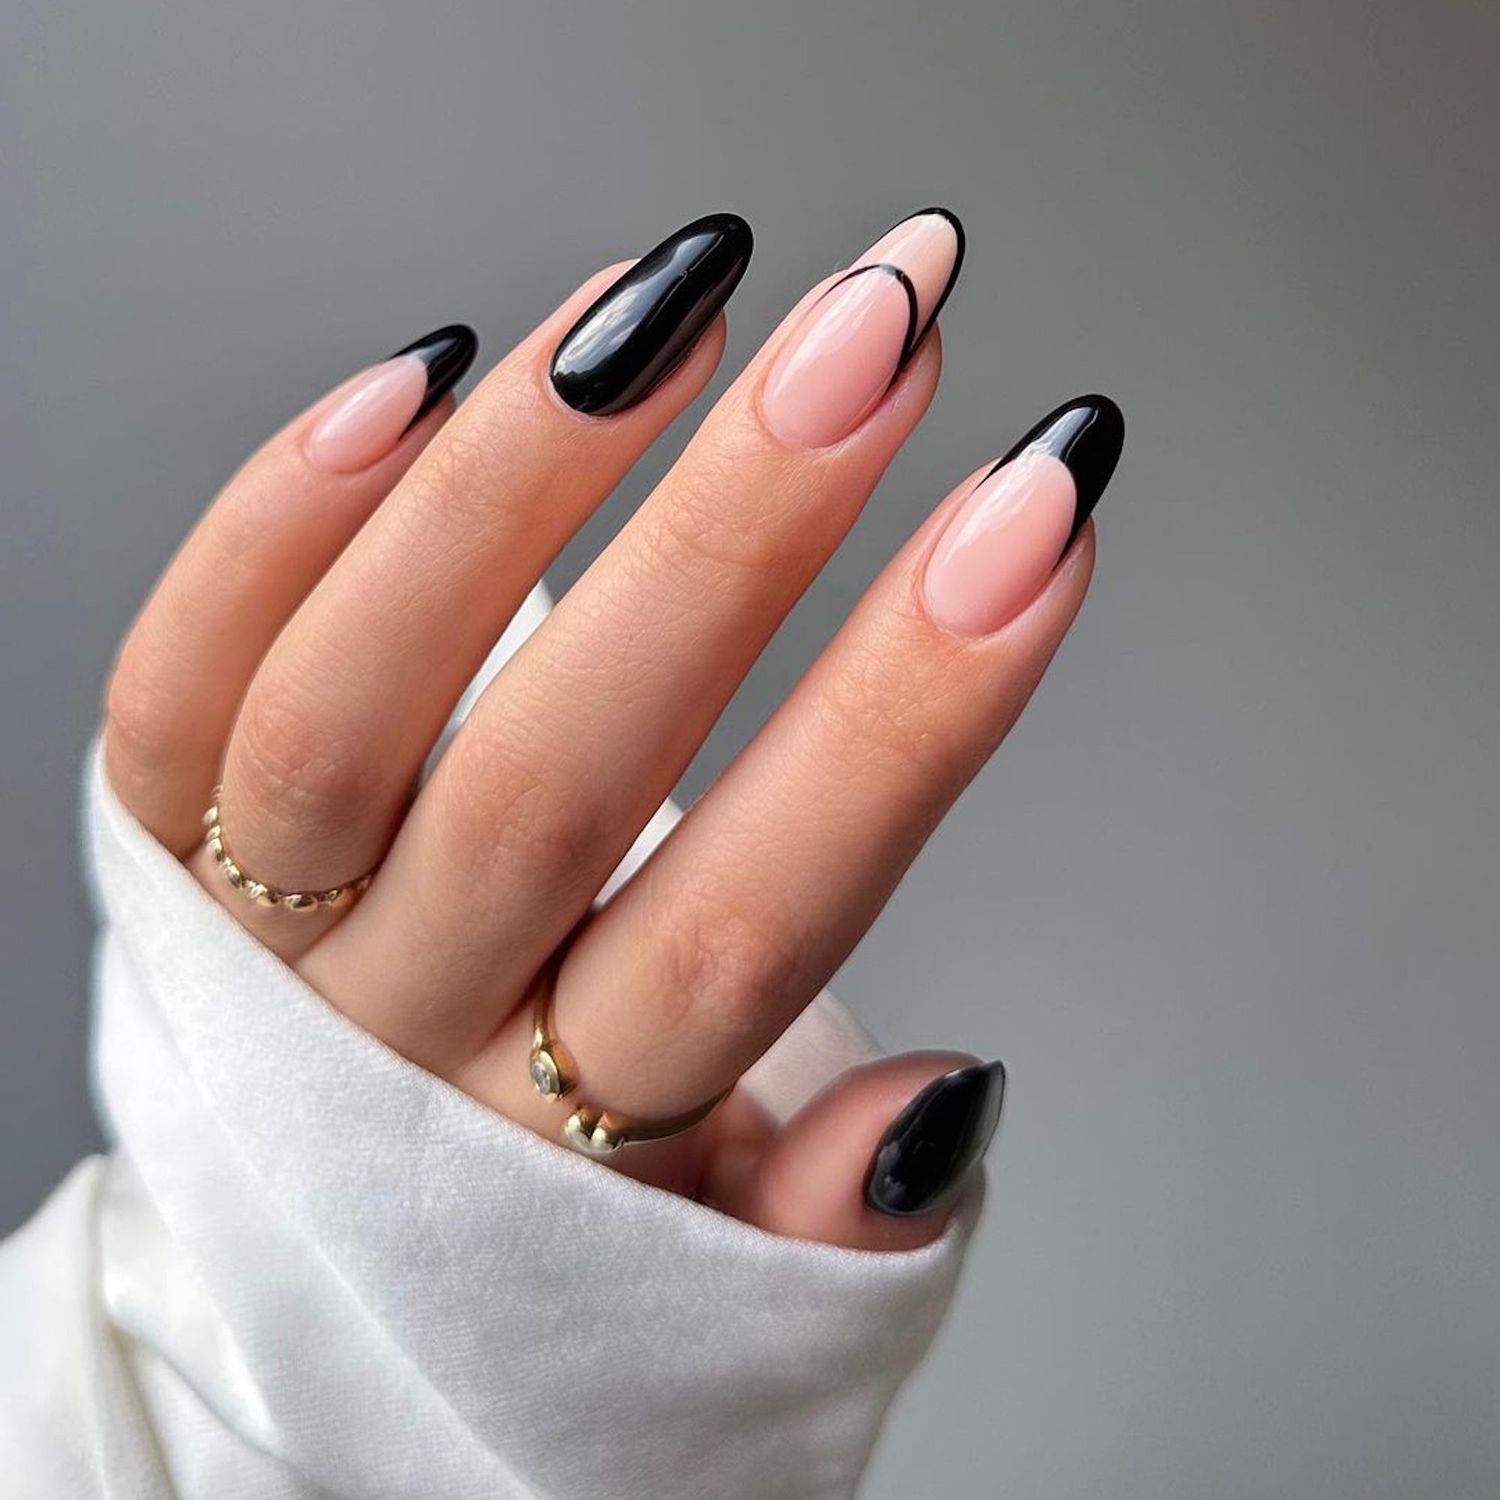
What makes a black French tip look so sharp? It’s the precision of the line against a natural pink base. The medium almond shape elongates the fingers, and the glossy finish reflects light, making the black tip pop. The natural base keeps the look modern and less harsh than a full black nail. This is a salon-leaning design because the French line needs a steady hand, but the result is clean and sophisticated.
Glossy Black with Elegant Gold Foil Leaves
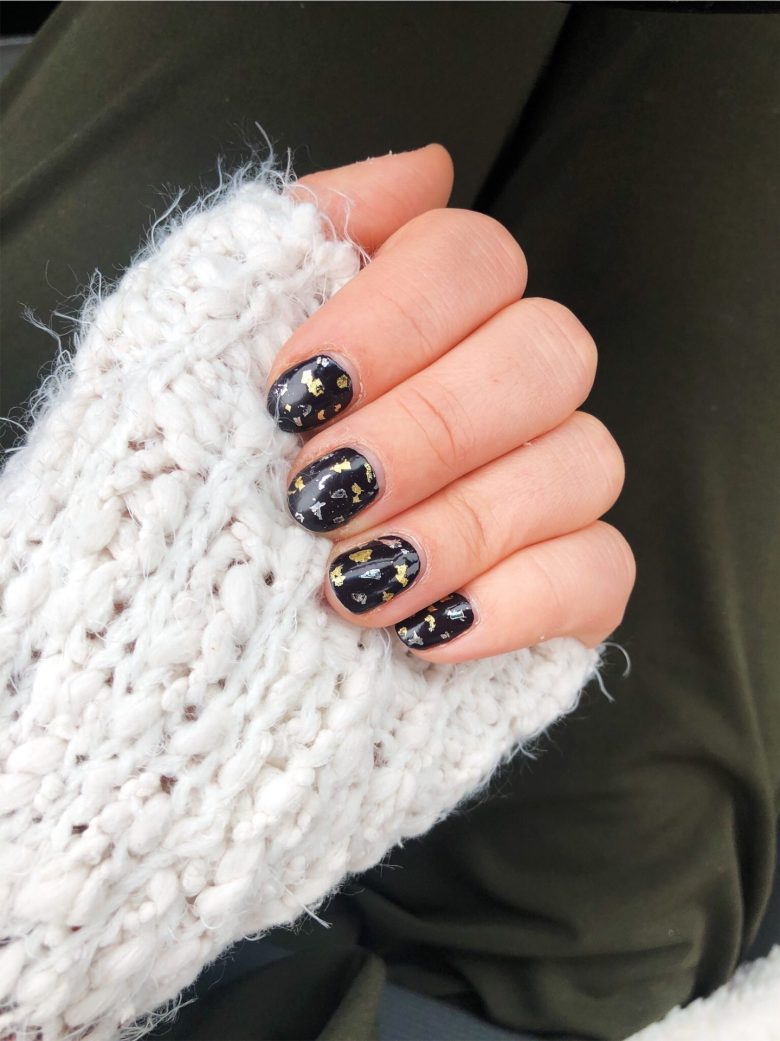
Gold foil takes patience, and that patience shows up in the chair time. Each leaf is placed individually on a glossy black base, requiring a steady hand and careful positioning to avoid creases. This design is perfect for winter events, from holiday parties to New Year’s Eve, where the gold catches the light. The honest downside: foil can lift at the edges after a few days, especially if you use your hands a lot. It also adds texture that might snag on fine knits. Expect about two weeks of wear before the foil starts to show wear, and soak off for removal to avoid damaging the nail.
Sparkling Black Glitter Ombré Gradient
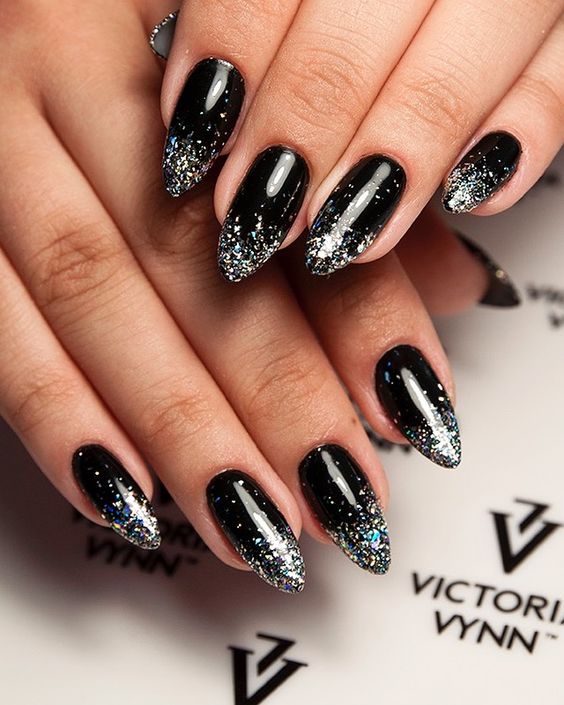
This one is doable at home if you have the right tools. Start with a black base, cure. Then, using a makeup sponge, apply a mix of silver and iridescent glitter from the tips downward, building density as you go. Dab the sponge in a stippling motion for a smooth gradient. Seal with a no-wipe top coat to lock in the glitter without dulling the sparkle. Clean up any glitter fallout with a brush dipped in acetone before curing each layer.
DIY is possible but requires patience and a steady hand. The salon version will have a more even gradient and less glitter fallout, but at home you can control the intensity. Use a fine glitter for a smoother finish that doesn’t feel rough. The key is thin layers of glitter to avoid a bulky edge. This look works for any winter occasion, from casual to formal, and the dense glitter catches the light beautifully.
Classic Short Square Solid Glossy Black
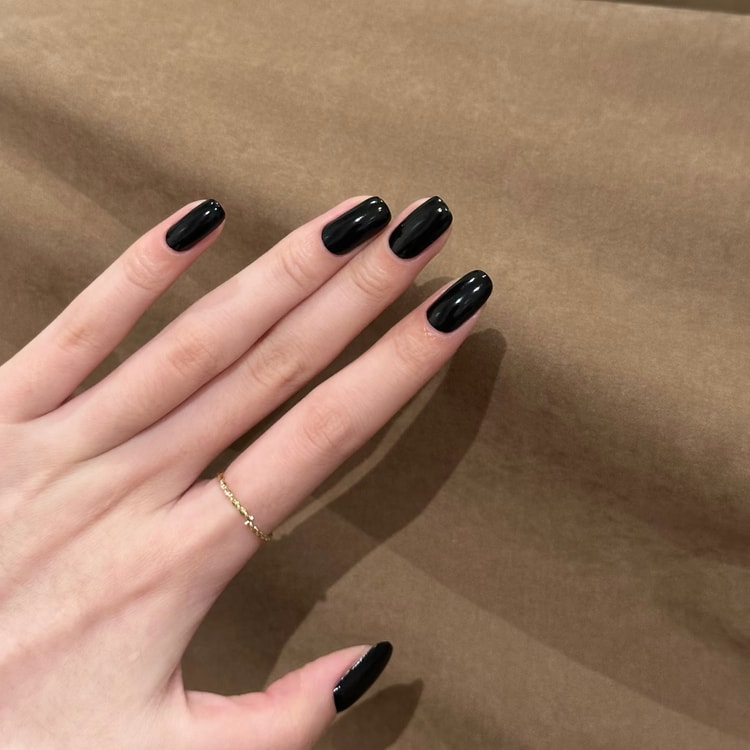
I wore these through a week of typing and dish duty. Solid glossy black shows every scratch and smudge, so a quick topcoat refresh every few days is necessary. It lasts about two weeks before the edges start to chip, but the short square shape keeps it practical. Careful removal is key to avoid staining, as dark pigments can leave a residue. This is the no-fuss option that still looks polished.
Winter Glossy Black Shimmer with Star Accents
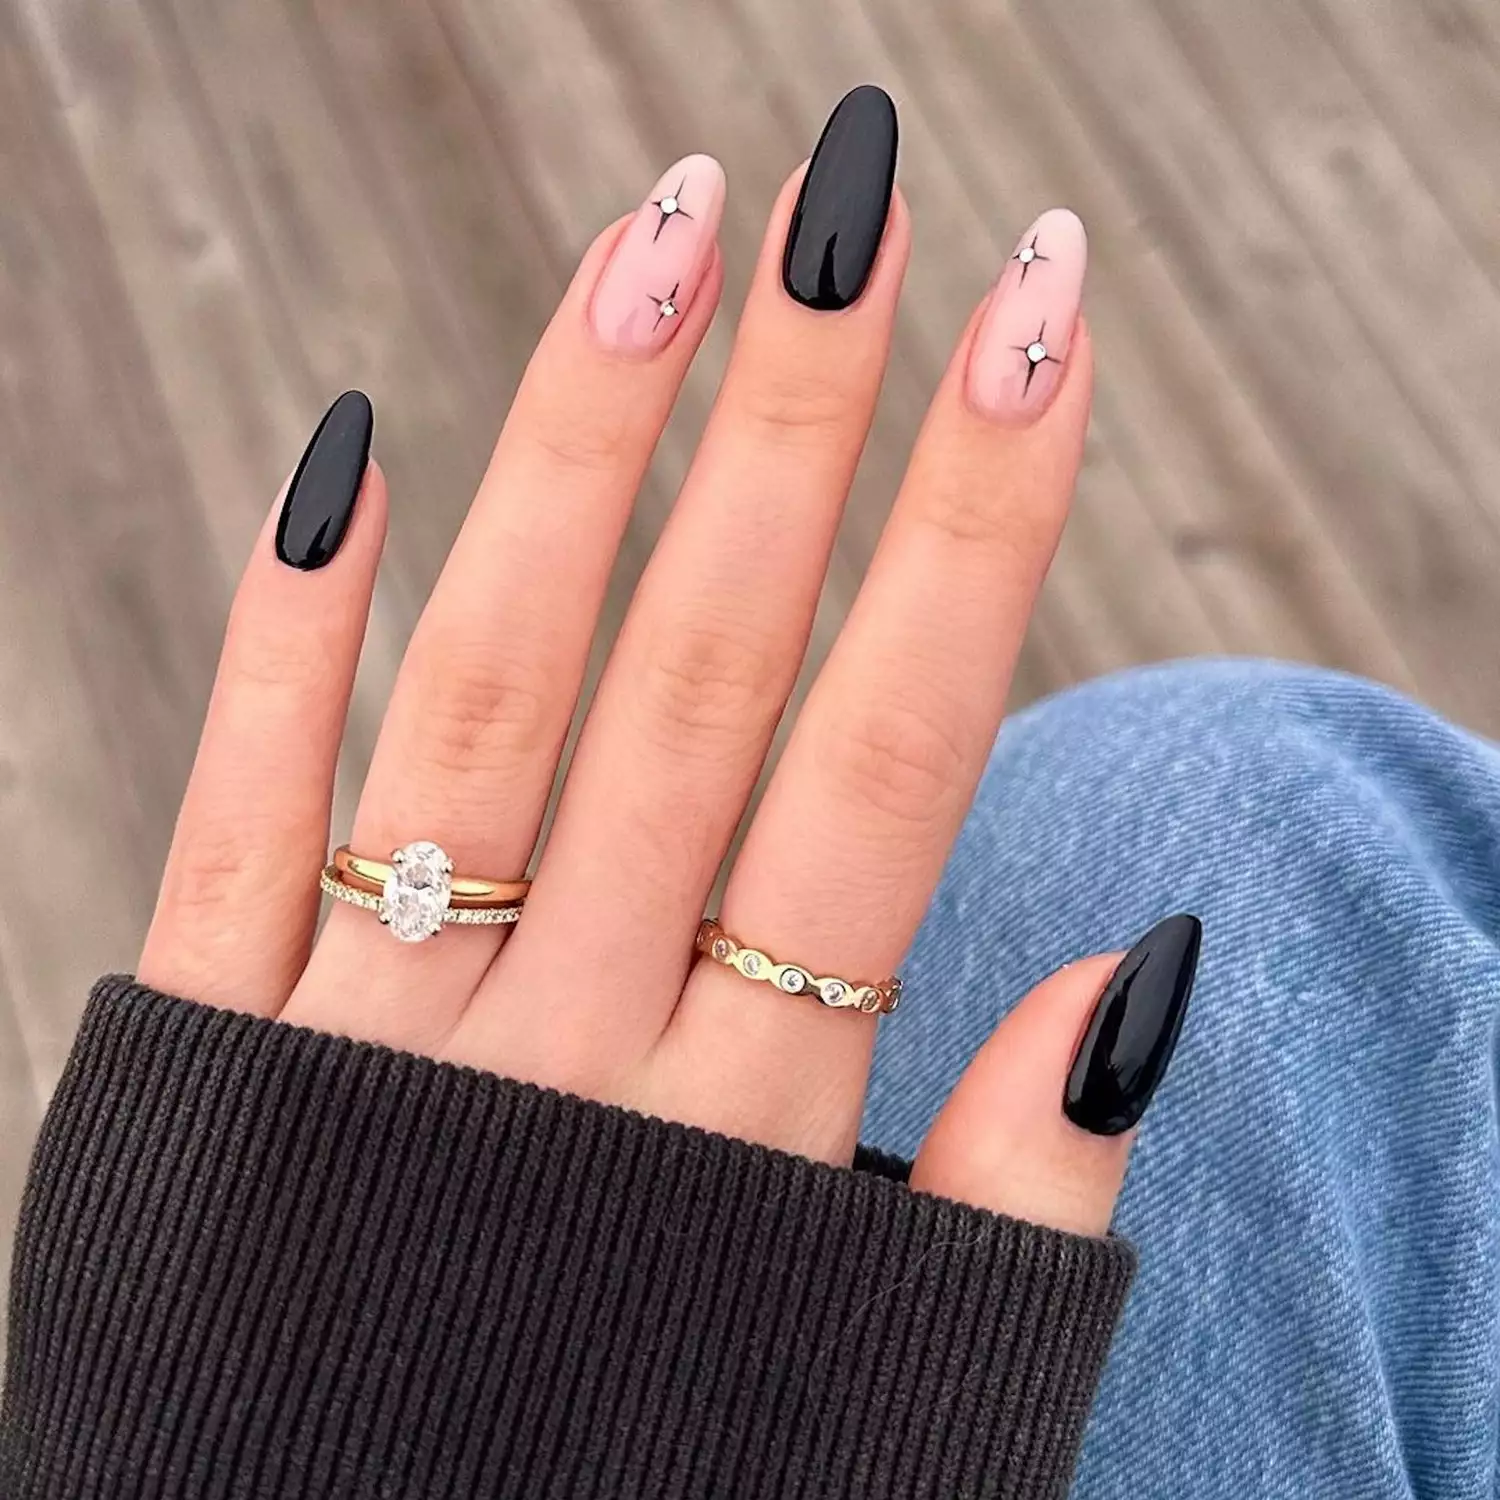
Medium almond length, glossy black with a barely-there shimmer, and a single star on the accent nail, the shimmer is what makes this work, it’s fine enough to catch light without looking like craft glitter, I expected a gimmick and got three weeks of compliments. The pale pink accent nail keeps the whole set from feeling heavy. This is the set for someone who wants holiday energy without the literal snowflake. The subtle shimmer on black shimmer nails reflects warm on deeper skin tones and cool on fair skin. Star embellishments on the accent nail tie it to the season without overwhelming the base.
Opaque High Gloss Black Short Square
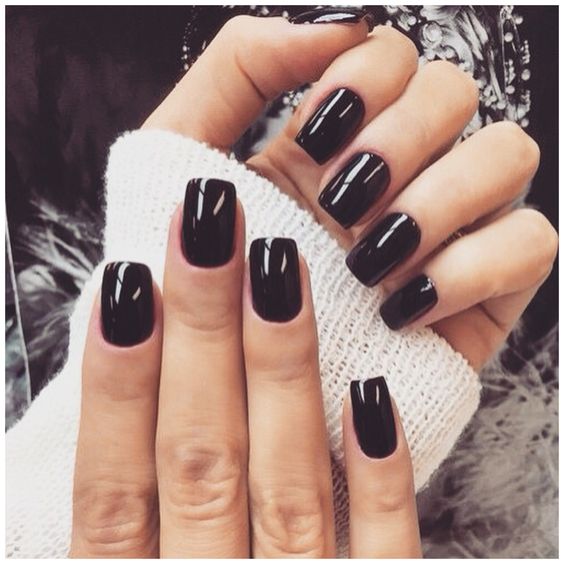
Can a high-gloss finish ever stay perfect past day two? On opaque black nails, every fingerprint and micro-scratch shows immediately. The short square shape helps, less edge contact than a coffin, but you’ll still see wear by midweek. The trade-off is that moment right after application, when the light hits and it looks like wet lacquer. That lasts about 36 hours. Then you’re maintaining.
Dramatic Matte Black with Embossed Snowflakes
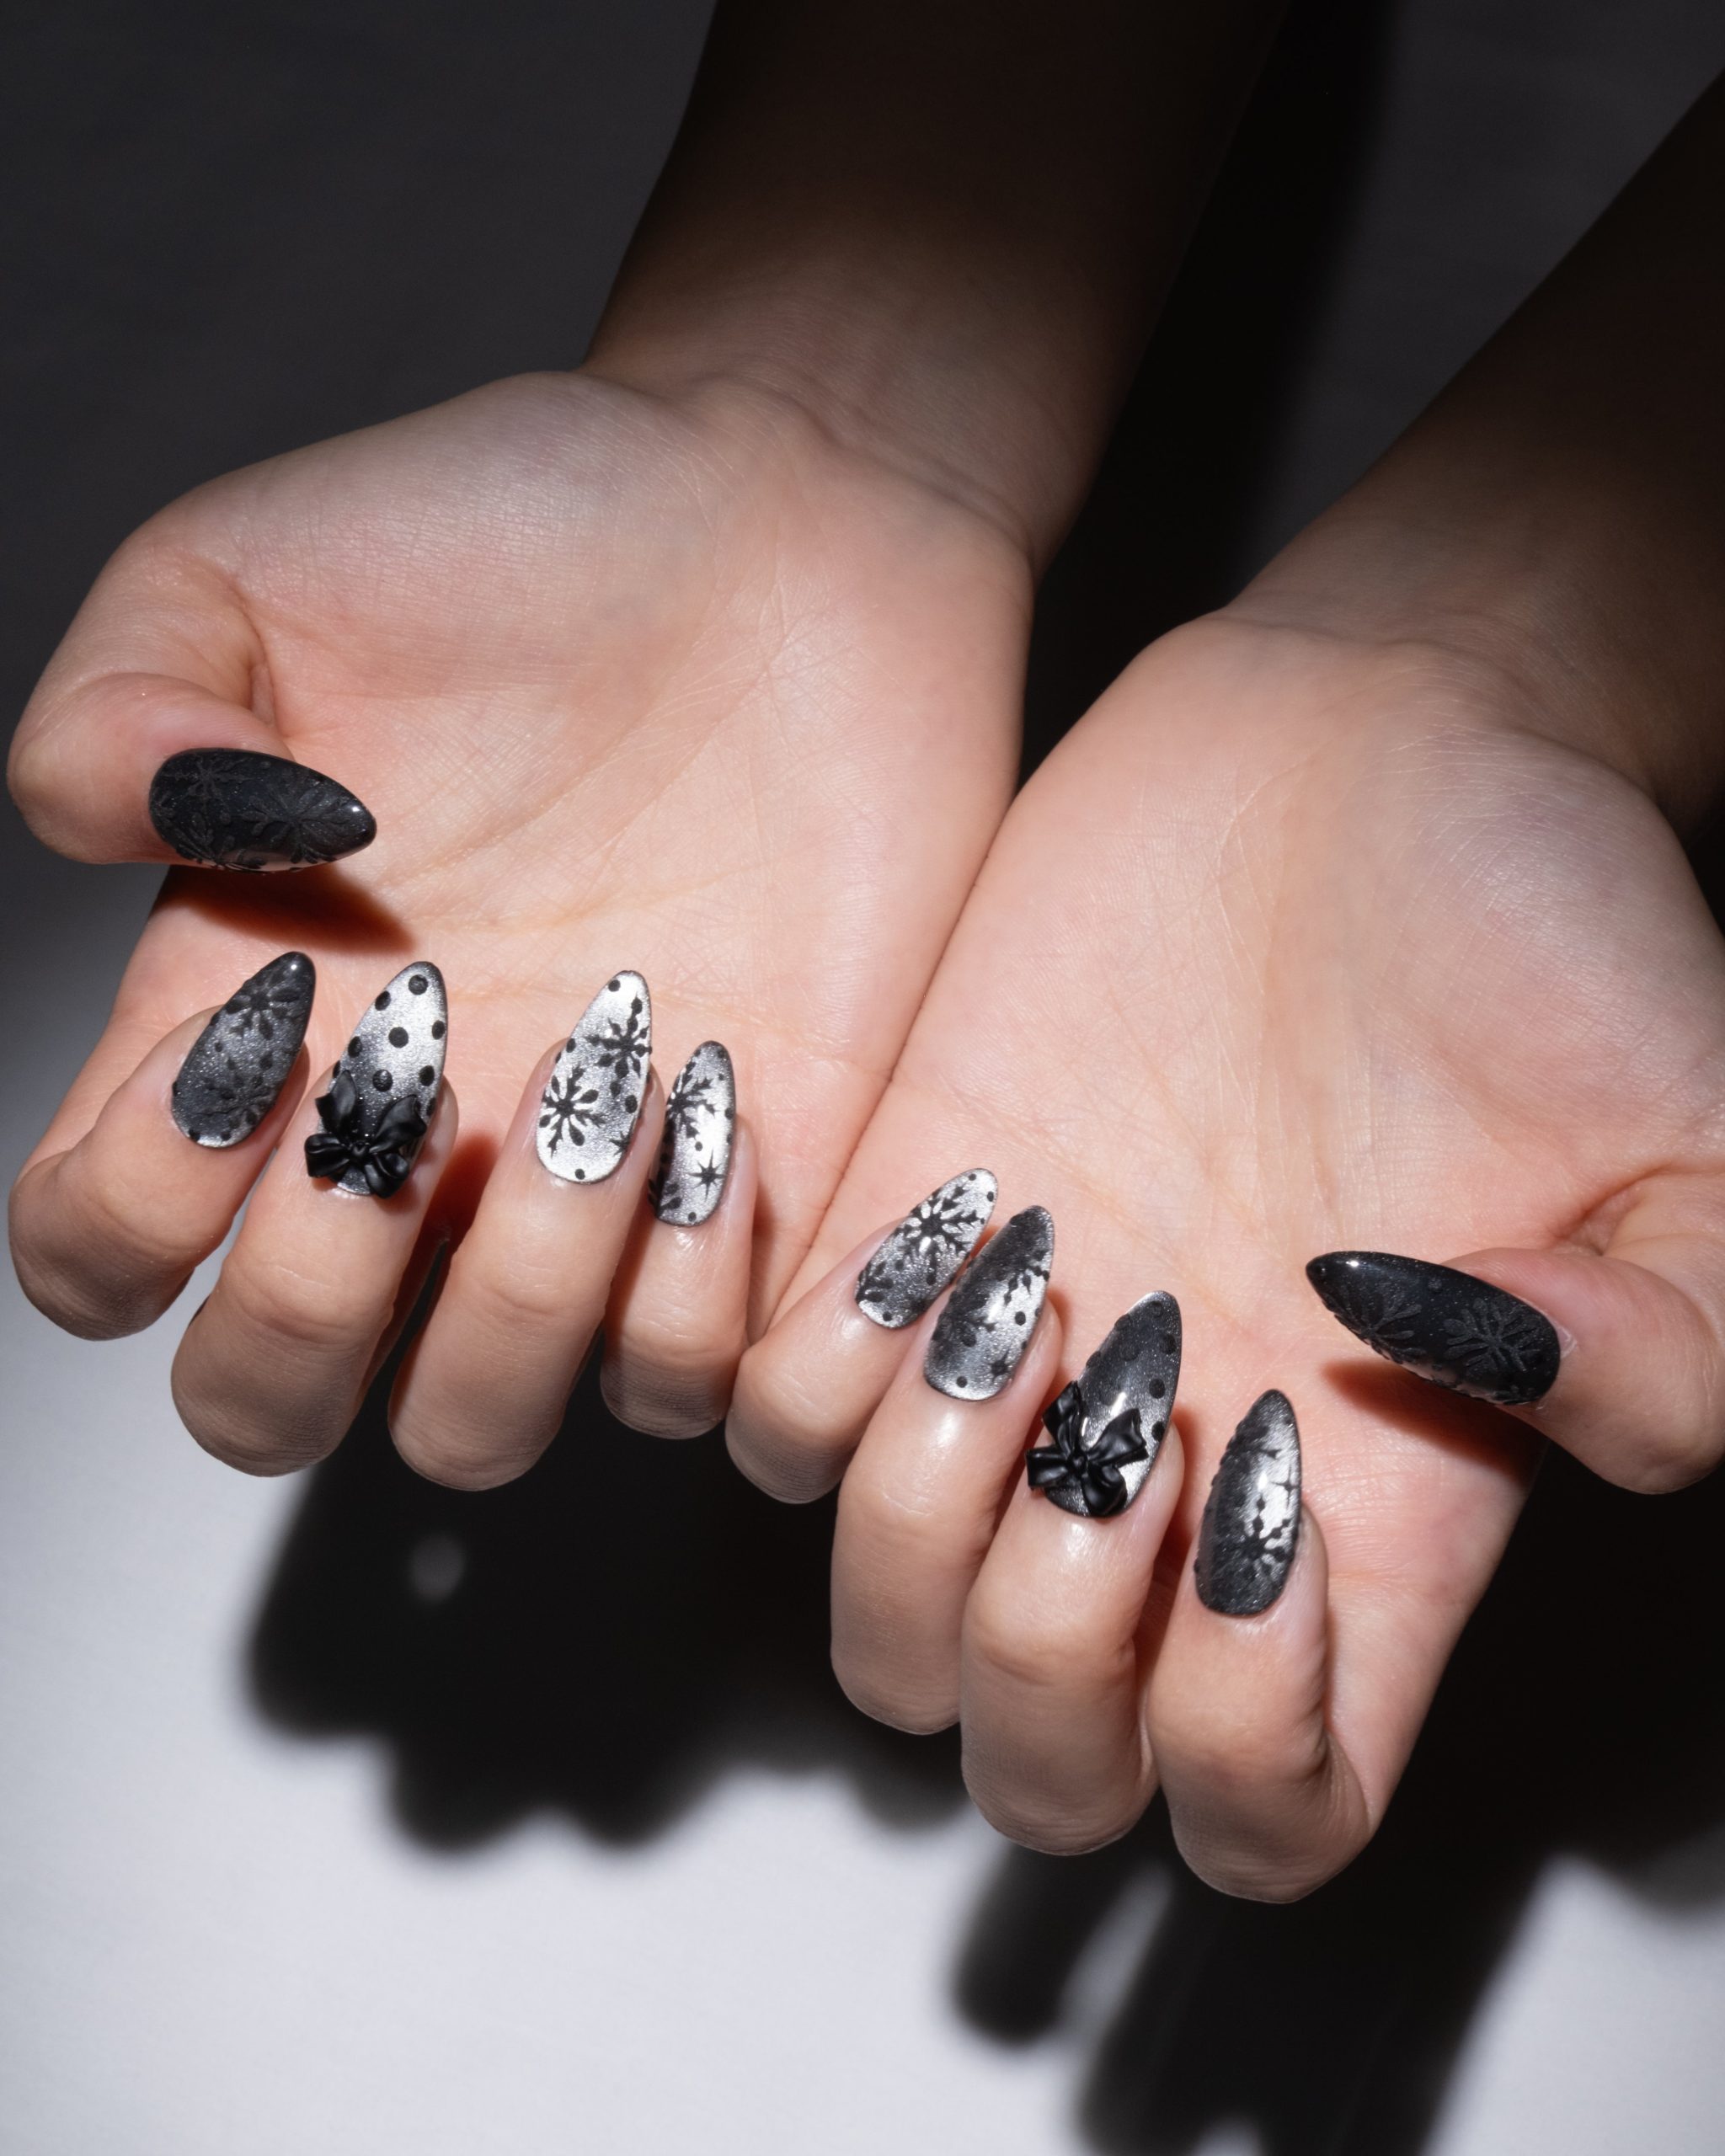
This is a salon-only design, and I mean that as a compliment. The embossed snowflakes and bows sit raised on a matte black base, catching silver light without glitter. It reads as winter formal, not holiday novelty. For the tech, intricate embossed patterns require a steady hand with a thick gel paste and a precise dotting tool. Simpler stamped snowflakes take half the time but lack the tactile depth. This one is for a special occasion, New Year’s Eve or a winter wedding, where you want conversation starters on your nails.
- Long stiletto shape, filed to a sharp point
- Matte black base, fully opaque
- Embossed silver snowflake motifs on accent nails
- Matching embossed silver bow on the ring finger
- Thick gel paste applied with a dotting tool, cured between layers
Book two hours at the salon and bring a reference photo. The embossed detail needs a no-wipe top coat to keep the matte finish crisp.
Luxurious Glossy Black with Gold Foil Accents
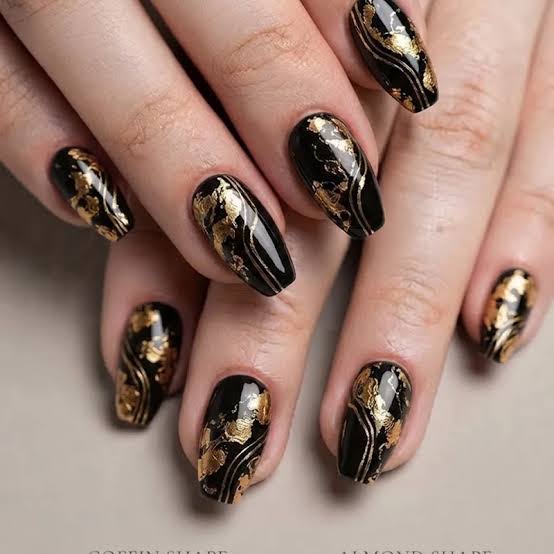
The champagne flute is in your left hand, and your right hand is reaching for a napkin. These black gold foil nails catch every glint of light in the room. This is for the person who knows the party will be photographed and plans accordingly. The gold foil leaf patterns are placed sparingly, never crowded, so the design reads expensive without trying. Medium coffin shape adds length without screaming for attention. It’s a look that says you dressed for the occasion, not that you dressed up.
Glossy Black Glitter with Snowflake Accent
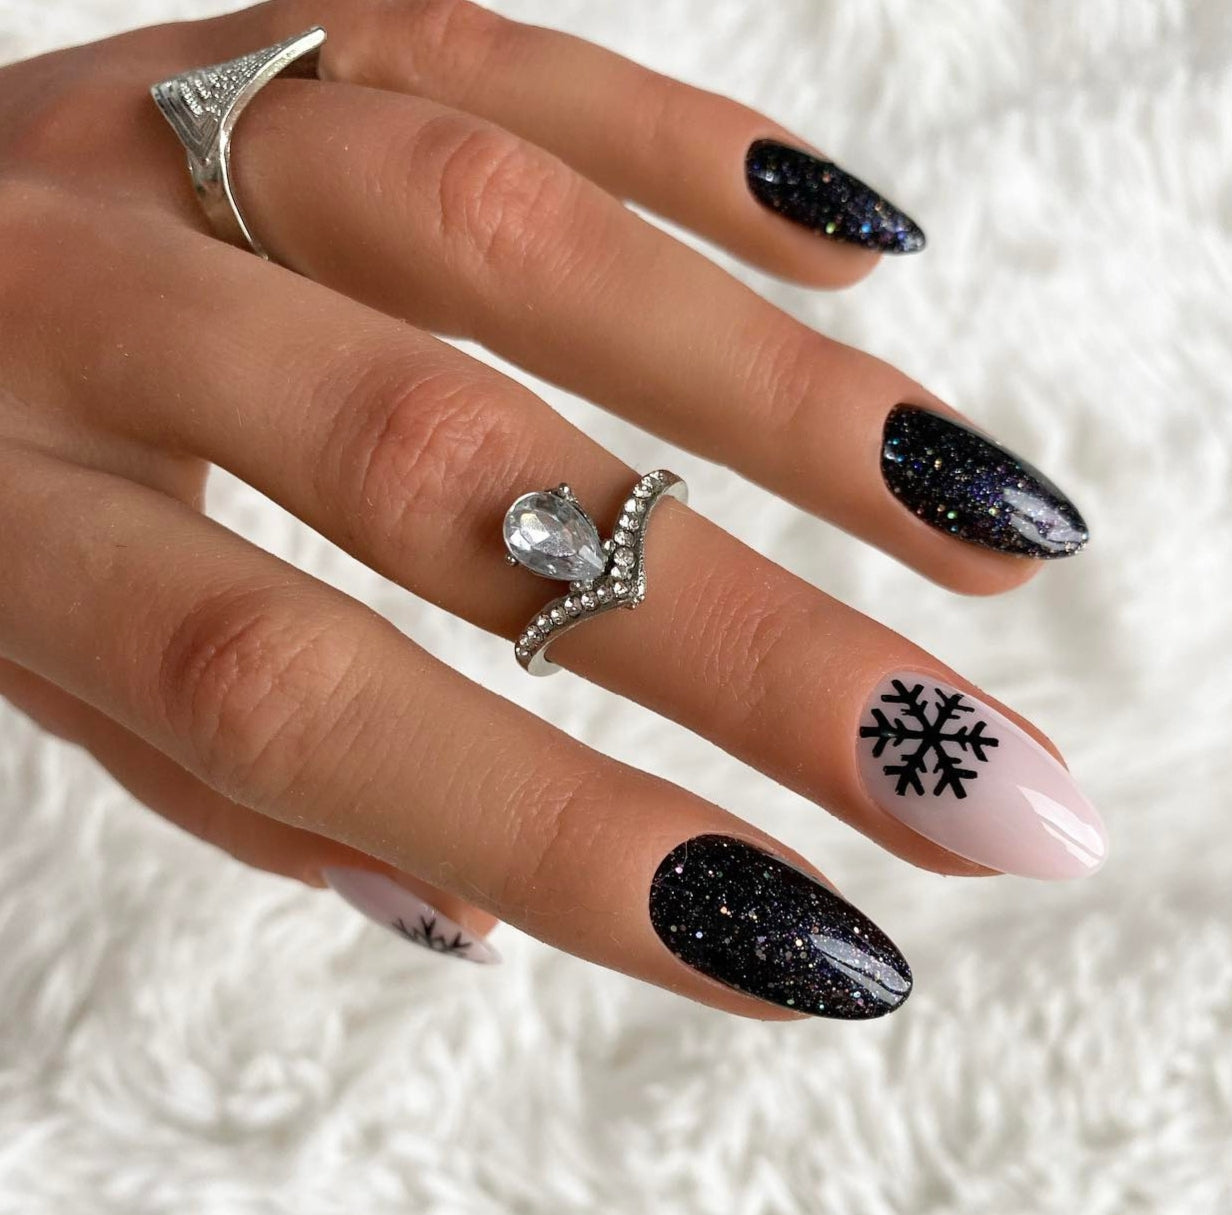
I’ll admit, I was skeptical about how long a snowflake decal would stay on a glitter base. But these black glitter snowflake nails held up through a week of typing and dish duty. The snowflake design is sealed under a thick top coat, so it didn’t lift or catch on sweaters. The glitter itself is dense enough that regrowth at the cuticle is less obvious than with a solid black. The pale pink base on the accent nails adds a soft contrast that makes the snowflake pop. I wore these through a holiday party and a weekend of cooking, and only one snowflake showed minor edge wear by day ten. Removal is the real project — soak off only, and expect to spend extra time on the glitter layers. Worth it for the two-week wear I got.
Black and White Glossy Snowflake Art
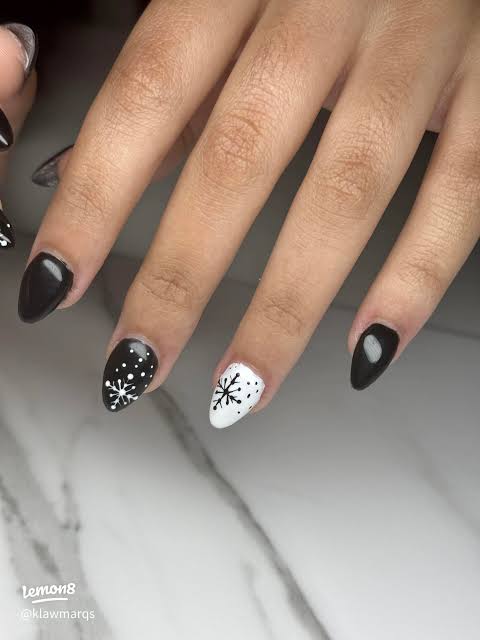
Each snowflake on these nails took about ten minutes of steady handwork. That adds up to over an hour for the full set, and that’s before the top coat. These black and white snowflake nails are a commitment — you’re paying for the artist’s time, not the product. The downside: intricate snowflake designs can chip at the fine points if you’re rough on your hands. A thick top coat helps, but expect to baby them around day ten.
Sheer Pink to Black Gradient with Celestial Gold
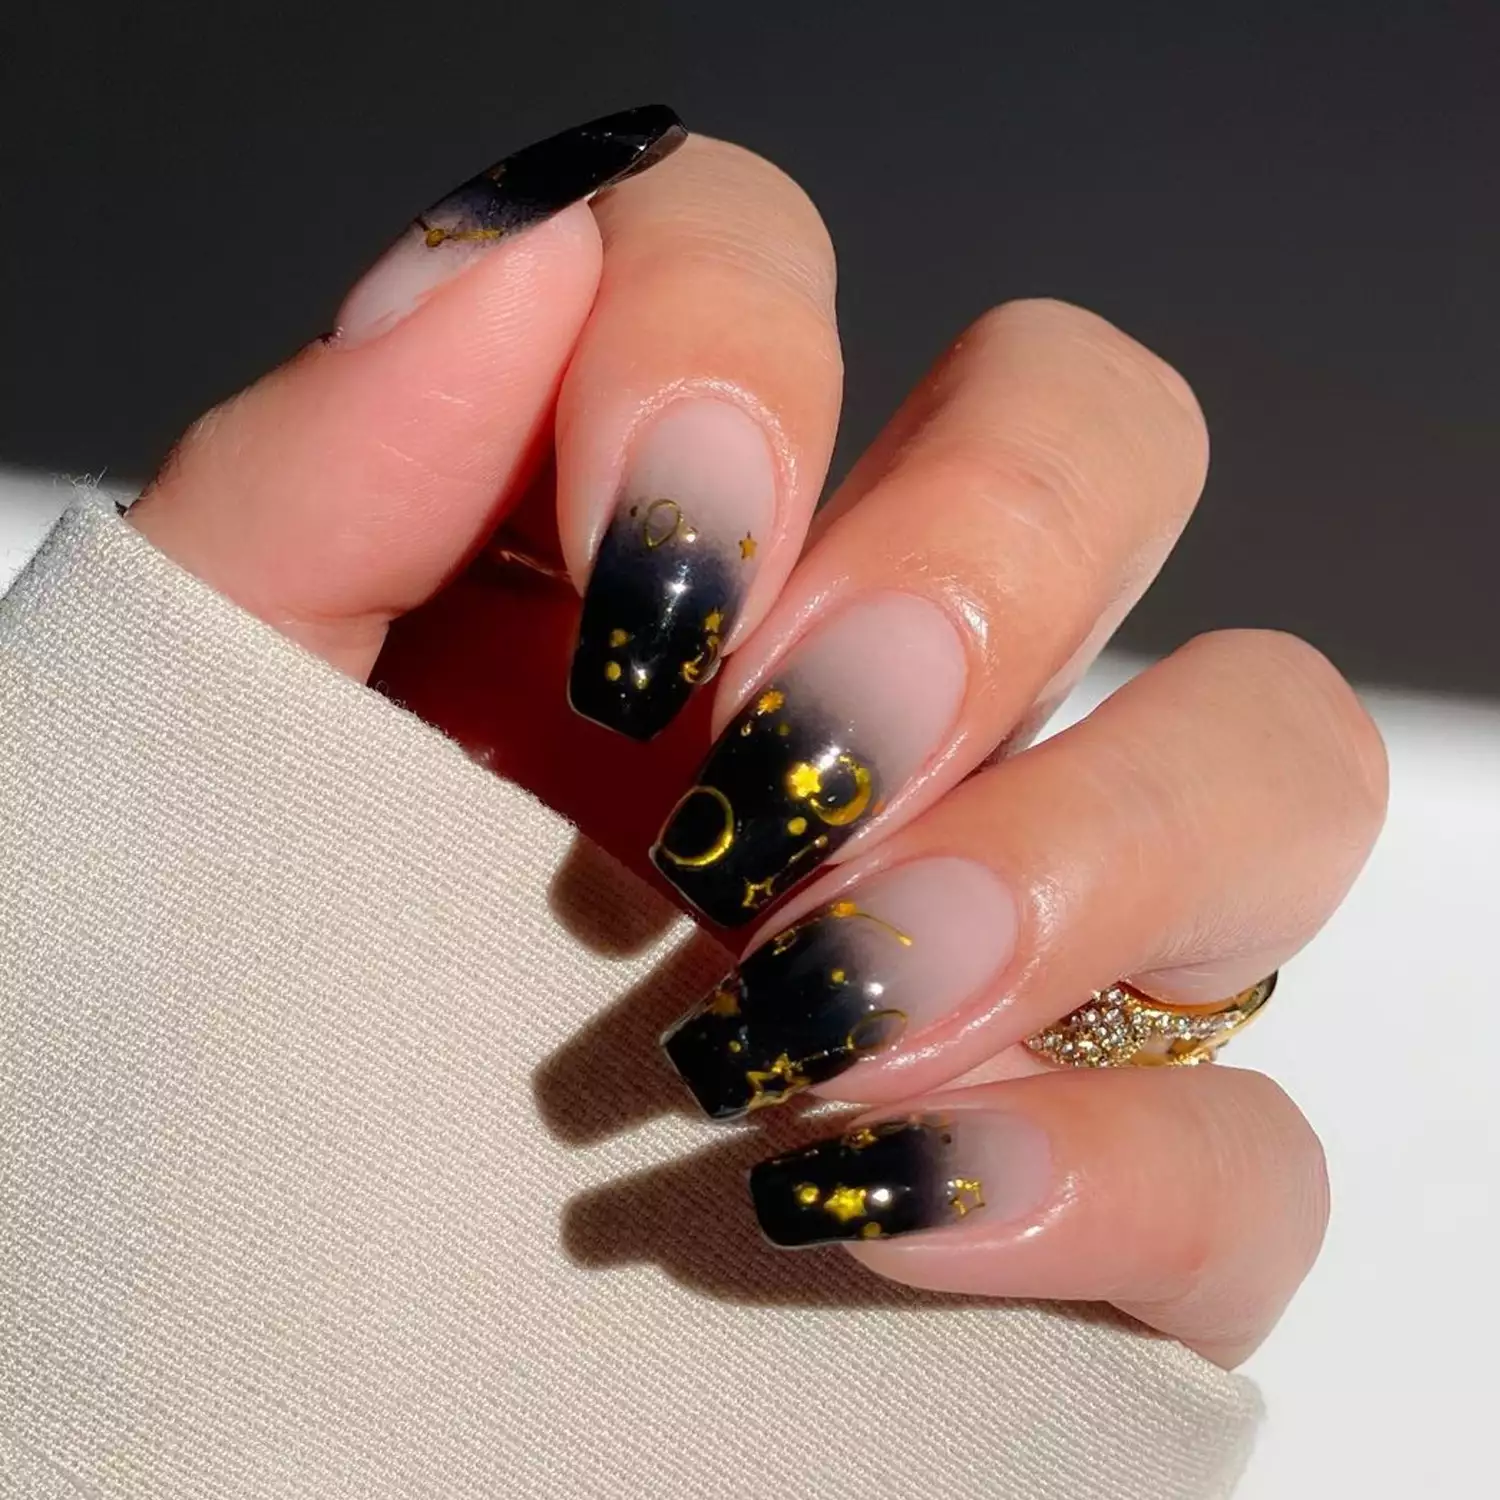
What makes a winter manicure feel truly celestial? This long coffin set starts with a sheer pink base that fades into a deep black gradient, finished with a glossy top coat. Gold stars and moons are painted precisely over the black, catching the light like tiny constellations.
The gradient itself is tricky to get smooth — you want a soft transition, not a harsh line. Ask your tech for a sheer pink (almost nude) at the cuticle, building to opaque black at the tip. The gold accents require a steady hand; thin metallic lines and small celestial shapes. This is an evening-winter look, perfect for holiday parties or New Year’s Eve. It’s not a quick DIY, but the result is worth booking a salon appointment.
Black Glitter with Snowflake and French Tips
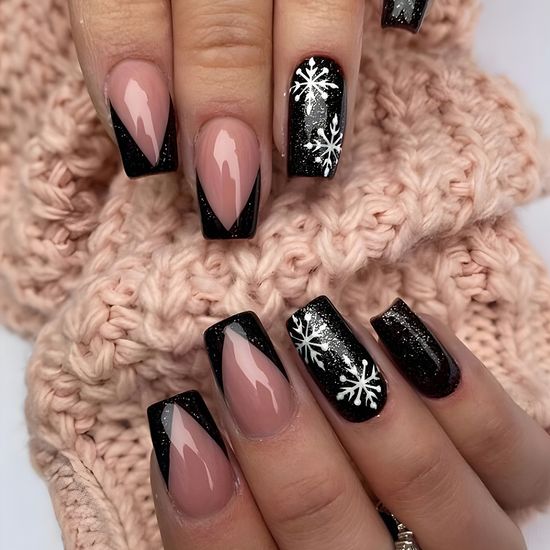
This is a salon-only design. The base is a dense black glitter, applied evenly for full coverage. Over that, white snowflake art is hand-painted — tricky because glitter can catch the brush and cause skips. The French tips are a nude pink with a black glitter edge, requiring a steady hand to keep the line crisp. The key is to seal everything with a thick top coat to smooth the glitter surface before painting the snowflakes. This is not a beginner DIY; book it for the holidays.
Charcoal Grey with Subtle Blue Shimmer
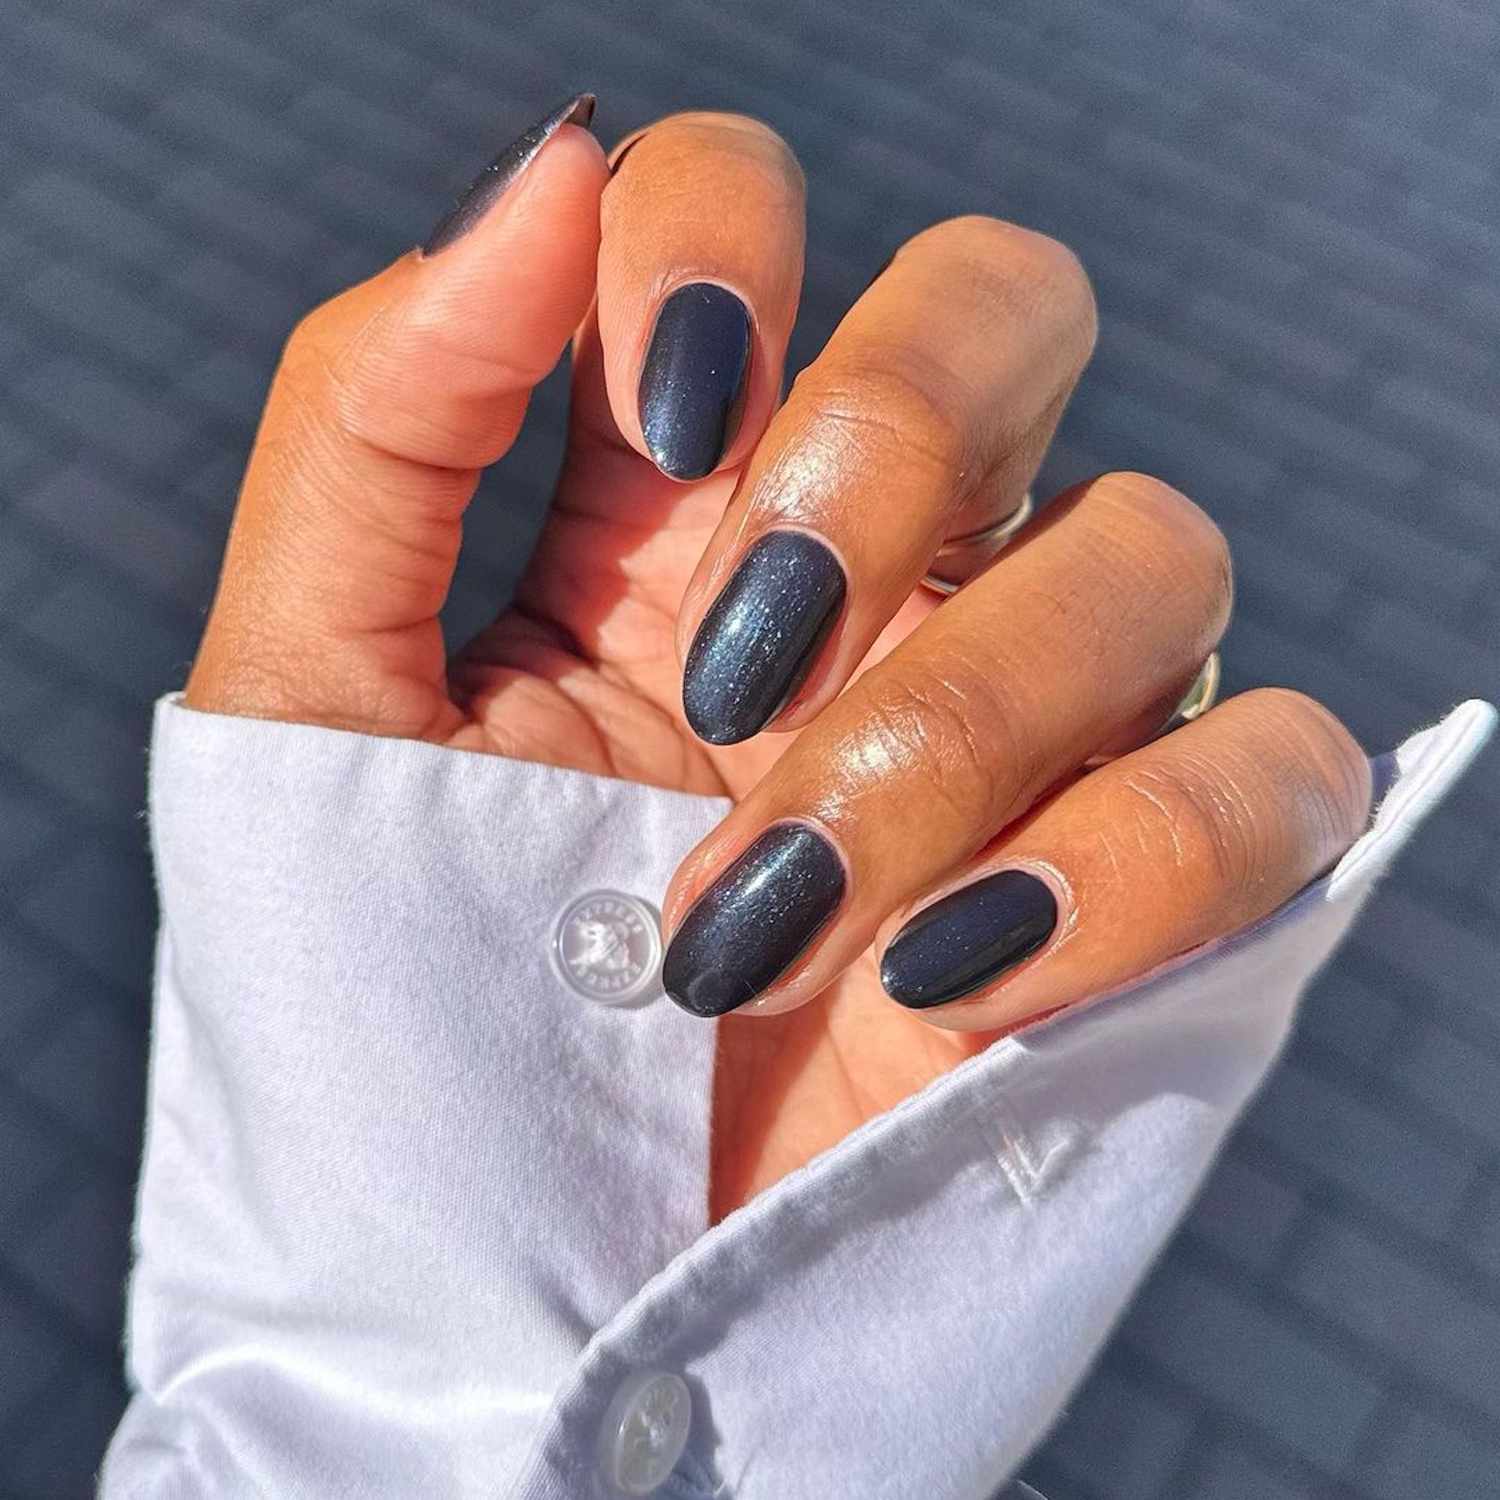
Charcoal grey with a blue shimmer is a color that looks almost black in low light. But is it too subtle? The shimmer is barely there, a faint blue sheen that only catches the light at certain angles. It’s sophisticated, yes, but for winter, I want more drama. This is an everyday look, not a statement. The downside: if you’re hoping for obvious sparkle, you’ll be disappointed. It’s more of a muted sheen. Best for someone who wants a dark nail without the full black commitment.
Matte Black with White Celestial Motifs
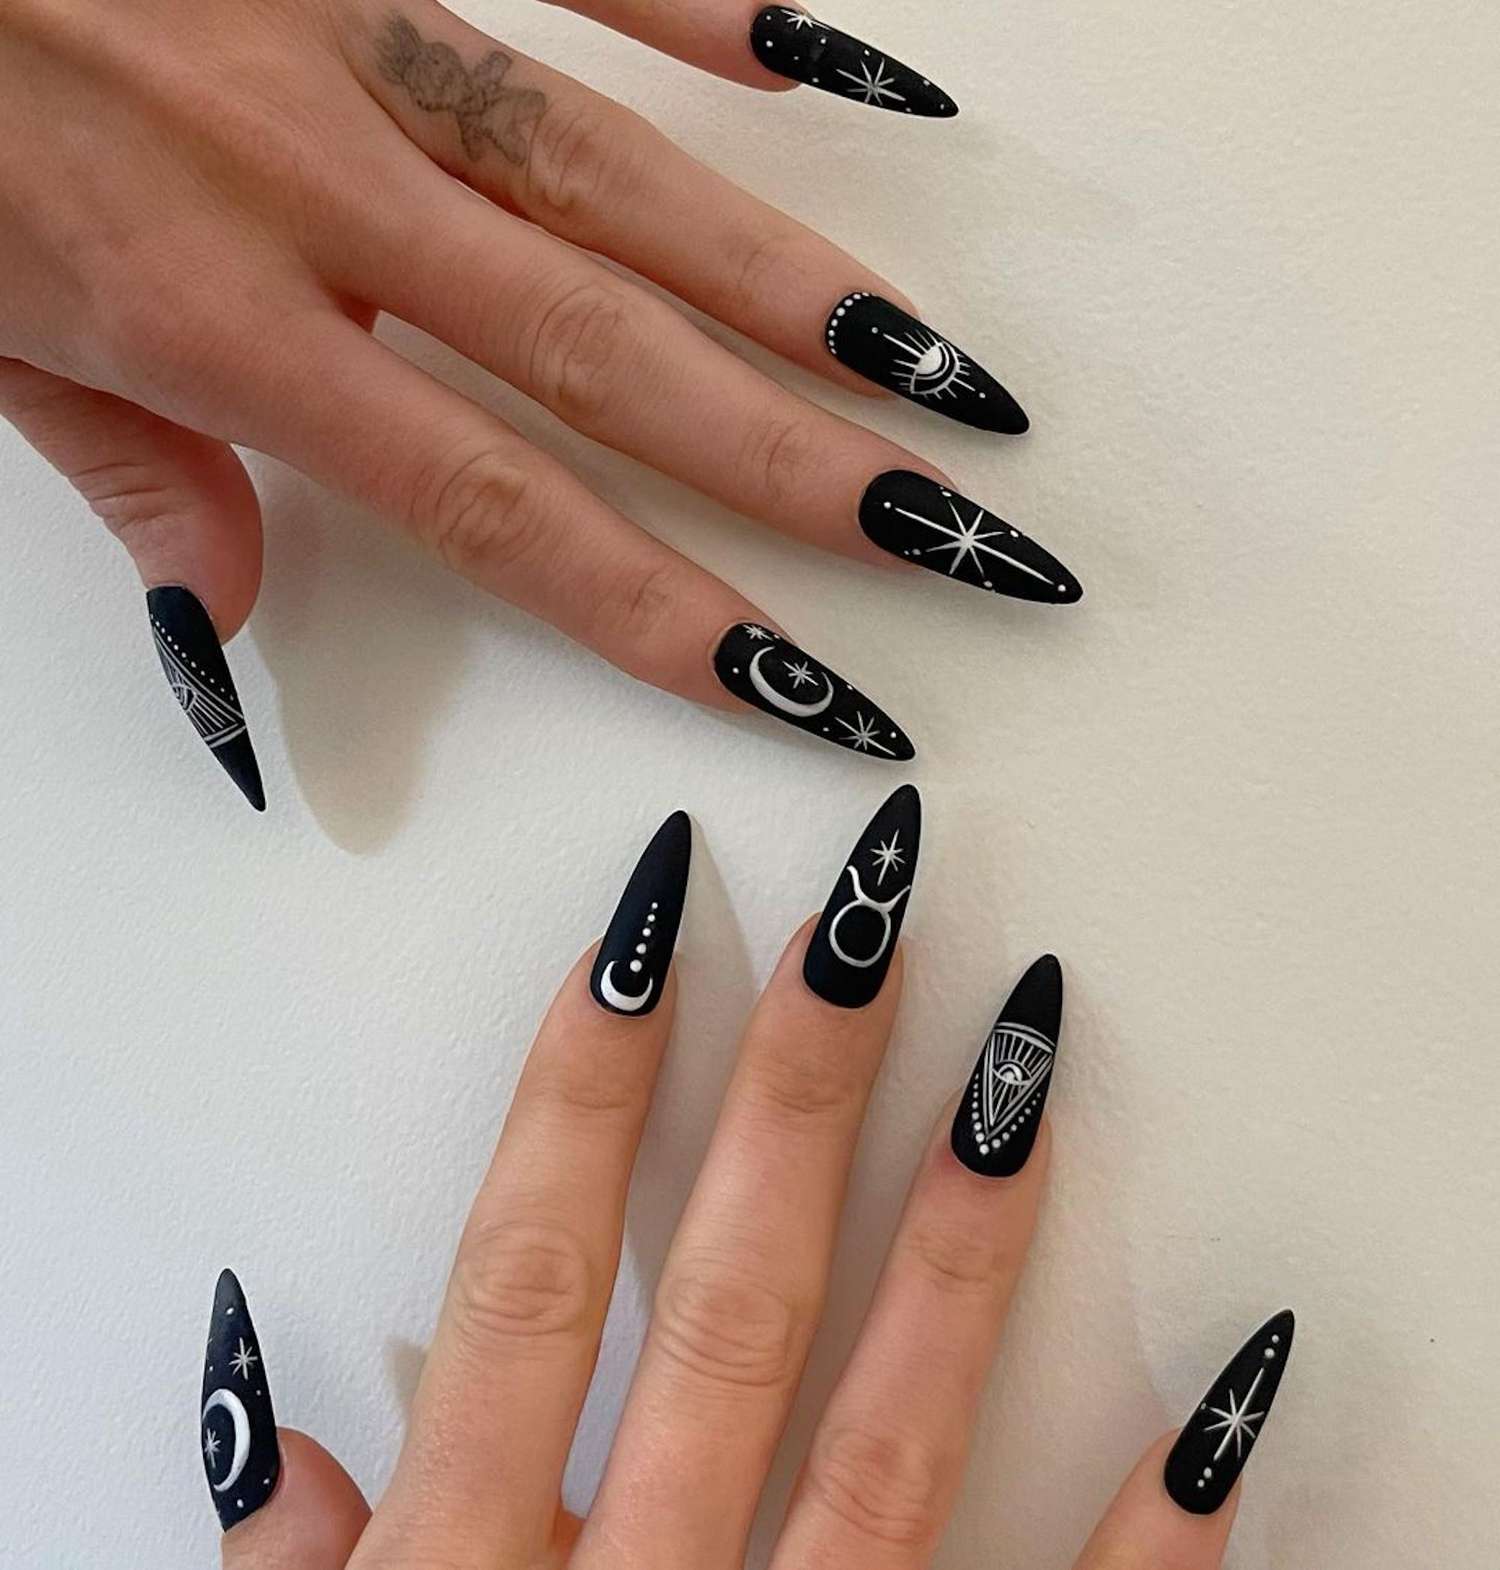
I’ll confess: white celestial motifs on a matte black base looked like a salon-only dream until I figured out the steps. The secret is a pristine matte black canvas — two coats of black gel, each cured fully, then a matte top coat. Wipe off the tacky layer before painting, or the white will drag.
For crisp suns, moons, and stars, use a fine detail brush and white gel polish. Thin layers are non-negotiable; thick white bleeds into the matte finish. Cure each color layer, and use a dotting tool for perfect circles. If you slip, clean with alcohol before the gel sets. Build opacity with two thin coats of white. Seal everything with another matte top coat. Long stiletto nails give more room, but the same technique works on any shape. Patience with the white pays off.
Matte Black with Delicate Floral Motifs
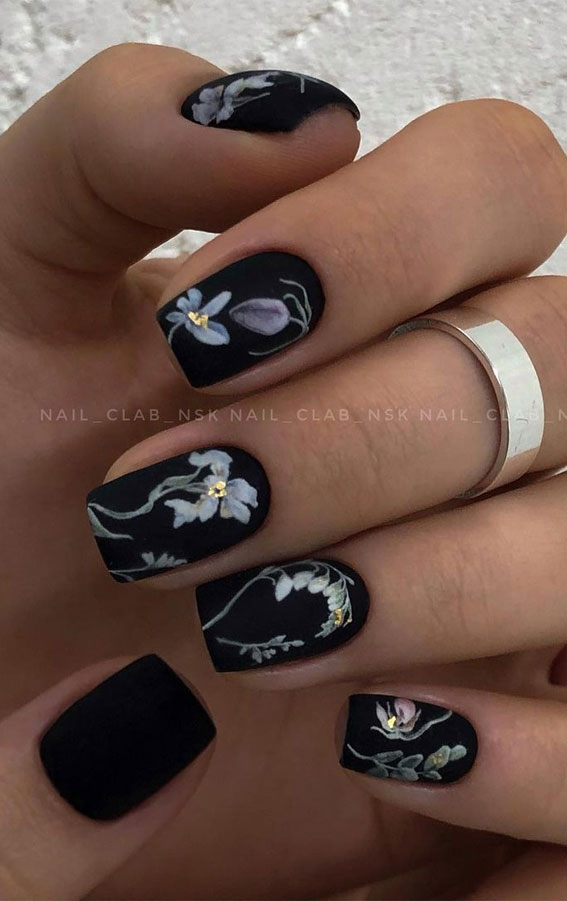
A matte black base makes the white and pale blue flowers look like they’re painted on velvet. The gold accents catch the light just enough to add warmth without competing with the floral motifs. Short square keeps the focus on the art rather than the shape, which is exactly what this design needs. The pale blue leaves curve around the white petals like they’re reaching for something. Gold dots scatter between them, tiny and intentional. On a glossy base this would read too sweet, but the matte black grounds everything. It’s floral art that feels grown-up, not cutesy. The short square shape keeps the nails practical while the design does the talking. I keep catching myself looking at the details instead of my phone.
Deep Muted Brown with Subtle Sheen
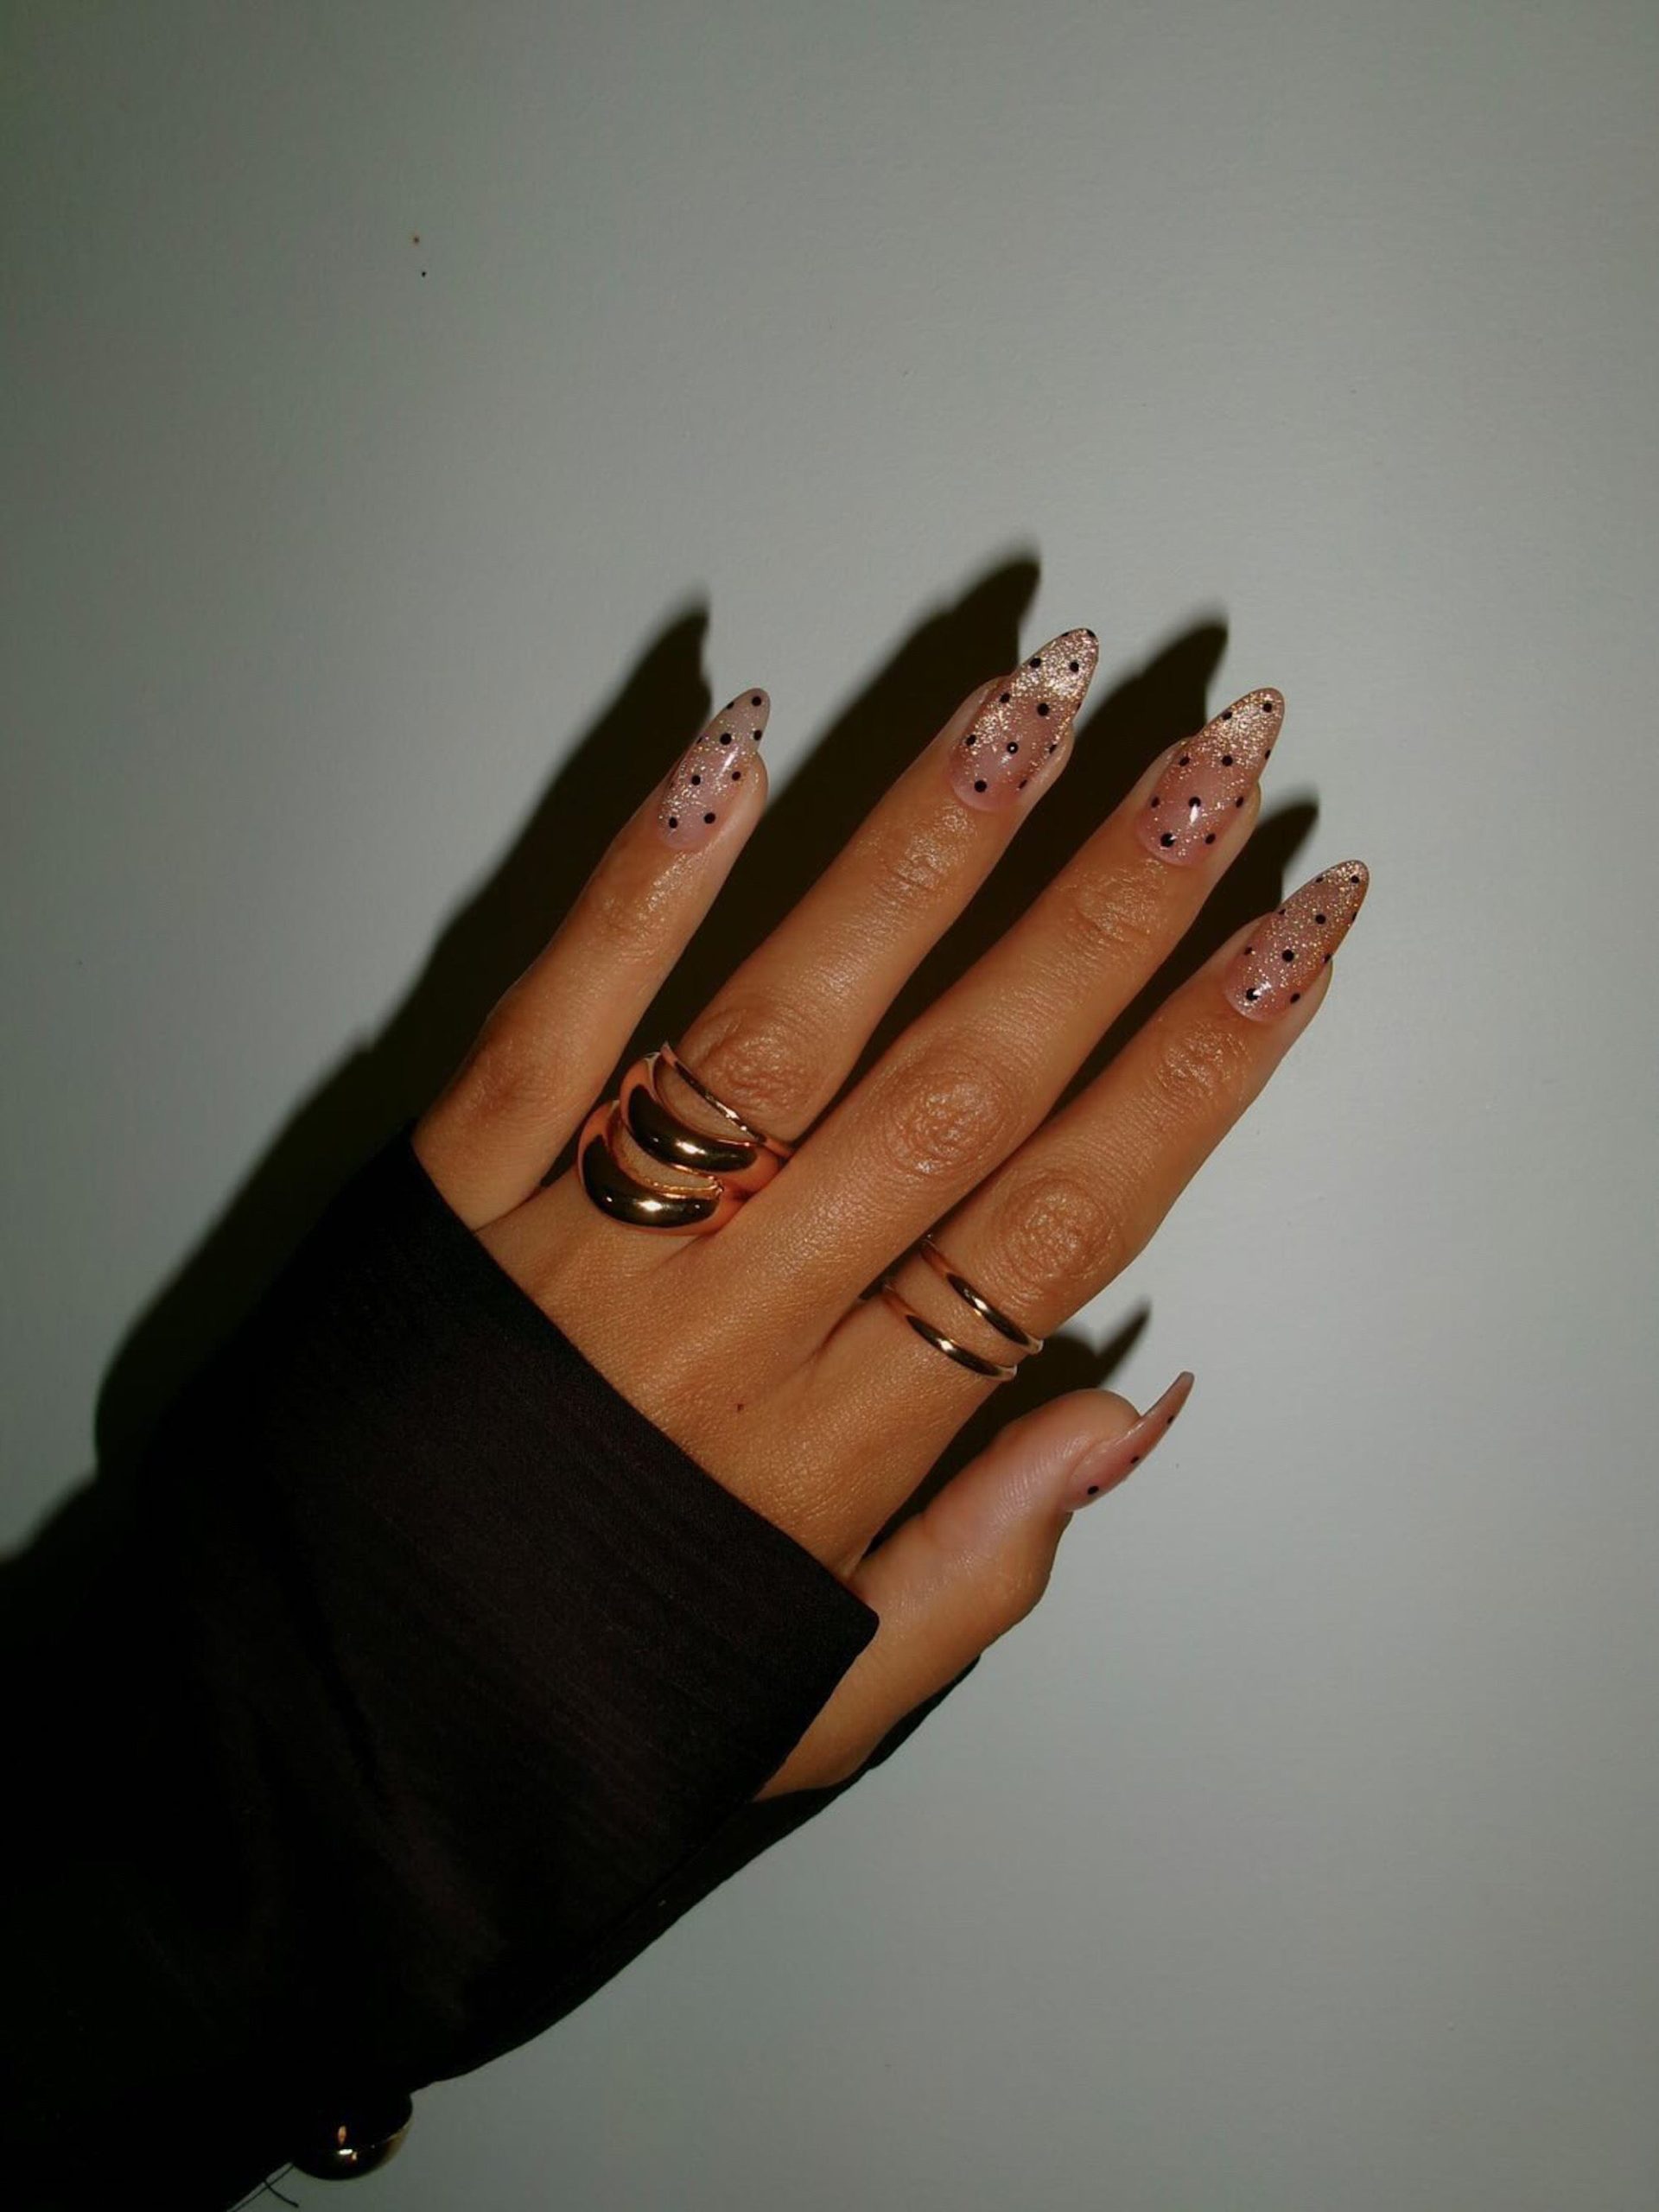
Why does a brown nail feel more interesting than black? This deep muted brown has a subtle sheen that catches the light without being flashy. It’s forgiving — chips blend into the shade instead of screaming for a fill. I’ve worn this for two weeks and it still looked intentional. Short oval shape makes it easy to maintain. This is the kind of color you can do yourself on a Sunday and forget about until it’s time to soak off. Cozy winter energy without the commitment of a trend.
Black Glitter Forest Scene Nails
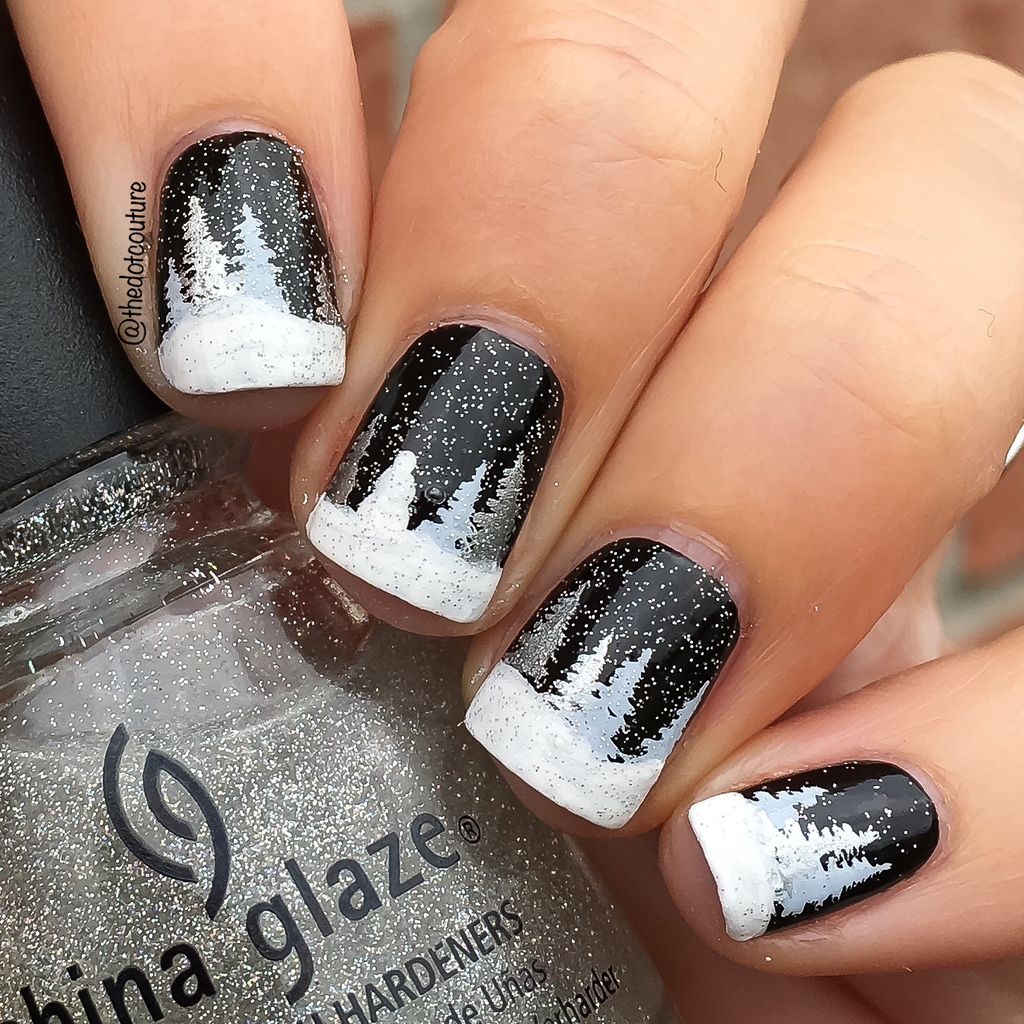
If you’re torn between a single snowflake accent and a full winter landscape, go with the forest. The miniature trees and snow-covered ground on a black glitter base create a scene that feels like a tiny world on your nails. It’s not subtle, but that’s the point.
The honest downside: this level of detail chips faster than a solid color. The white trees and silver snowflakes are delicate, and one wrong catch can take a branch with it. That’s why it’s best for a weekend event rather than a full two-week wear. But for the time it lasts, it’s a conversation starter. The short square shape gives enough canvas for the art without making the nails feel heavy. A glitter gradient is easier and lasts longer, but it doesn’t tell a story. The forest scene rewards close inspection — each tree is hand-painted, the snowflakes vary in size. It’s the difference between a print and a painting. For a holiday party or a winter photoshoot, this is the one. Just know that after a week, you’ll see wear on the tips. That’s the trade-off for art.
Glossy Black with Textured Glitter Stripes
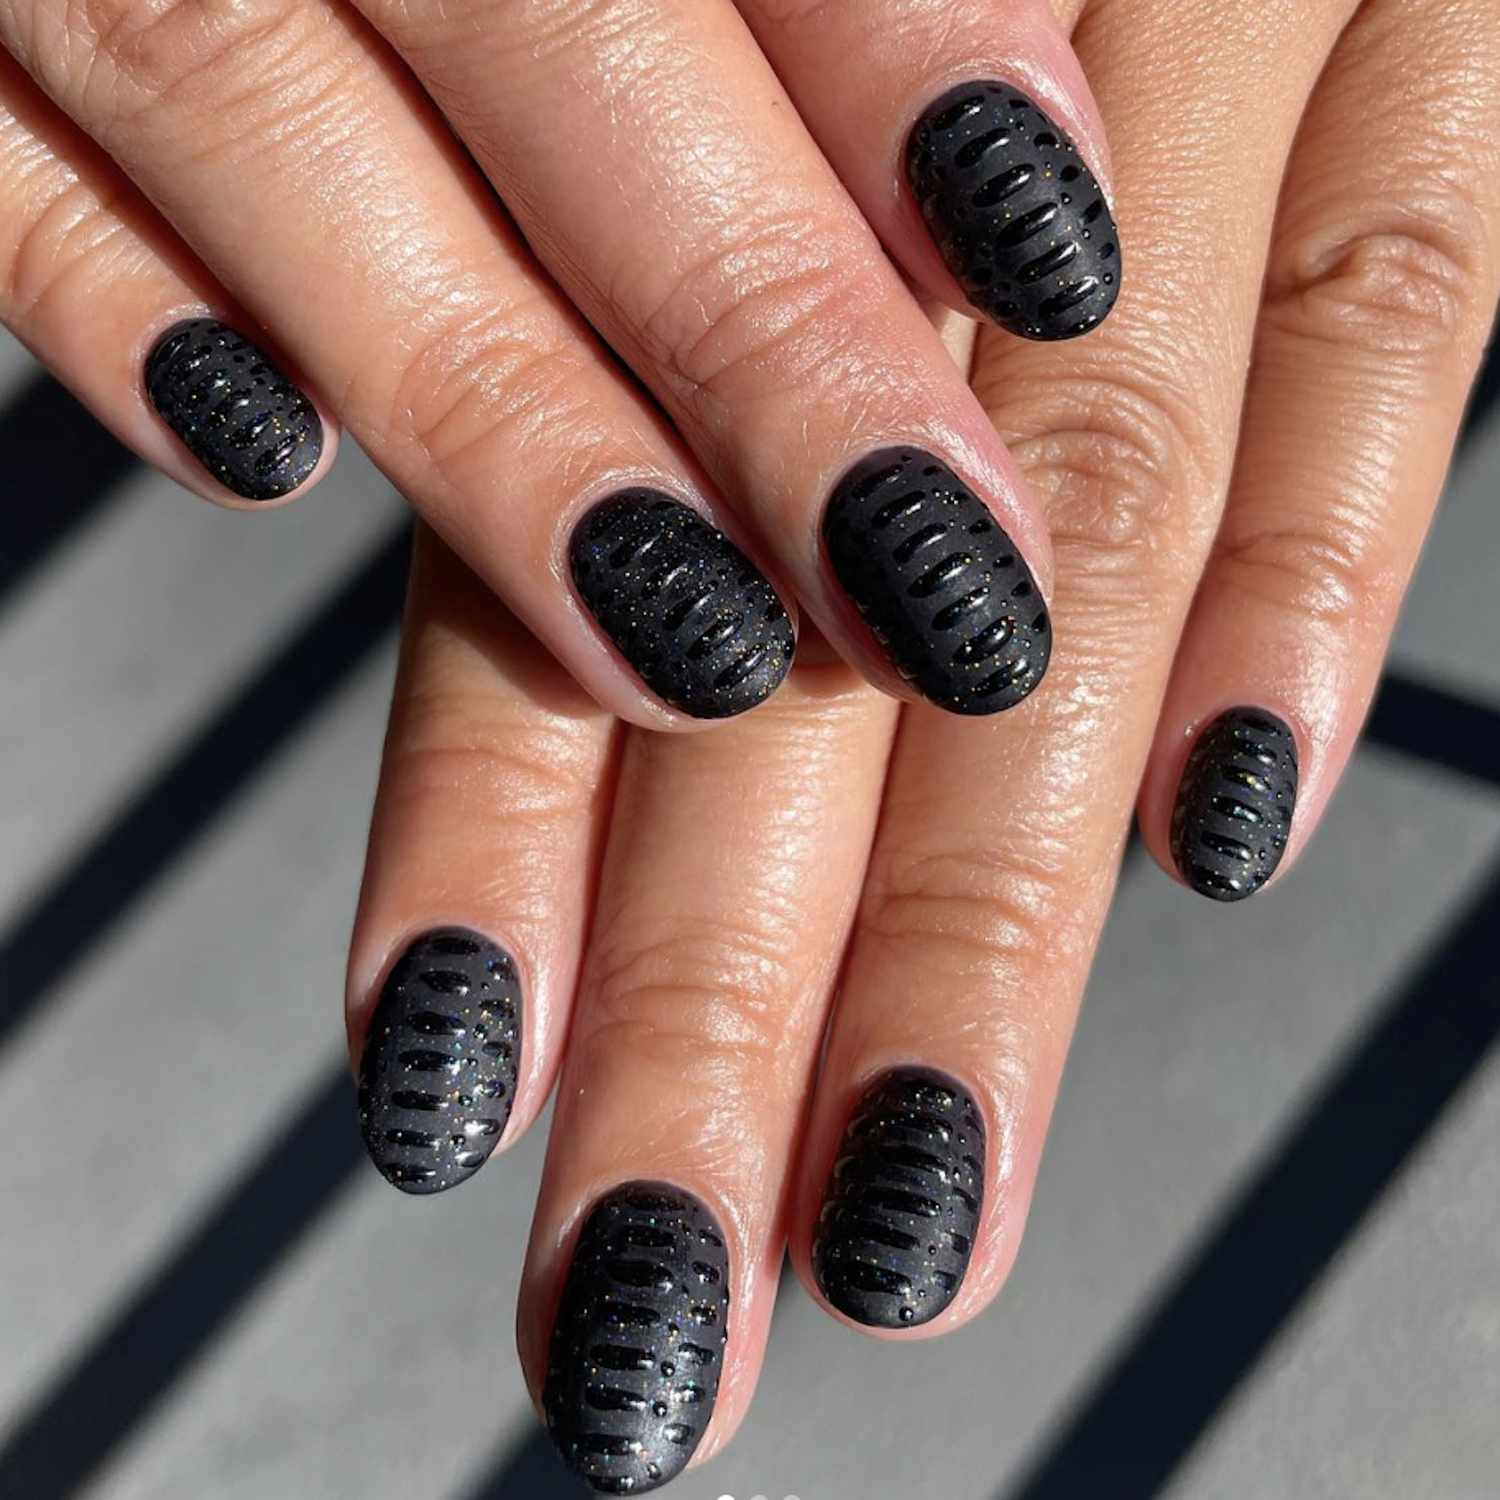
The gold glitter stripes have a texture that catches on sweaters if you’re not careful. This design suits someone who doesn’t mind a little friction in exchange for impact. The horizontal stripes draw the eye across the nail, which works best on short oval shapes — the lines don’t get lost. If you prefer a smooth, quiet manicure, this one will feel loud. But if you want your nails to announce themselves, the glitter stripes do it without words.
Matte Black with Silver Snowflakes and 3D Bows
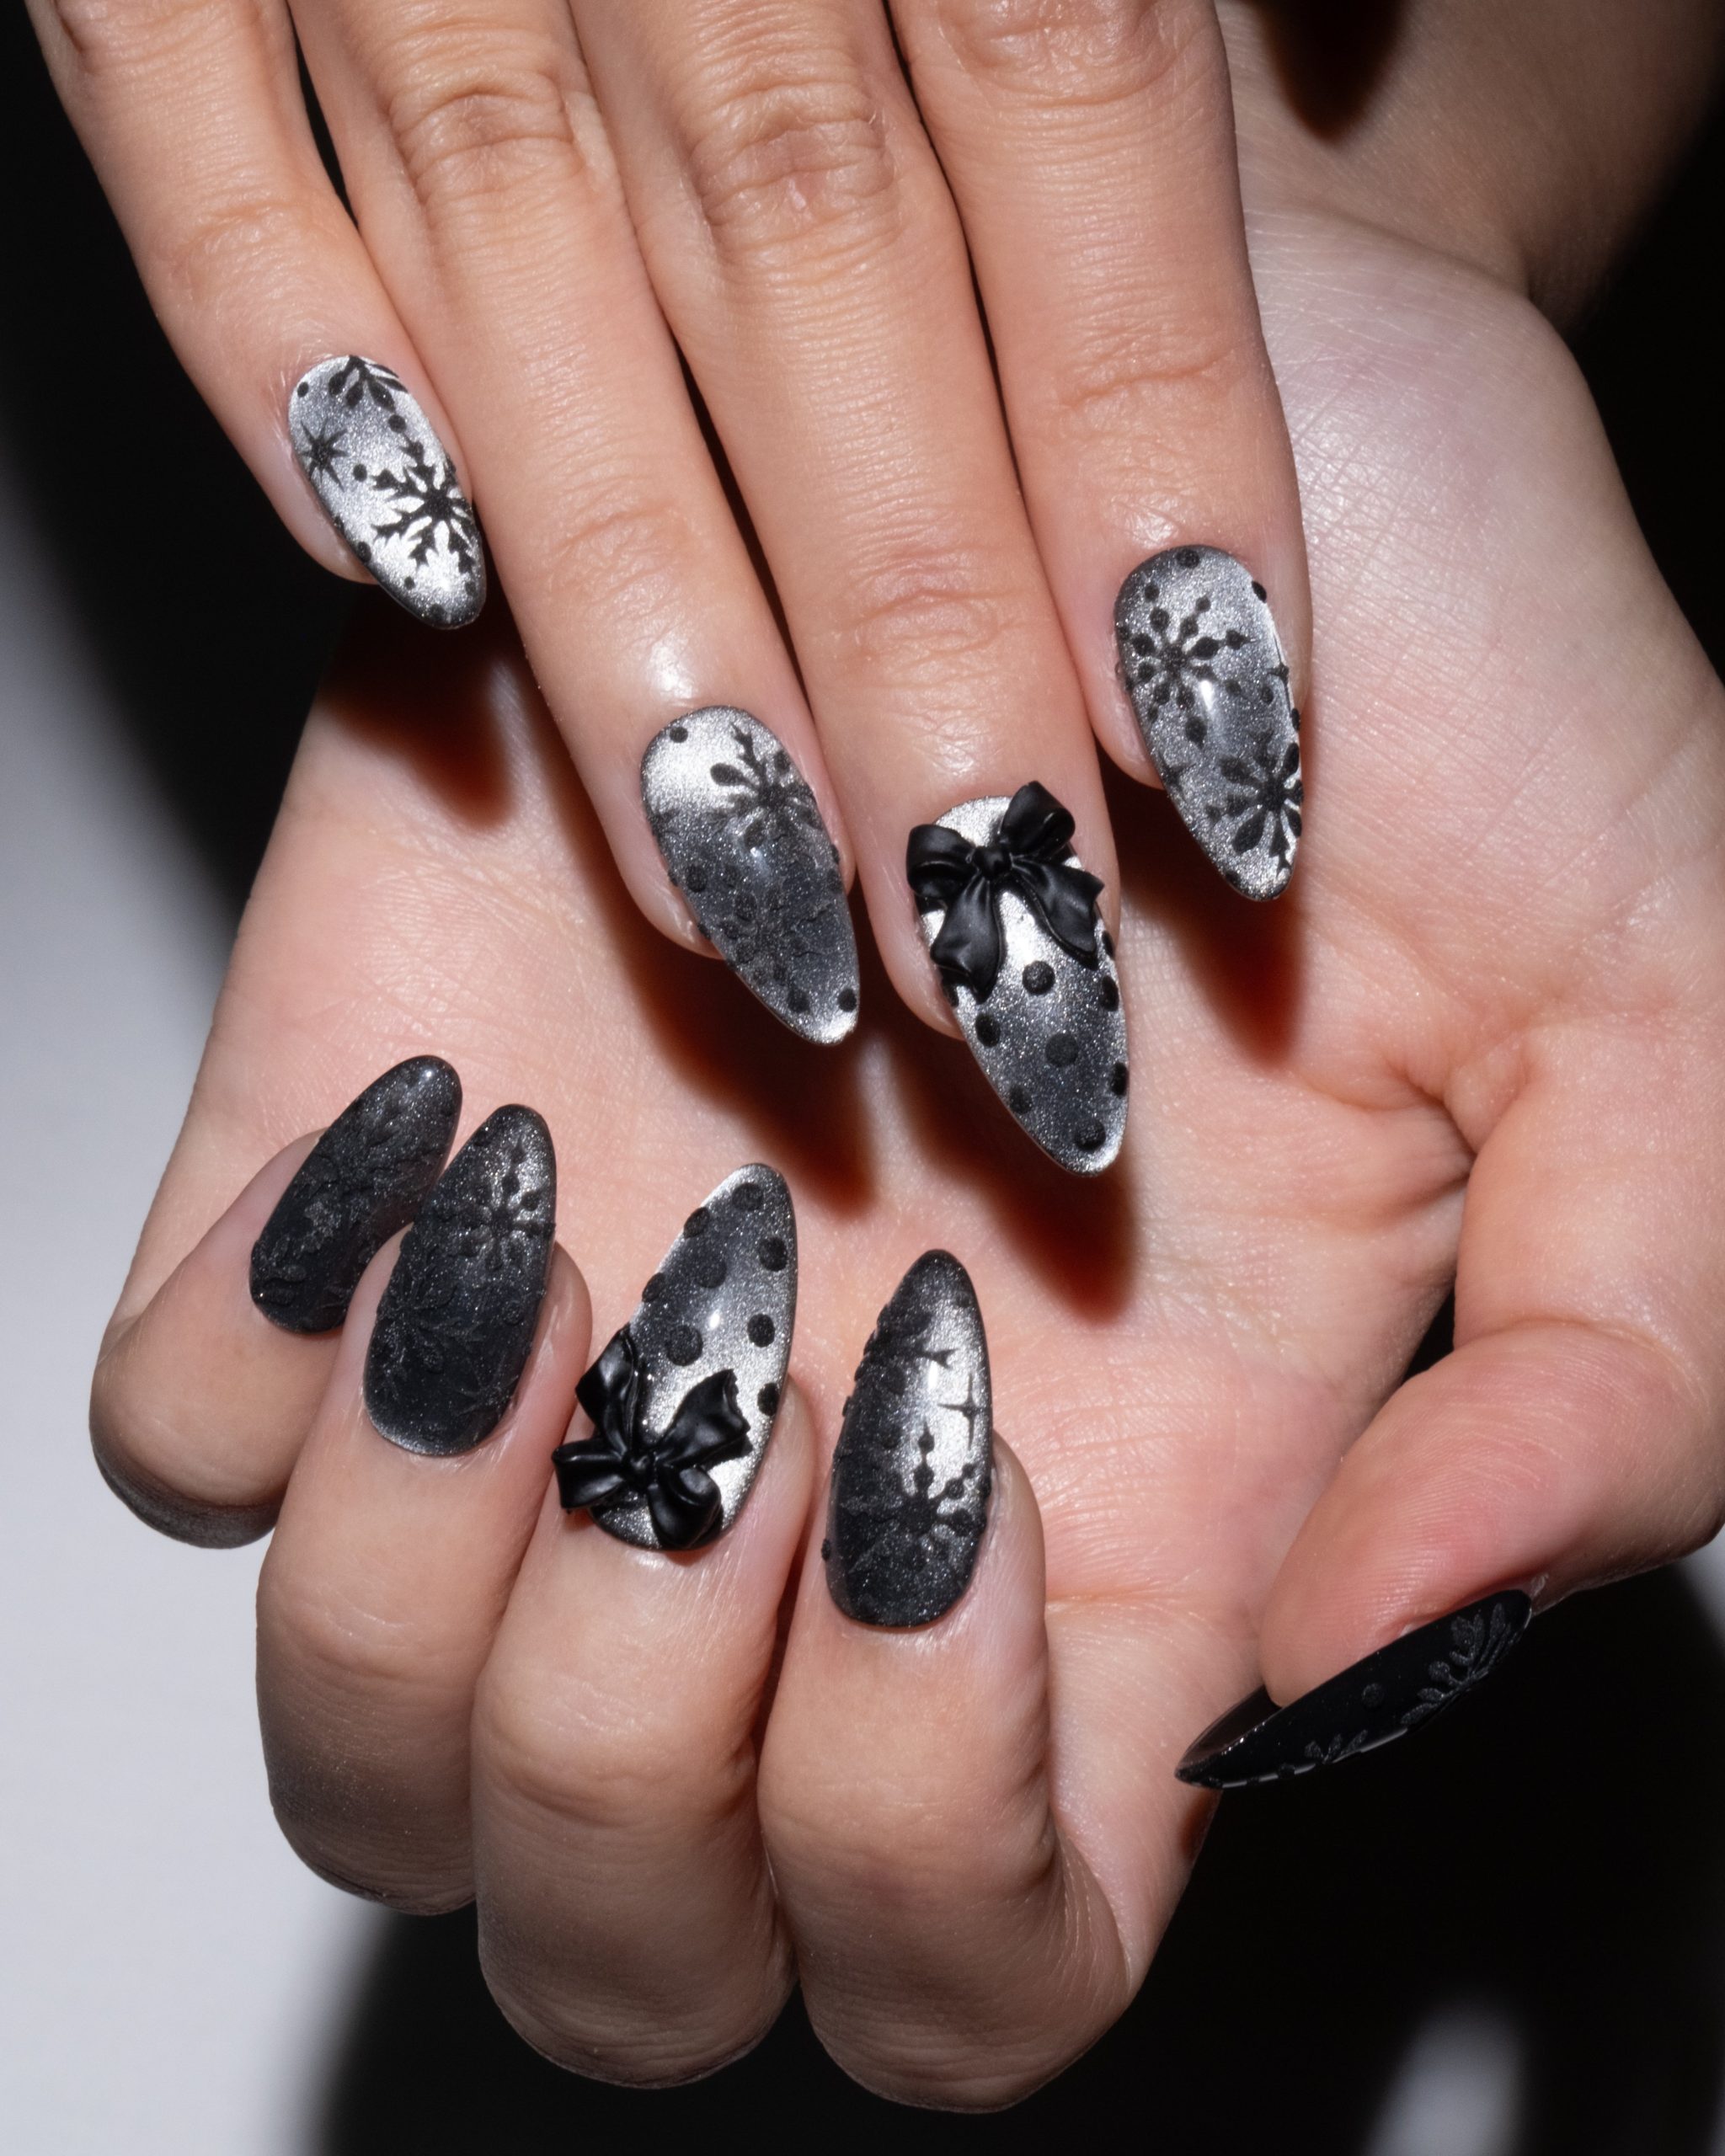
I’ll admit, I thought about trying to glue on those tiny bows myself. Then I remembered the last time I attempted 3D decals at home and spent an hour chasing a rhinestone across the floor. This is a salon look, and it takes time — expect at least 90 minutes for the matte base, the silver snowflake decals, and the 3D black bows on the accent nails. The bows are delicate and require careful placement. For a winter wedding or New Year’s Eve, the payoff is worth the chair time. The medium almond shape gives the bows room to sit without crowding the nail.
Matte Black with Sheer Overlay and Rhinestones
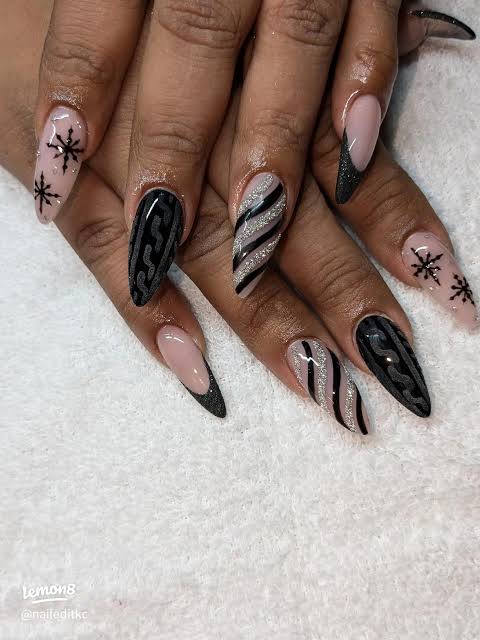
This is what happens when you let a nail artist go full celestial. The base is matte black rhinestone nails — long stiletto, perfectly opaque — then a sheer black overlay of hand-painted snowflakes, moons and stars. One accent nail gets a cluster of large rhinestones, and suddenly it’s a galaxy of texture: matte, sheer, and sparkle all at once. The sheer layer softens the black without losing the drama.
- Long stiletto shape for maximum canvas
- Matte black base, no shine
- Sheer black overlay with celestial motifs
- Large rhinestone cluster on one nail
- All sealed under a matte top coat
You are not doing this at home. The sheer layer needs a steady hand, the rhinestones need precise placement, and the matte finish shows every mistake. Book a salon and bring a reference photo. This is a two-week look if you baby the tips — and soak off is non-negotiable because of the rhinestones.
Glossy Black with Dense Silver Glitter
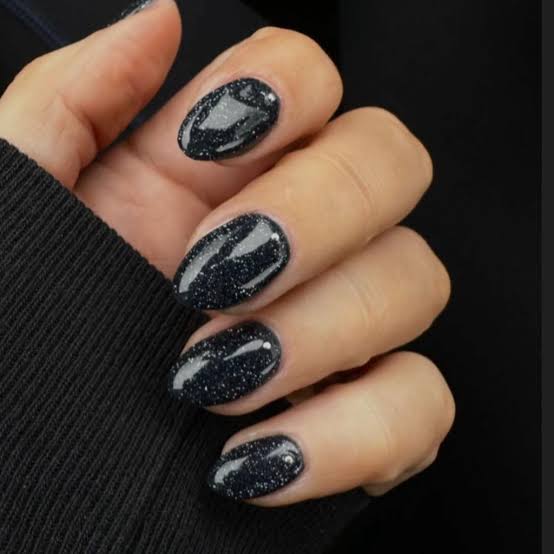
Ever wonder how they get that much glitter on a nail? For black silver glitter nails, the tech packs on a dense silver glitter while the black base is still tacky, then seals with multiple top coats. The result is dazzling — but the glitter layer can feel rough if not perfectly smoothed. Expect two to three weeks of wear, and removal is a soak-off marathon. That glitter does not let go easily.
Dramatic Glossy Black with Sharp Flame Tips
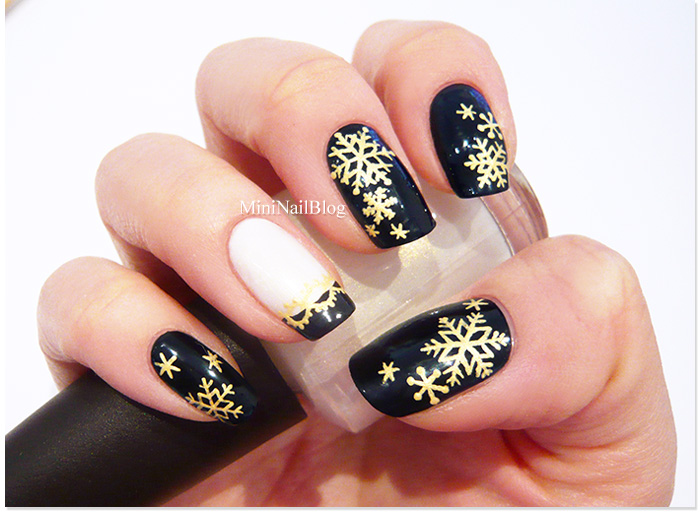
I wanted to roll my eyes at flame tips. But these black flame tip nails — long stiletto, glossy black base, and sharp flame-like designs in clear and white — actually work. The flames are precise, not cartoonish, and the stiletto shape makes each tip feel like a tiny weapon.
- Long stiletto shape for dramatic flames
- Glossy black base
- Clear and white flame tips, hand-painted
- Sharp, pointed tips on each nail
They’re not for everyday typing, but for a night out? Undeniable. I’m still not sure I’d wear them again, but I respect the artistry. And I’d definitely keep my hands away from my hair.
Final Thoughts
After staring at 28 black nails, I realized something: black isn’t a cop-out, it’s a canvas. The ones that worked best were the ones that committed to a finish or a detail, not the ones that tried to be everything at once. I’m booking the matte black with satin geometric lines next week. It’s the quietest one in the roundup, and that’s exactly why I want it.