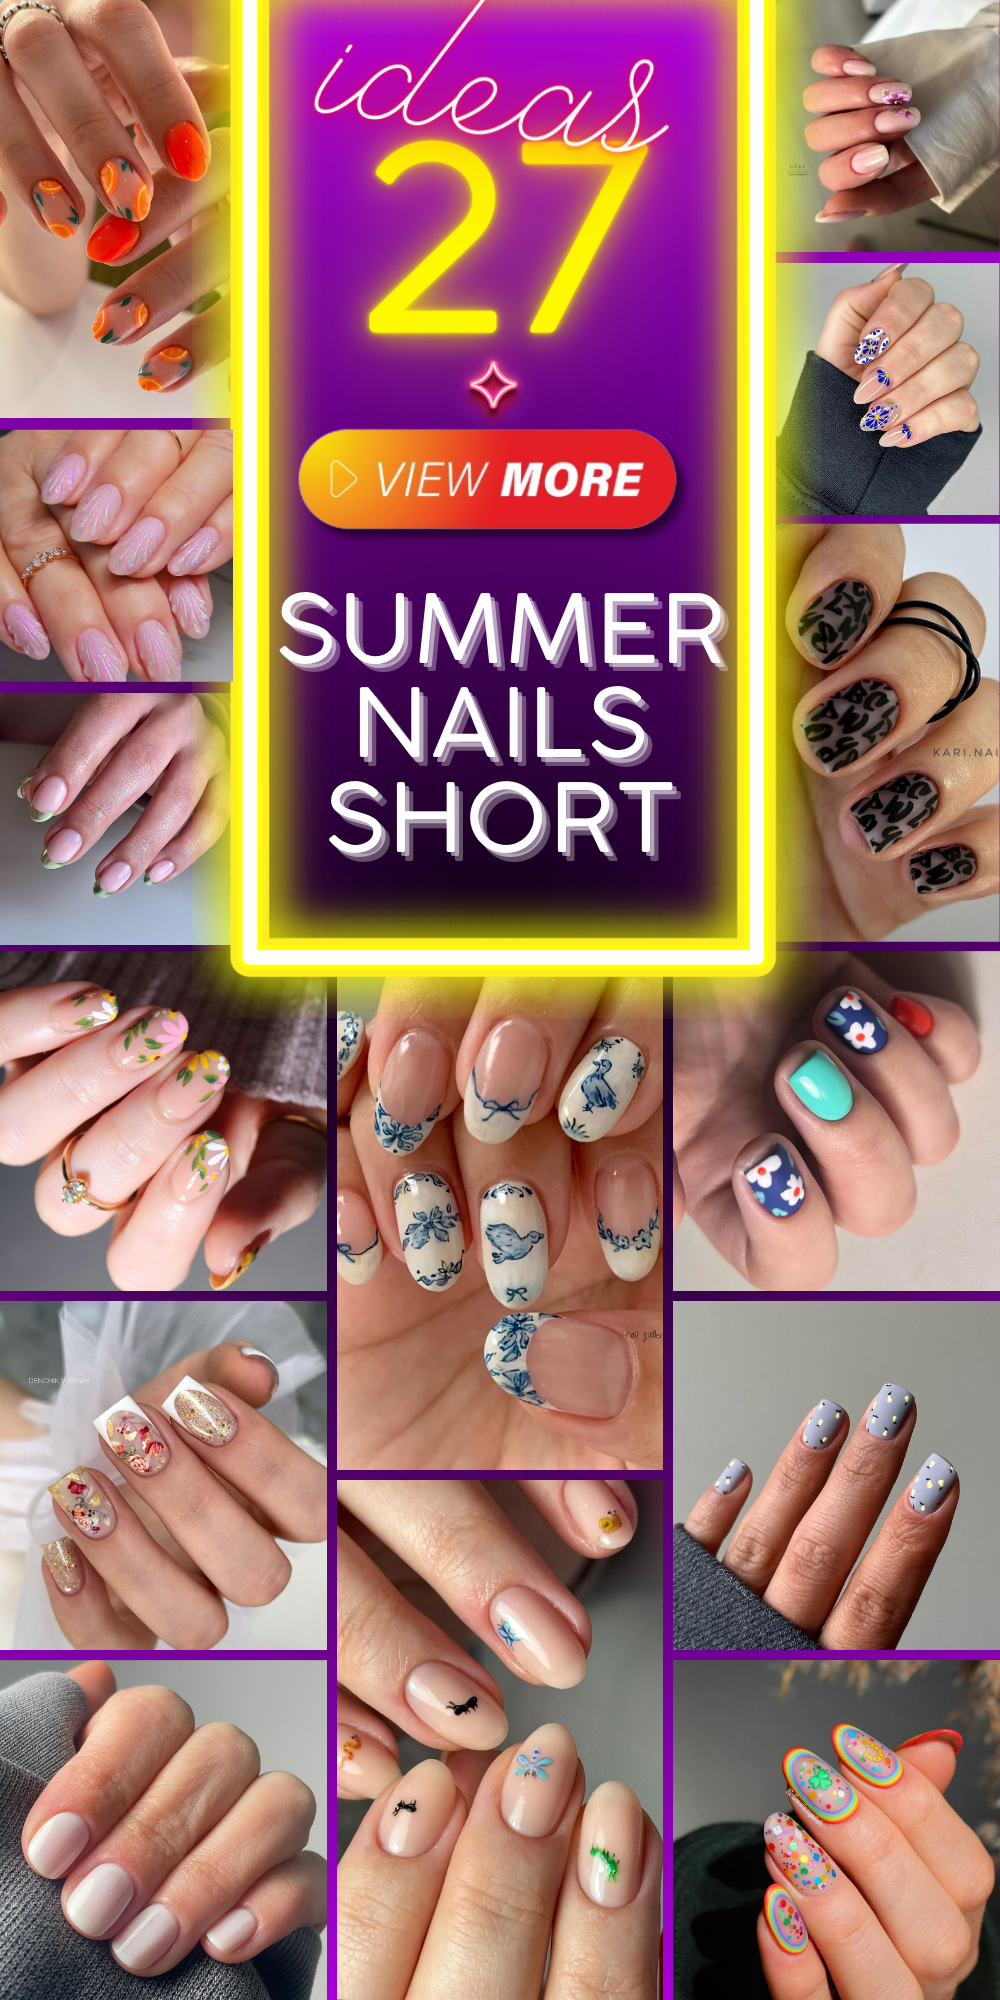
The summer of 2024 is finally upon us, and it’s time to ask the question on all of our minds: How can we make our nails look like they’re doing what the rest of our bodies wish they could? Does your style scream go big or go home, or is it more on the refined side? As a professional nail stylist — trust me, that’s a thing — I invite you to join me while I take you through some shorties that are cute, functional and perfect for anyone who owns their own bicycle.
A Splash of Summer Fun
Meet the quintessence of summer fun, meet these playful nails. They have a whimsical curve that screams ‘I’m ready for anything!’. It’s not just any old pink either. No, no, it’s a shade that whispers rather than shouts. Topped with a delicate string of pearls along the cuticle—this kind of bling you’d never expect. It’s where simple meets fun in an elegant summer dance.
For this nail set you’ll need:
- Gel base coat to lay down a foundation
- Peachy pink polish in shellac to last the entire season
- Small pearls for added glam
- Finishing dip top coat to seal the design in place
Start by prepping your nails with gel base. Layer on that peachy pink polish then let it set as you stick on some pearls. Lastly, finish with a protective top coat and voilà! You’re chic and ready for any summer break life throws at you!
Elegantly Understated
Fingers are pretty. Fingers are cute. And here’s a look that’ll make everyone say oooouuu! The white polish is only applied slightly to give it a natural and gentle touch, while the nail with the flower really pops out with life- like a huge white flag in the middle of a mountain range. It’s just adorable, which makes it perfect for attending your loved ones birthday party or for those office days where you want to remind your coworkers how hot of a summer you’re having.
You’re going to need:
- Sheer white gel polish
- Floral decals
- Gel top coat
Creating this design isn’t hard at all! First, apply a base coat, then put on two layers of sheer white gel polish before applying the decal. Finally, lock in the beauty and charm by finishing with a gel top coat.
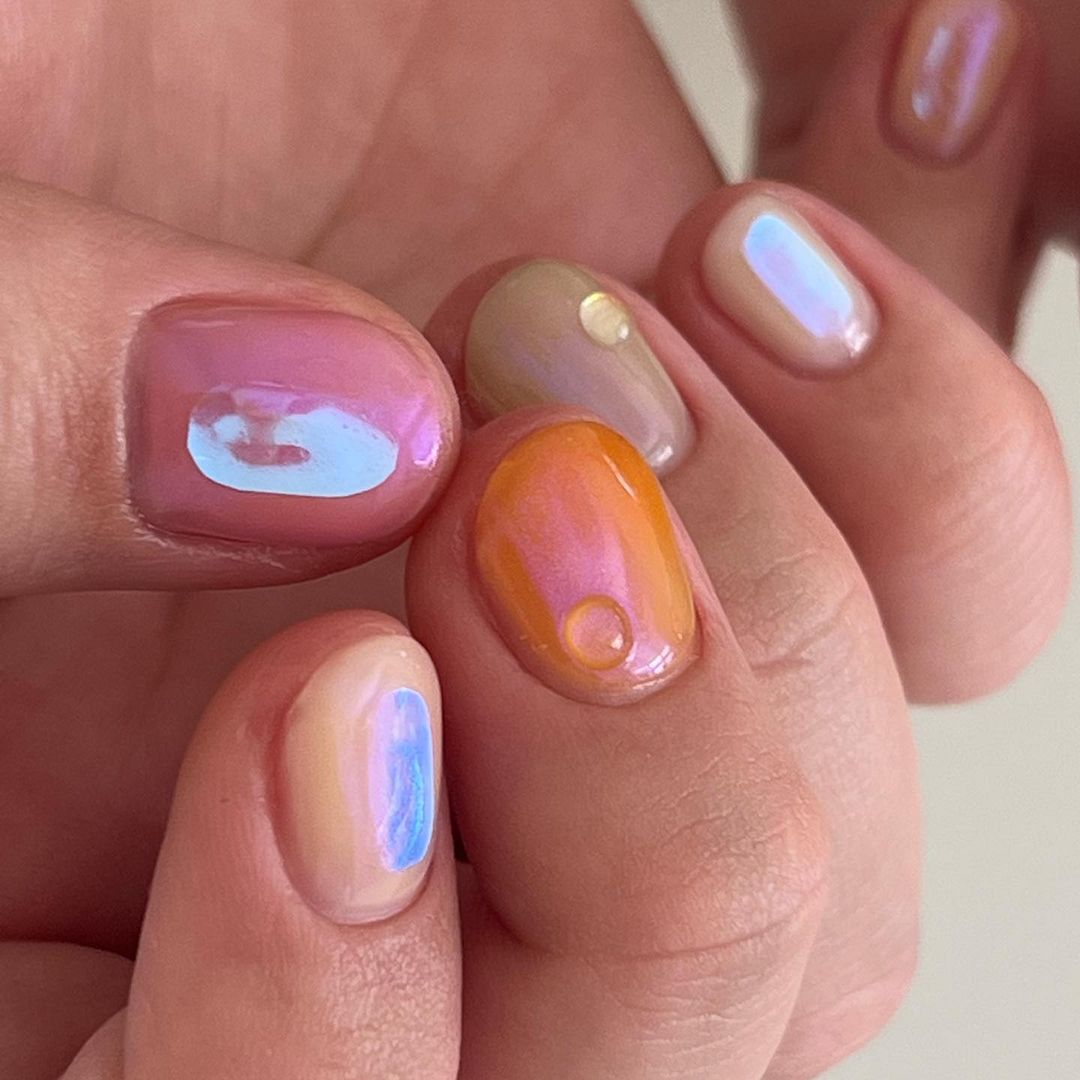
Retro Vibes Meet Modern Chic
If Y2K is your cup of tea, this design is a 2020s reboot. It plays with neon and pastel, creating a stunning contrast that’s both pleasing to the eye and an absolute blast to wear. The orange and blue hues are loud but not overpowering, especially when complimented by the simple yet trendy oval shape.
Products you’ll need:
- Holo gel polish for that shiny shimmer
- Both neon and pastel gel polishes for the base colors
- Matte top coat that’ll turn it down from shine to dope finish
To copy this design at home, go back and forth between your neon and pastel coats, add some holographic magic then matte it. It’s one of those looks where you can’t help but stand out and say “wow, I look good” on vacation or a beach day out.
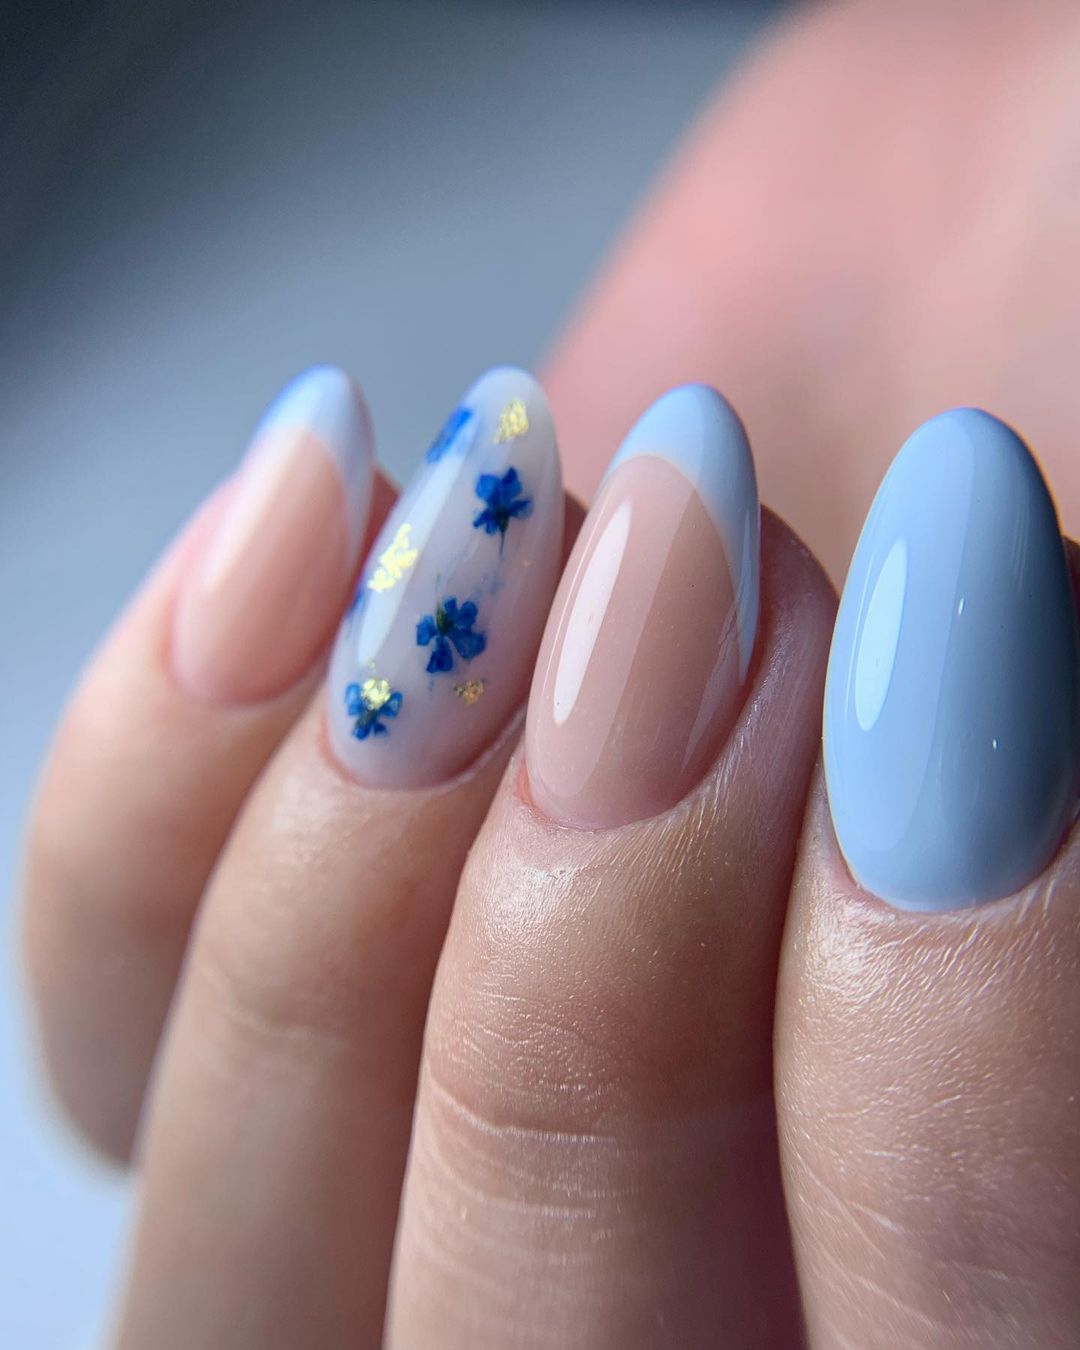
Cloudless Skies and Ocean Tides
Let’s talk about a certain design that captures the essence of summer. It’s that beautiful moment when a cloudless sky meets the calm ocean. The nails themselves are a delicate gradient of blue slowly transitioning into soft nude tones, which is reminiscent of when the sea and sky meet at the horizon in a quiet embrace. On one accent nail, there are tiny blue flowers with golden centers clustered like forget-me-nots on a summer walk. Golden flakes are also added to represent the sun’s shimmering reflection on water.
For those who want to achieve this chic but natural look at home, here are some recommended products:
- Sky blue gel polish for that calming summer’s day
- Nude gel polish to give you that sun-kissed natural base
- Gold foil for some blink-blink reflecting sunlight
- Floral nail stickers to add a little cuteness into your life
To start, apply the nude base and blend it down with blue from the tip, working your way down to create an even gradient. Use tweezers to apply gold flake and stickers for better precision. When finished, seal it all off with some top coat to ensure durability and give it that final touch of chicness.
Save Pin
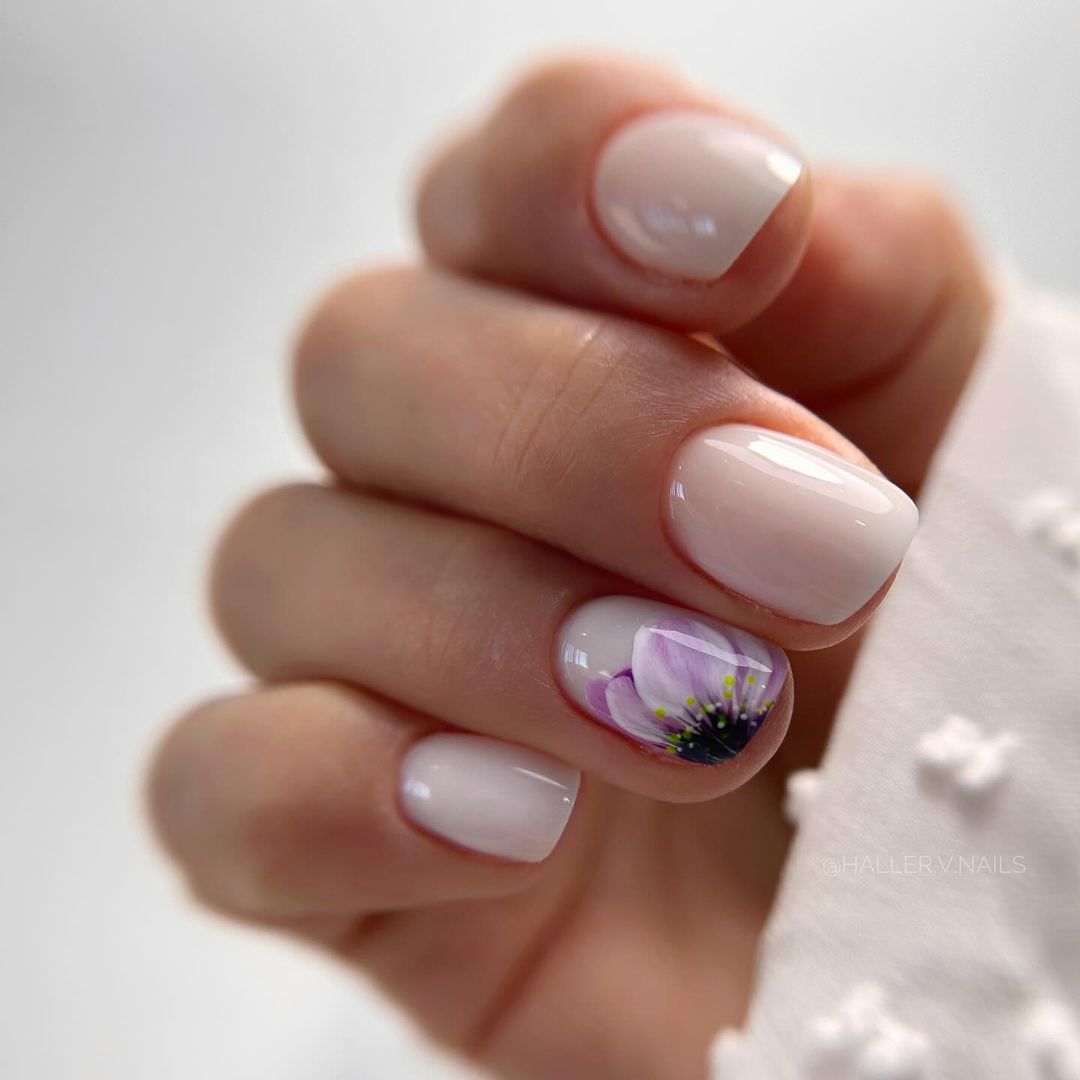
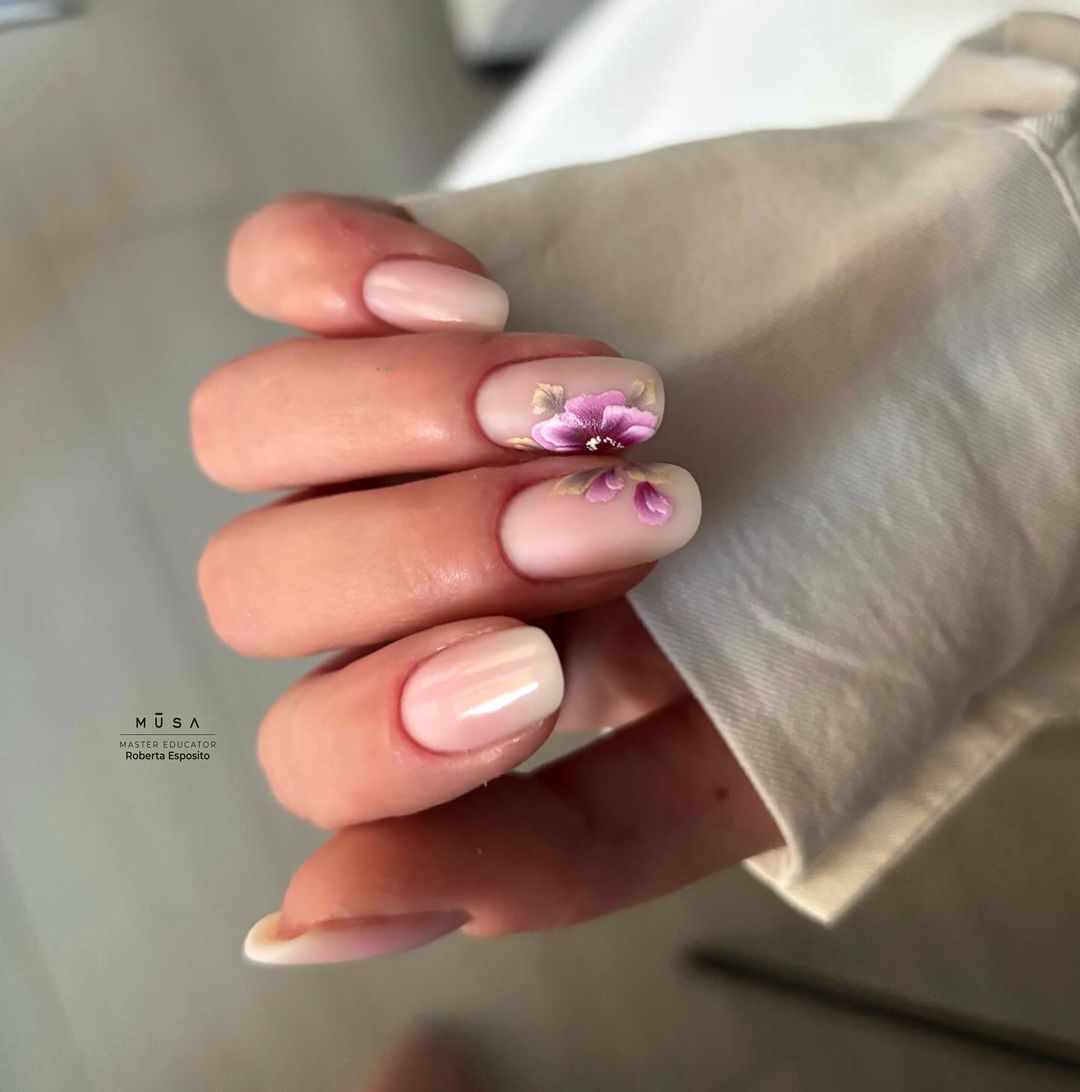
Petal-Soft Elegance
Onto a design that whispers with elegance. A look that celebrates the natural beauty of summer blooms, with a single flower painted on a backdrop of sheer pink. The petals open as if touched by the morning dew, a pretty nod to the subtleties of simple beauty.
For this ethereal look you’ll need:
- Sheer pink gel polish for that natural base
- Detailed brush for the intricate petal work
- Pale purple polish to bring your flower to life
- And a protective gel top coat to preserve its simplicity
The process is delicate and will take time. But don’t let that discourage you. Lay down your sheer base, then with a fine brush paint your bloom petal by petal. With this level of detail, your steady hand will bring it all together for something extraordinary..
Midnight Florals
Diving into a bolder expression of summer, here’s a design that’s as vibrant as it is perplexing. Fitting only the craziest of dreams, bold blue flowers pop out against a transparent base, with yellow hearts that suggest fireflies on a warm evening. This look is both fun and trendy. A testament to the playful side of short nails in the summertime.
Here’s what would line the shelves of an eccentric manicurist aiming for such a bursty statement:
- Clear gel polish for you glass-like natural canvas
- Bold blue and sunny yellow gel polishes for your flowers
- A fine brush will be needed to draw each petal with precision and fun
- And finally, a glossy top coat to give your art a bright, finished shine
The DIY path to this funky piece involves laying down one clear coat then with another fine-tipped brush painting each petal. It may take some practice but once you’ve gotten it down your acrylics are sure going to stop somebody in their tracks at any summer break gathering.
Sunset Swirls
Nothing says summer like a warm orange hue. Combine it with playful swirls and you’ve got yourself a look that’s as juicy as a peach. You can’t go wrong with pairing bright red tones with calming greens, either.
If you’re a professional manicurist or like to do nails at home, here are the items you’ll need to complete this design:
- Orange and red gel polishes for the base
- Green polish for the leaves
- A detail brush to create the swirls and leaf details
- A glossy top coat for a shiny finish that’s as bright as the sun
Apply a base of your orange polish then add in darker swirls. With your detail brush, paint on some greenery and finally, apply your top coat for an extra fun and pretty look.
Creamy French Twist
This French manicure is a fun twist on the classic. The natural nails have a pink base, and the tips are dipped in a sheer yellow color that resembles the summer sunrise. This look is simple but elegant and perfect for an all-around chic summer day.
What you’ll need:
- Sheer pink nail polish
- Pale yellow nail polish
- A steady hand or tip guide to create the perfect smile line
- A top coat to make sure your nails last as long as possible
First, apply the pink base with a steady hand. Then carefully add the yellow tips for this simple but striking look that’s sure to be your summer favorite
Pastel Party
Last but not least, let’s party with some nails that only a birthday or vacation could handle. This is a sweet and soft pastel dream, full of polka dots and flowers that’ll take you right back to Y2K. The modern vibes mixed with nostalgic colors will have your friends in awe.

To make these cute little things, you’ll need:
- A mix of pastel polish
- A dotting tool to create perfect circles
- Small detail brush for those tiny petals
- And top coat so nothing moves for the rest of summer break
First paint those baby nails fun base colors then add dots on top using the dotting tool. Next up are the little flowers that you can add wherever you’d like. After everything is dry just put on a nice layer of top coat and you’re certain to have a bright and fun summer!
Save Pin
Whispering Meadows
Elegance and nature come together to make this beautiful manicure. The tip of the nail is dipped in a soft green, a color that brings up images of grass covered in morning dew. It’s a simple design with only two colors but it speaks volumes about the natural beauty of your nails and will look amazing for any summer occasion.
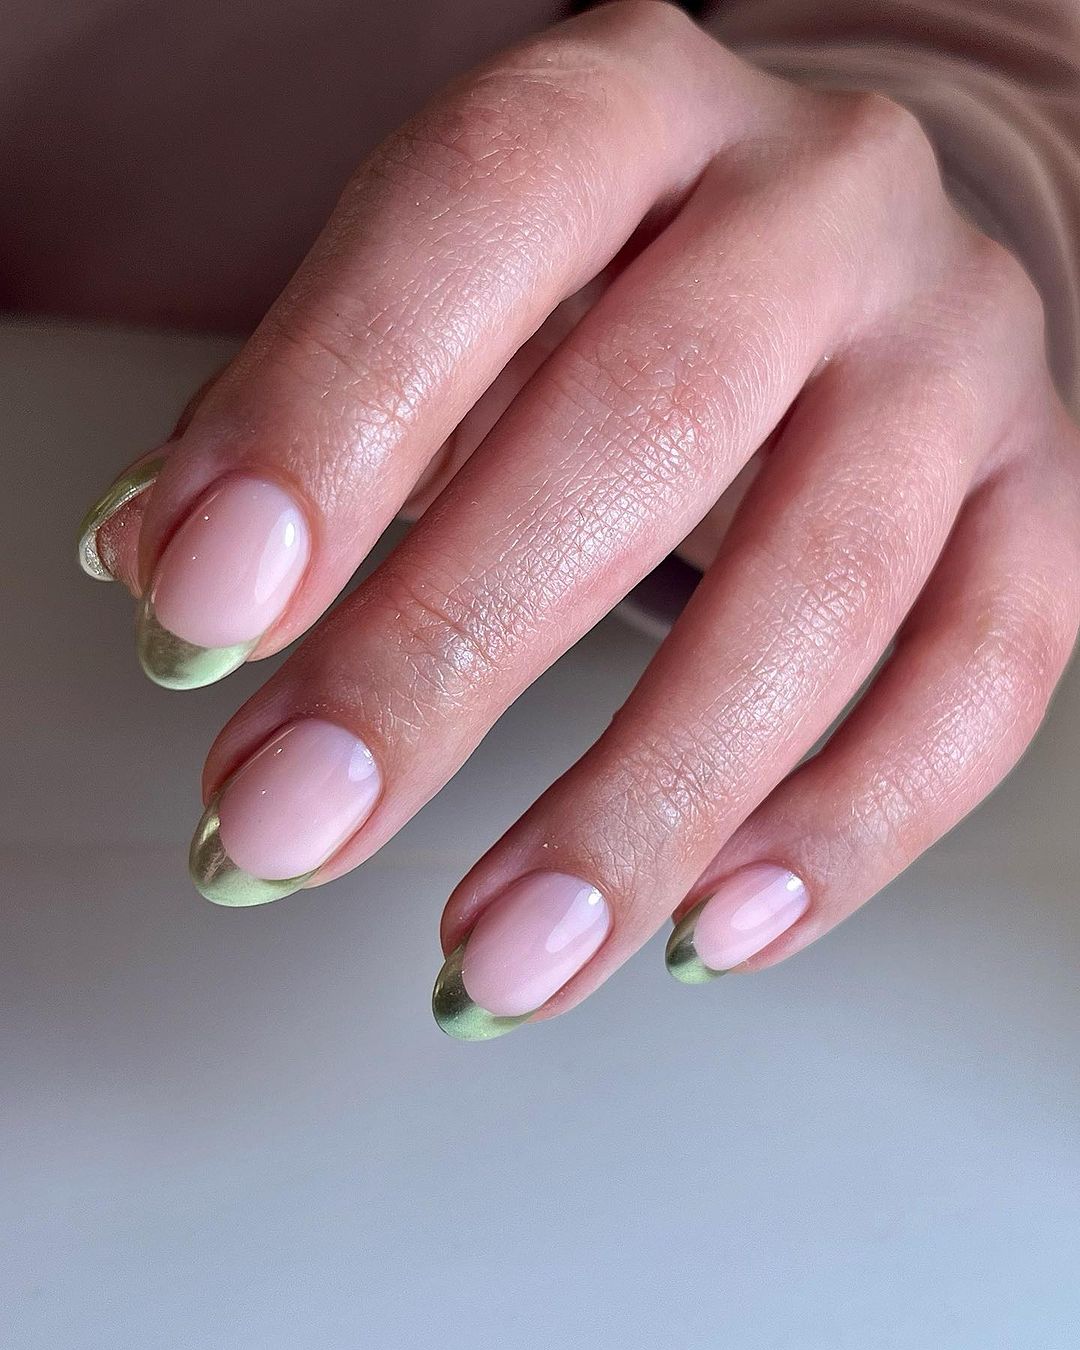
To create this modern look you’ll need:
- Sheer pink polish
- Soft green polish
- A fine brush
- A clear top coat
Apply the sheer pink first, then use your fine brush to precisely add the green tip. Finish off with a top coat and you’re done! It’s an easy process but once complete, you’ll be left with a natural summer look that is simply stunning.
Glittering Gossamer
The second design has a sort of enchantment to it – like the magic fairy dust that glimmers under the moonlight. The base of this look is pink, with a holographic glitter on top. This stylish combo is sure to reflect light in an array of colors. Made for summer nights, where the air itself carries some kind of whimsy.
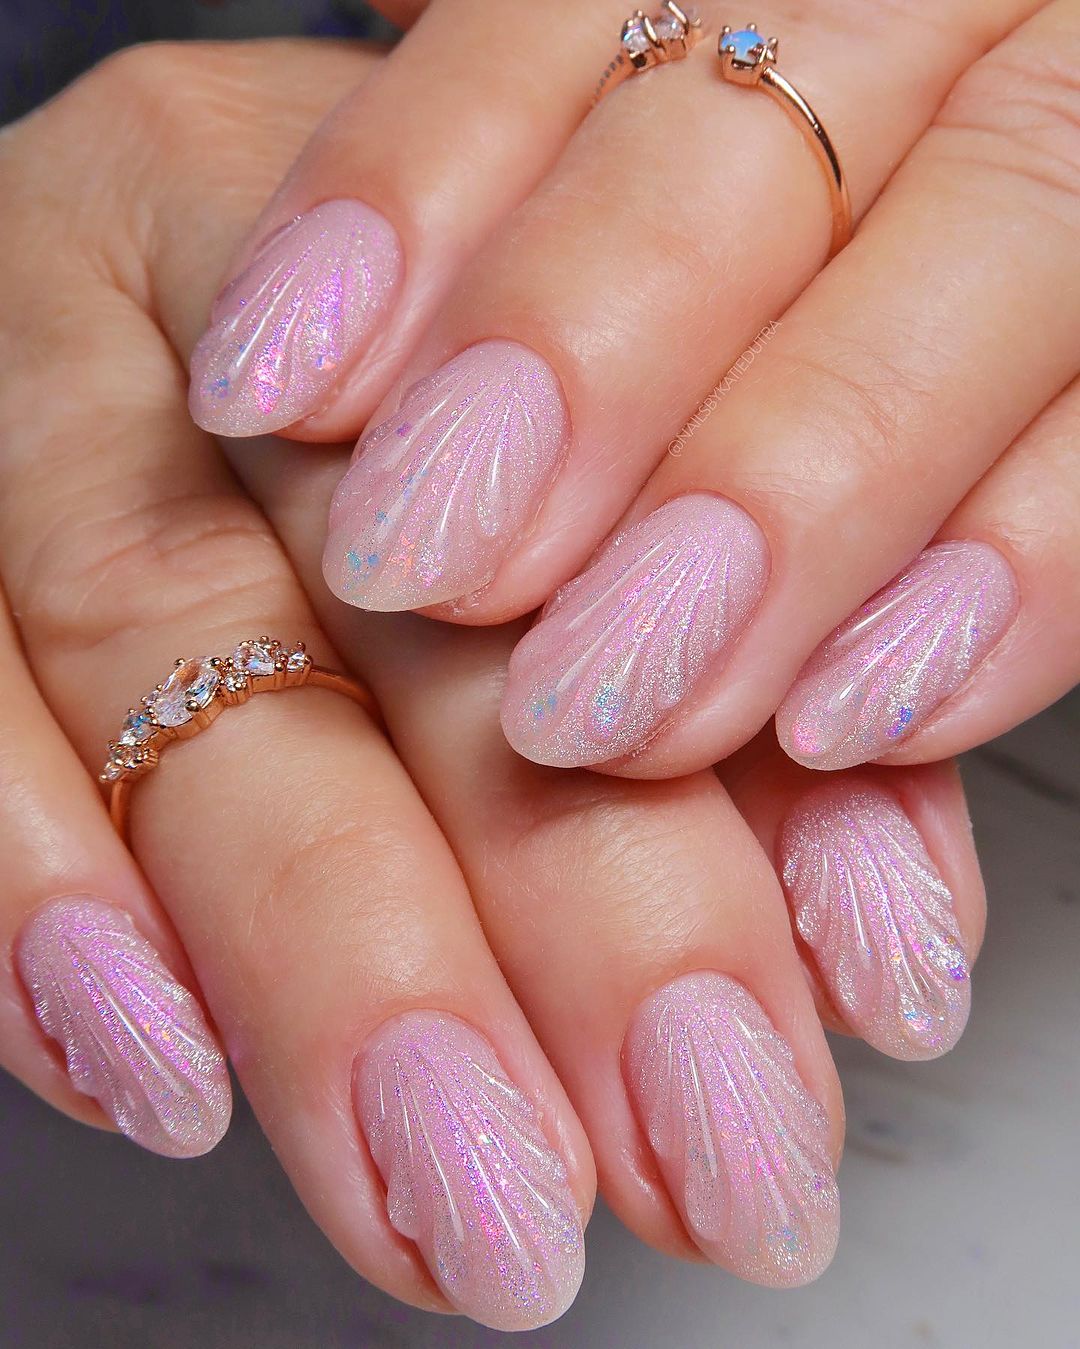
To get this magical look you’ll need:
- A pretty pink polish
- Holographic glitter polish (more than one if you want extra sparkle)
- A fan brush to make feathery strokes
- Glossy top coat
Apply the pink layer, and then add however many layers of glitter it takes until you’re happy with the amount of bling. Then stroke through with the fan brush around the edges. Finish off with that top coat and you’ll have yourself a trendy nail look that’s as cute as it gets.
Floral Chic
This design is a new take on a floral arrangement. It can be used for any birthday bash or just to give your summer break some personality. The pink base sets the stage for bold, contrasting designs. The flowers are white and the leaves are black, but it’s still simple and elegant.
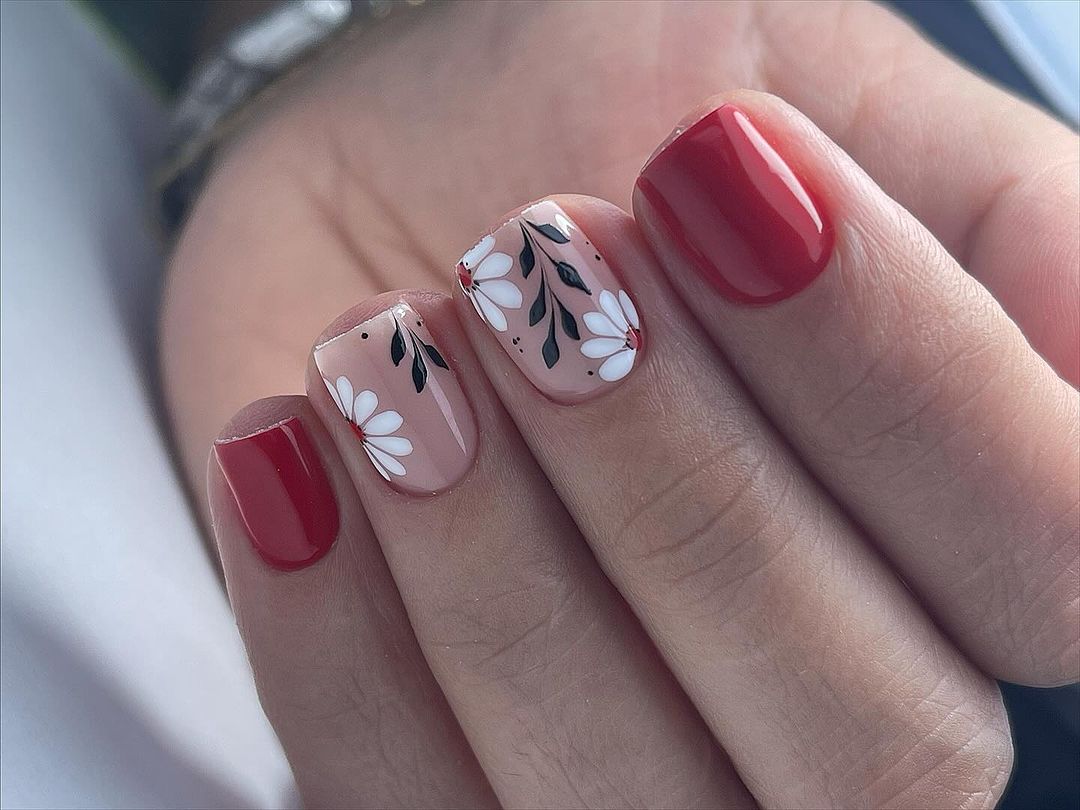
To make your own flower-filled look, you’ll need:
- Pink nail polish (for the background)
- White and black nail polish (for the flowers)
- A detail brush (to create the petals)
- Top coat (to preserve your final design)
Start by painting your nails with the pink base color. Then use your artistic freedom to paint the flowers and fill them in with color. Finish it off with a top coat to keep everything in place. This design is a tribute to summer’s natural beauty and creativity combined!
Blooming in Style
Imagine a garden party on your nails, every finger an invitation to the vibrant life of spring. Petals and leaves dance on nail beds, enlivening their world with color. With soft green foliage as a backdrop, bright pink and yellow blossoms make for an elegantly chic contrast.
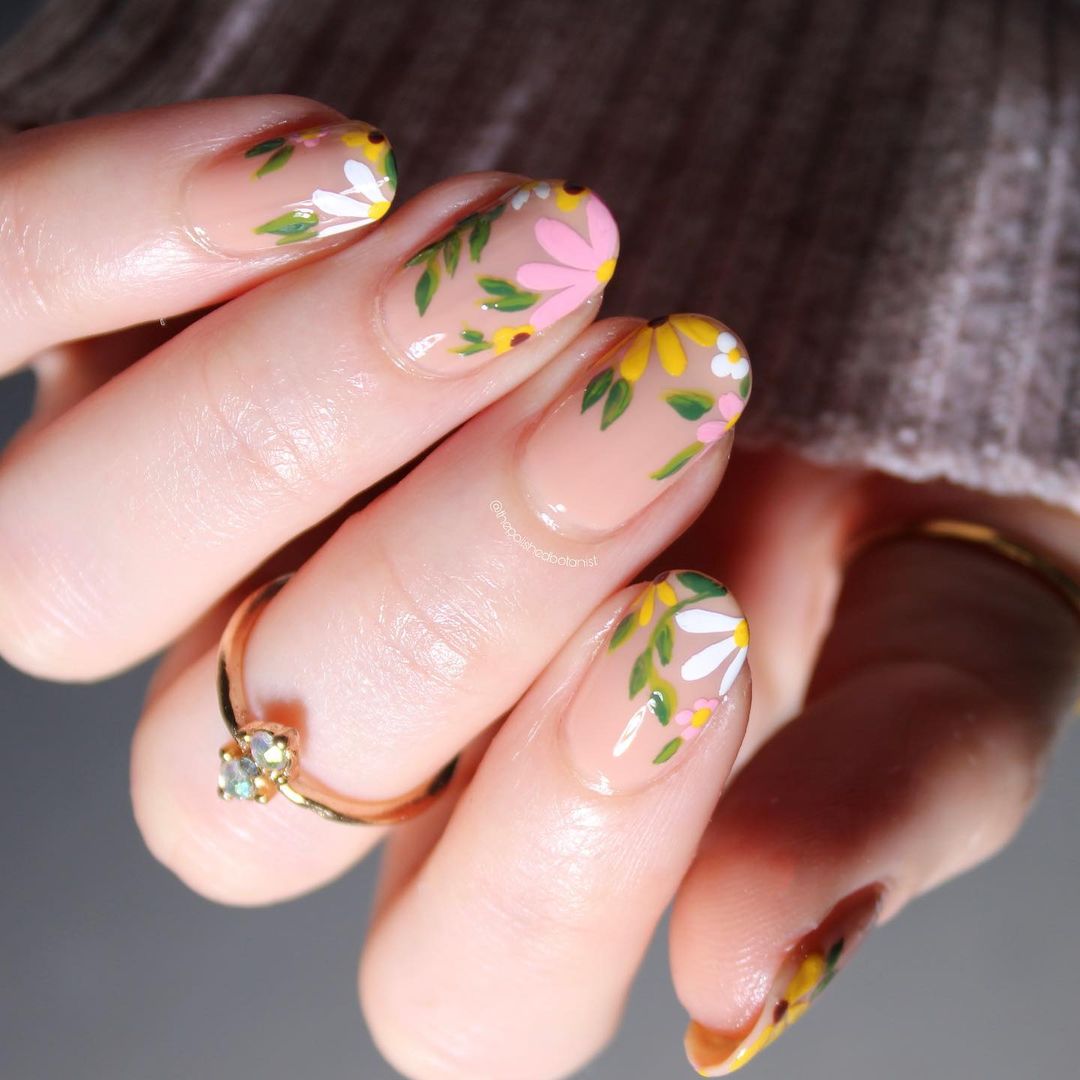
To bring this lively garden scene to your fingertips you’ll need:
- Natural-colored polish for a clean canvas
- Yellow and Pink polishes for the cheerful petals
- Green polish for the fresh leaves
- A detail brush for delicate petal strokes
- Clear top coat so the garden can bloom all day long
It starts with a neutral base that blooms into flowers and leaves with freehand strokes. Finish it off with a layer of protective topcoat, and embrace a fun, cute, and perfectly summer look.
Wild at Heart
Summoning the untamed spirit of the wilderness, these leopard print nails is an aggressive fashion statement that speaks to our inner adventurer. It’s edgy and fun, a trendy take on the Y2K resurgence that says you’re ready to break free this summer in style and grunge.

You’ll need:
- A natural base polish
- Black polish
- A fine brush
- A top coat
To pull off this wild look, you’ll start with a neutral base then lay down imperfect black spots using your fine brush. Finish it off with a final coat and your claws will be set for any vacation escape.
Geometric Glam
Geomety and color infuse this modern art mani with a cutting-edge vibe. A sheer base in a neutral hue lends the look an air of simplicity and sophistication, while intersecting black lines make an artsy statement. Pops of orange provide a burst of energy that’s perfect for summer, making this trend-forward nail design ideal for anyone who likes to add some graphic whimsy to their short nails in summertime.
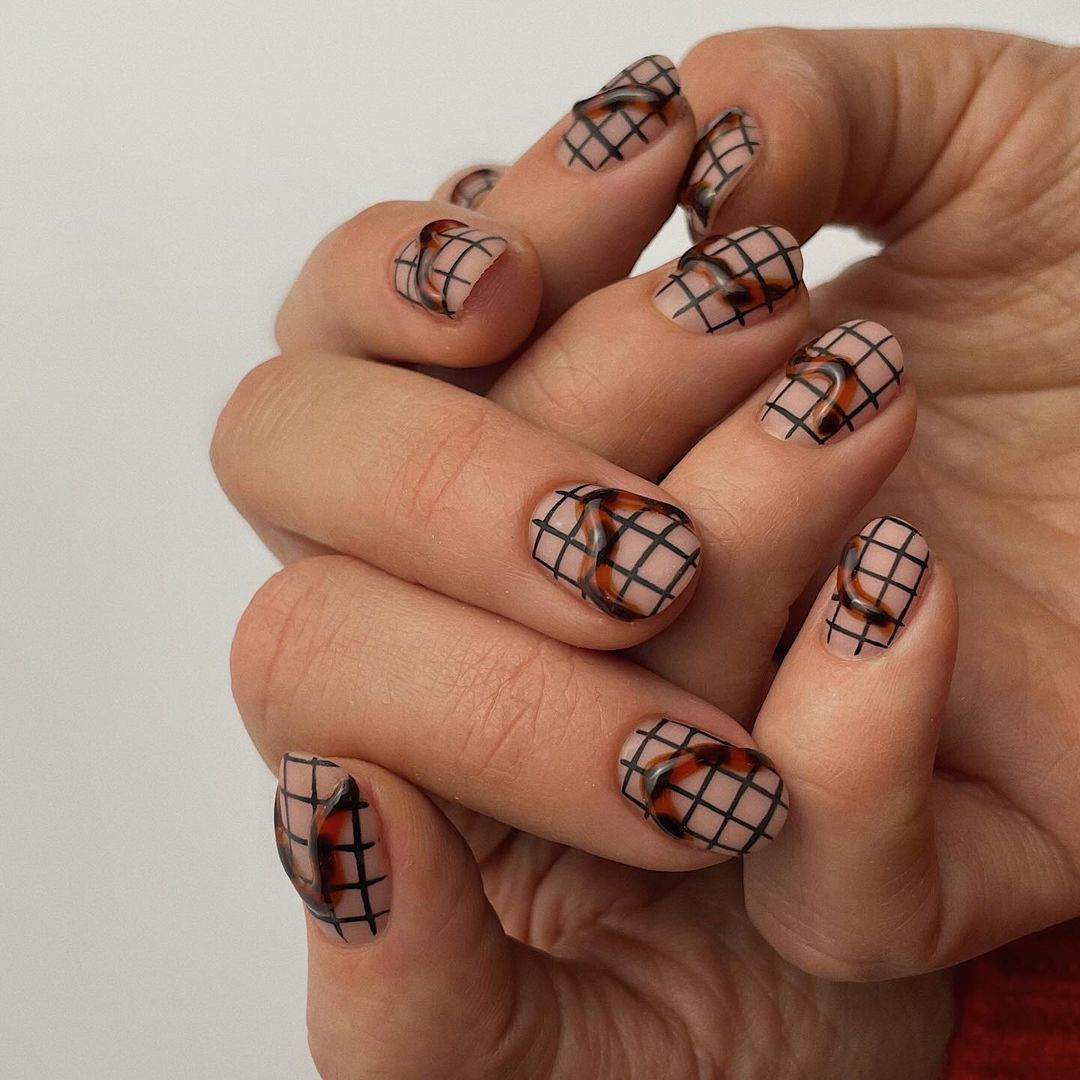
Here’s what you’ll need to create your own:
- A natural-colored sheer polish for the base
- Black polish for drawing geometric lines
- Orange polish for adding vibrant pops of color
- Topcoat to seal and protect your mini masterpiece
To recreate this abstract design: Begin by applying the sheer base coat and allow it plenty of time to dry. Next, use a steady hand (or call on a friend!) to draw the black lines according to your vision. Don’t worry—an imperfect line only adds more character! Fill in select spaces with orange before finishing up with topcoat for added shine and security.
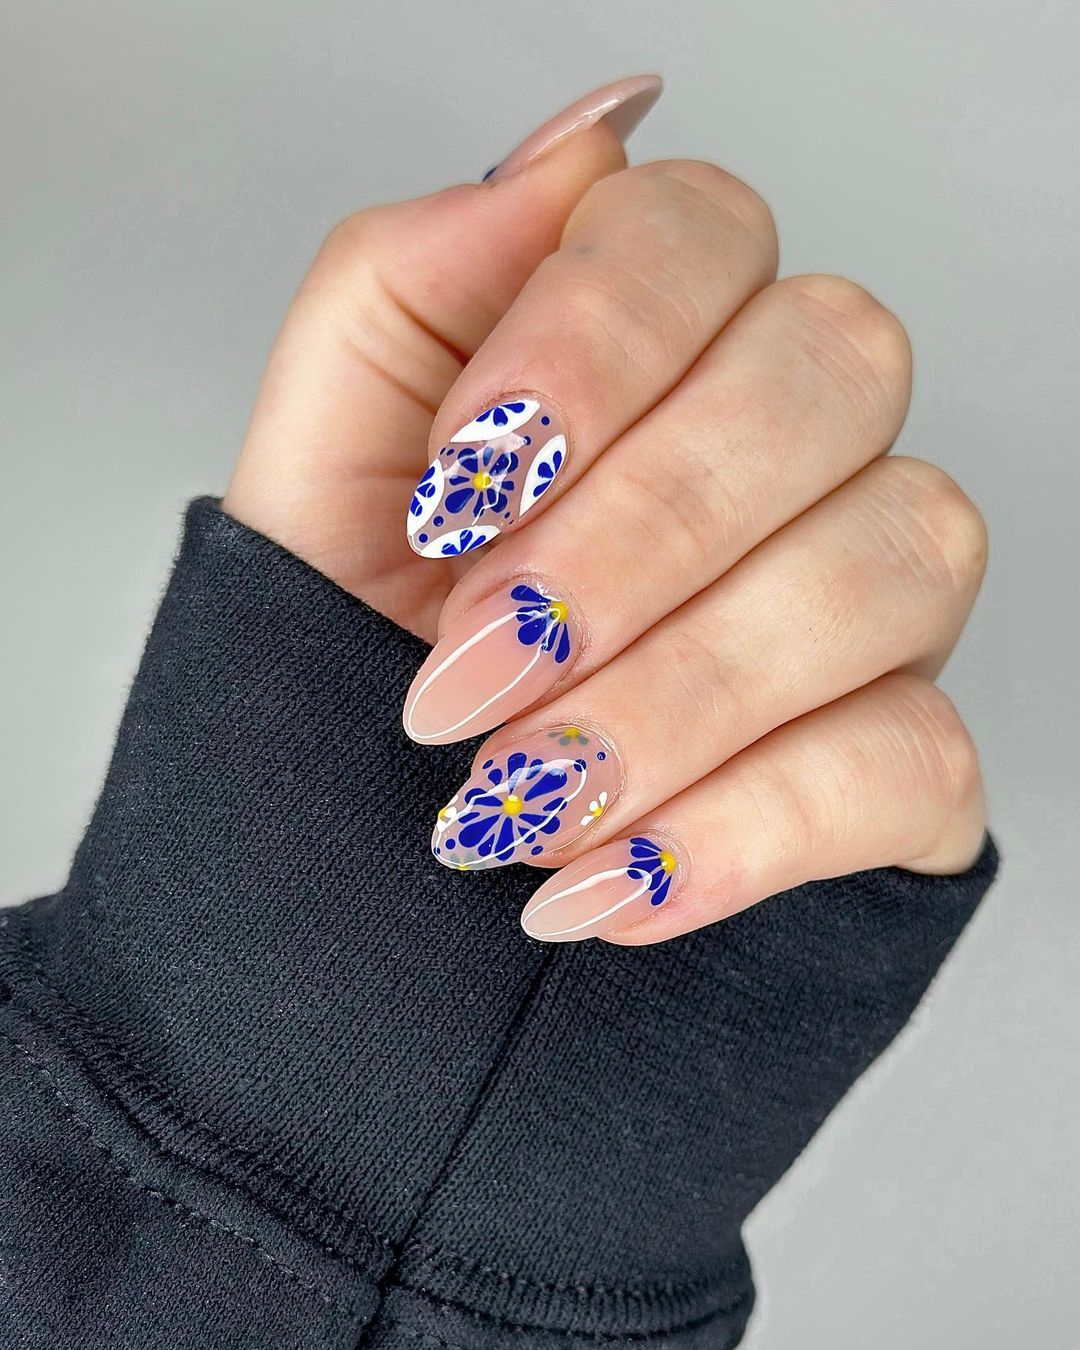
Delft Delicacy
A classic Delft blue ceramic inspired this set of nails, with each nail being a small canvas showing delicate floral and bird motifs. This unique acrylic work of art has blue flowers and charming birds that bring an air of Dutch elegance to the fingertips. The design is simple yet elegant, representing a timeless aesthetic.
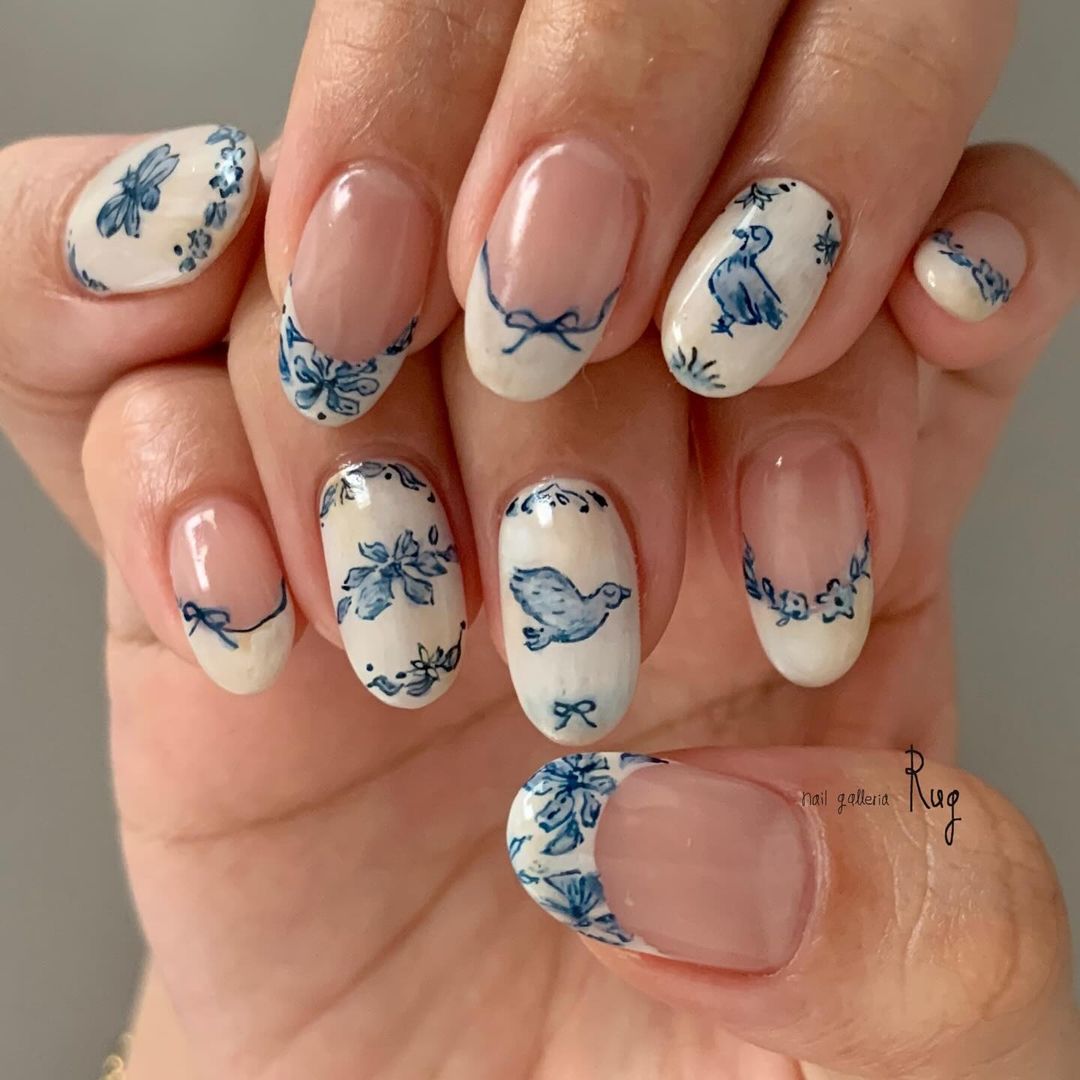
To create such intricate looks, you will need:
- White nail polish to mimic porcelain
- Deep blue acrylic paint for detailed artistry
- A very fine brush for precise lines and fillings
- Glossy top coat for a nice finish
Start with a white base then patiently draw each design in blue while letting the story unfold on each finger. The top coat will seal everything up and make it look like it deserves a place in a museum.
Garden Variety
Now for a playful nod to your green thumbs, where every nail is a different color that come together to create one beautiful bouquet. Each finger boasts a different hue: bright red, calm blue, happy green — their petals speckled with white detailing. It’s like you have your very own summer garden right at the tips of your fingers.
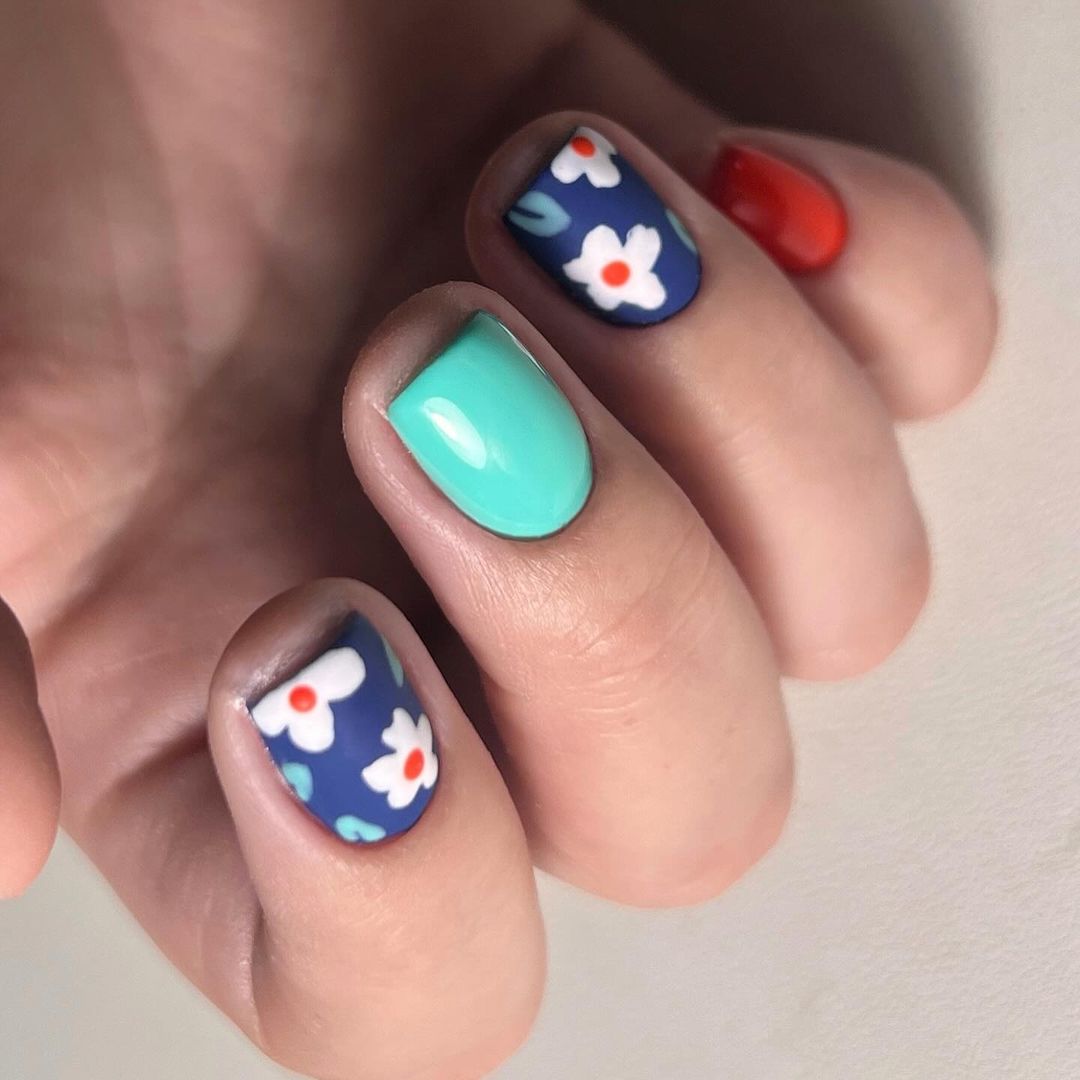
For this bouquet, gather:
- Polish in red, blue and green
- White polish
- A dotting tool or fine brush
- Top coat
Paint each base with the color it needs to be then use your dotting tool or fine brush to give it its petals. A top coat will keep them pretty through all those summer adventures.
Tiny Treasures
And finally, for the whimsical at heart, here’s a design that’s a gold mine of little motifs. From a tiny fish to a skinny cactus, and even the most miniature dragonfly you’ll ever see, these are simple but unique nail art ideas that pack plenty of visual punch.
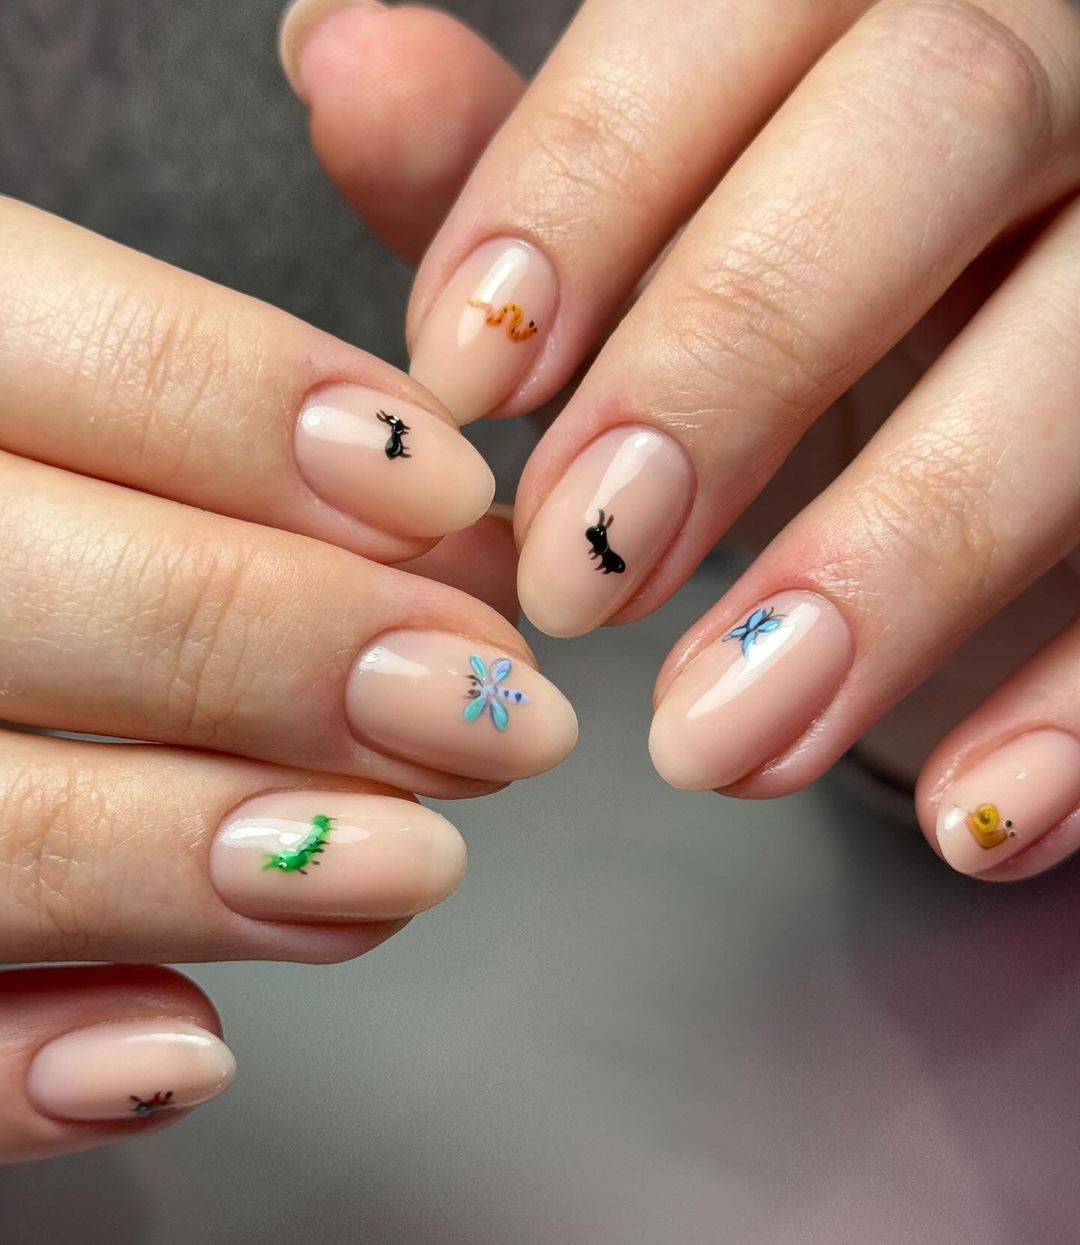
Get ready for all the attention with:
- A natural sheer polish
- A rainbow of colors
- A super fine brush
- A top coat
Once you’ve got your base down, take your time with each detail. The result is a design that’s as pretty and sophisticated as it is fun and different. Perfect summer nails for days full of discoveries!
Enchanted Elegance
This design will lead you to a storybook with its delightful floral inlays that have been placed on top of a see-through background. With shiny nails that shimmer with gold dust, it’s the definition of natural beauty. It is also (of course) perfect for a summer wedding or garden party.
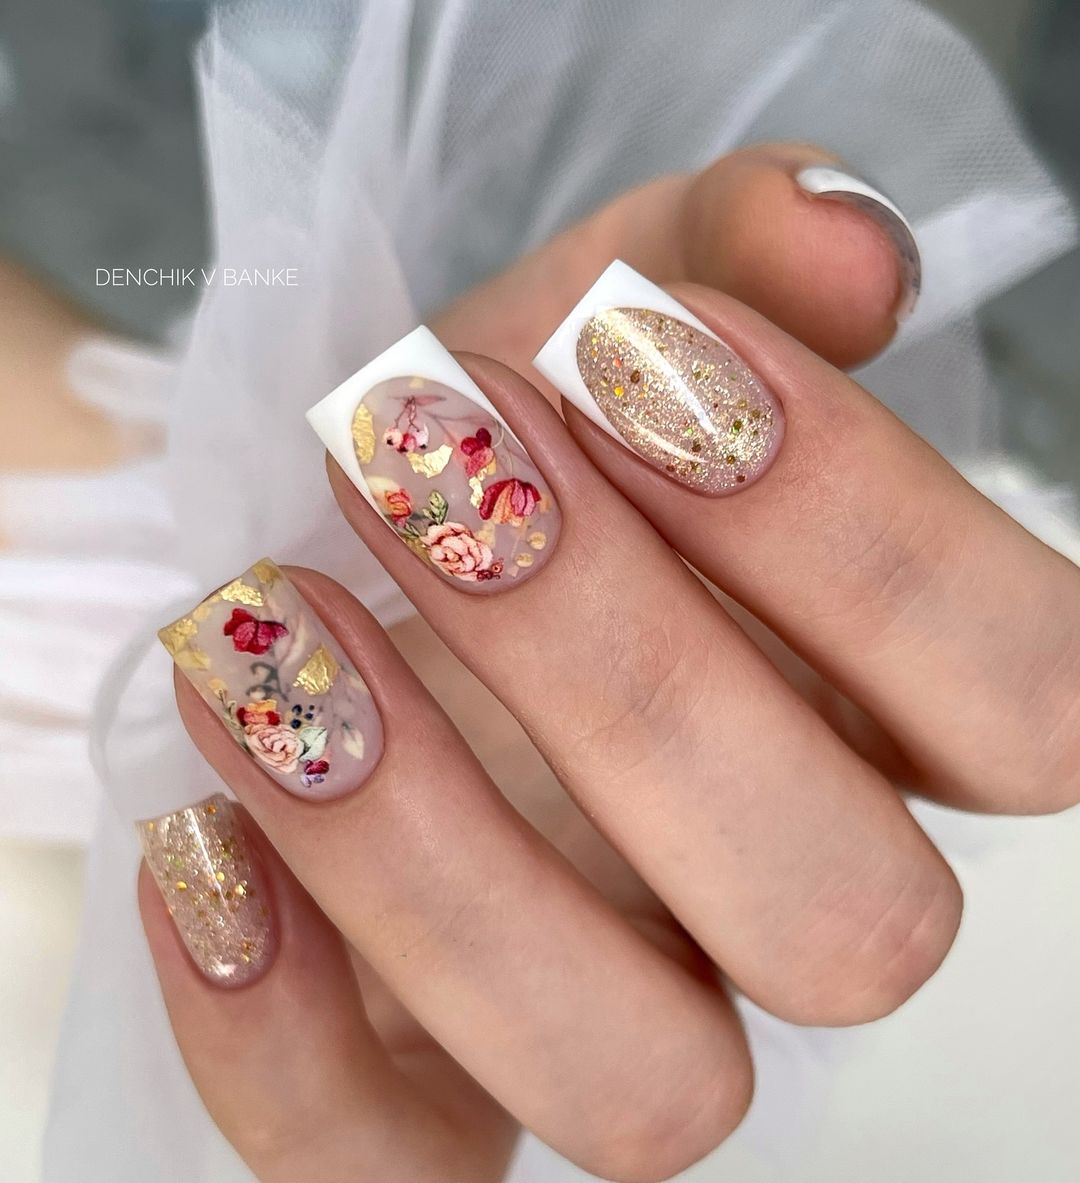
To create this fantastical design, you’re going need:
- A clear polish as the base
- Transfer foil or hand-painted florals in shades of purple and red
- Gold glitter polish for the accent nails
- And high-shine top coat to seal it all up.
How do we do it? First apply your base and then transfer your floral design along with applying some glitter accents. Finally, seal everything with the top coat so we can achieve an elegant look that’s full of magic!
Rainbow Reverie
This design is all about fun, and positivity. It boasts some bright rainbows and cheerful confetti. The bold outline of each rainbow arc makes a vivid statement against a backdrop of varied hues, accompanied by a playful sprinkle of colorful dots. It’s cute, fun, and perfect for any birthday or vacation where joy is the main agenda.
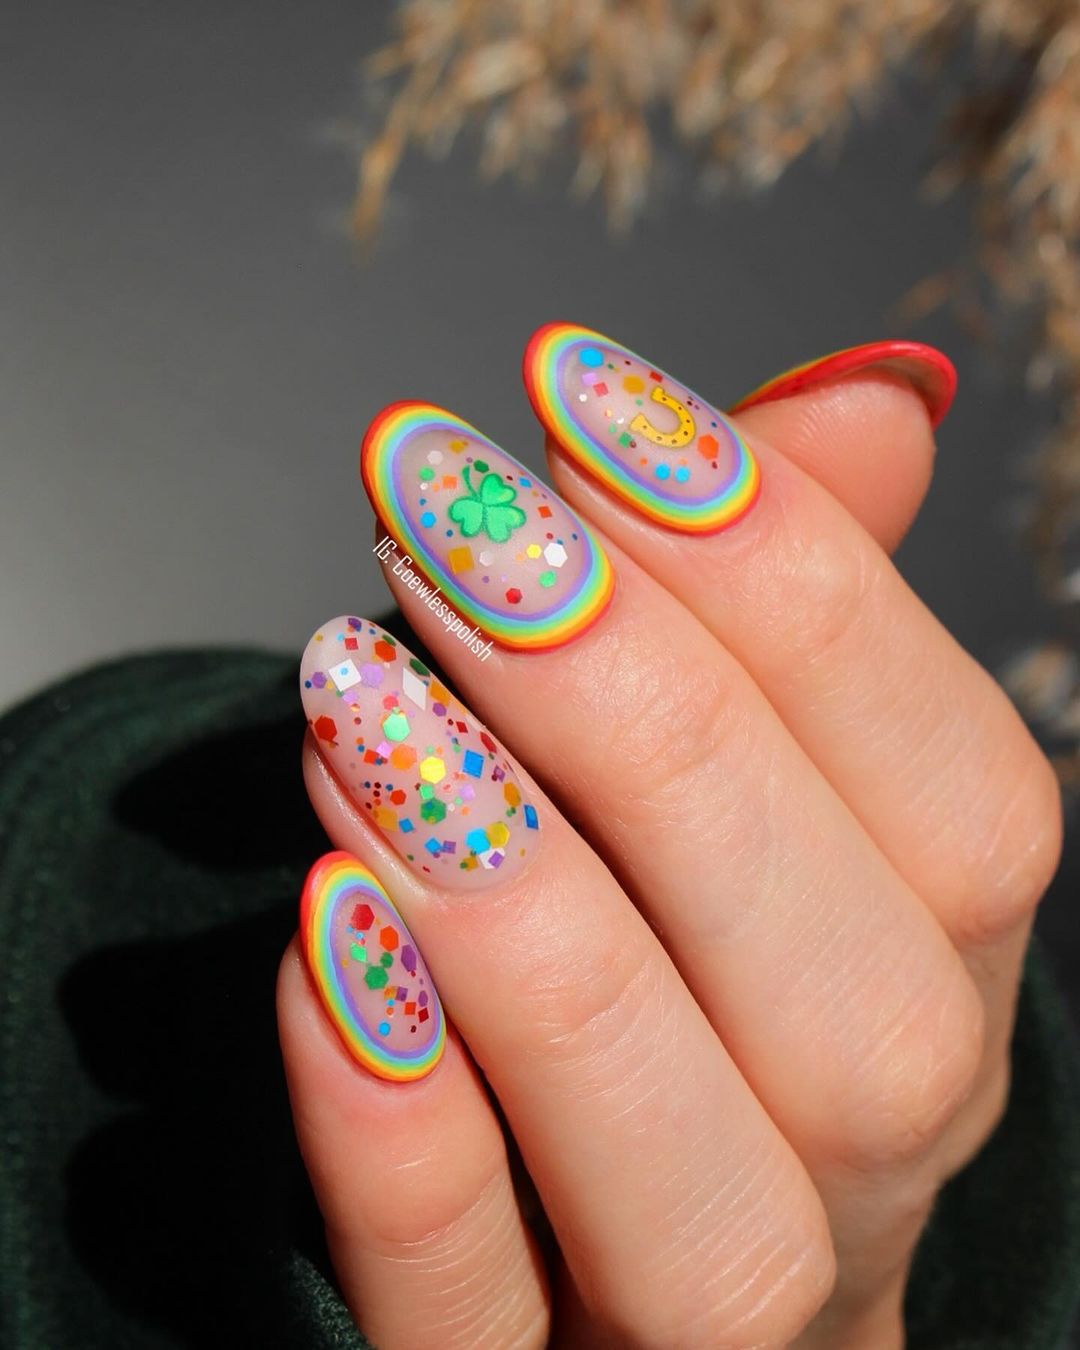
Here’s what you’ll need to bring this sunny set to life:
- A selection of polishes in every color of the rainbow
- A dotting tool (or small brush) for the confetti dots
- Clear polish (for base of dots)
- Protective top coat (to keep it fresh)
Just paint your colorful base, create some rainbows on select nails, dot in your confetti, and finish with a top coat to keep the fun going as long as the summer sun shines.
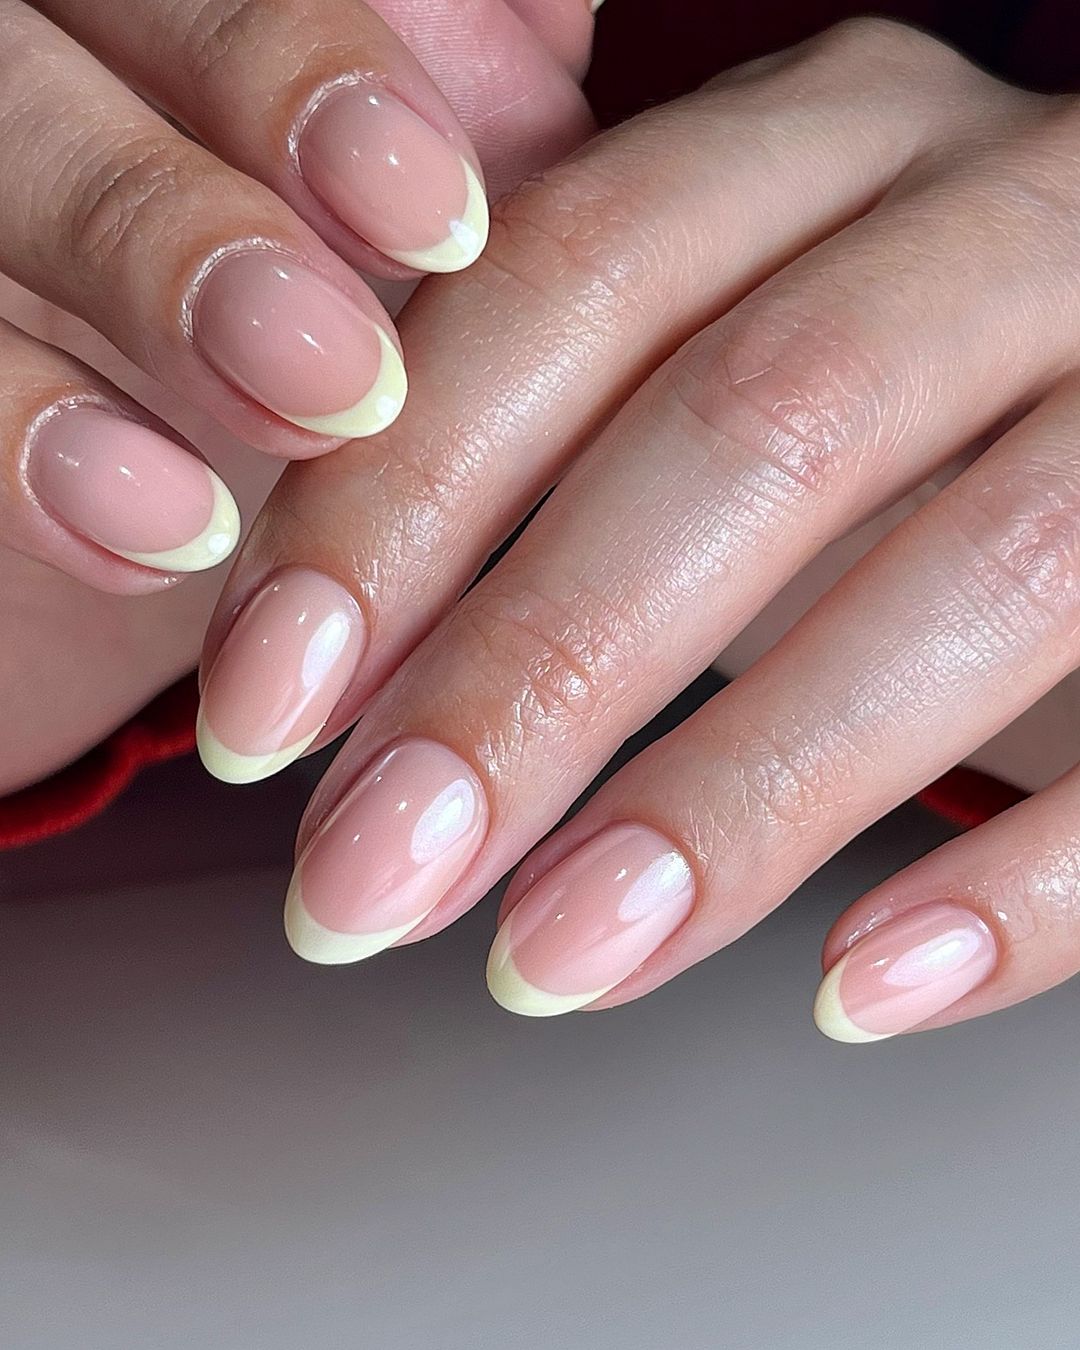
Classic Sophistication
For those who adore elegance that never fades, this set celebrates the French manicure with a classic look. The nails are a sheer pink color and have white tips to give them contrast. They’re shaped perfectly and given the prettiest gloss so you can wear them to any occasion. It’s a simple, chic and timeless look.
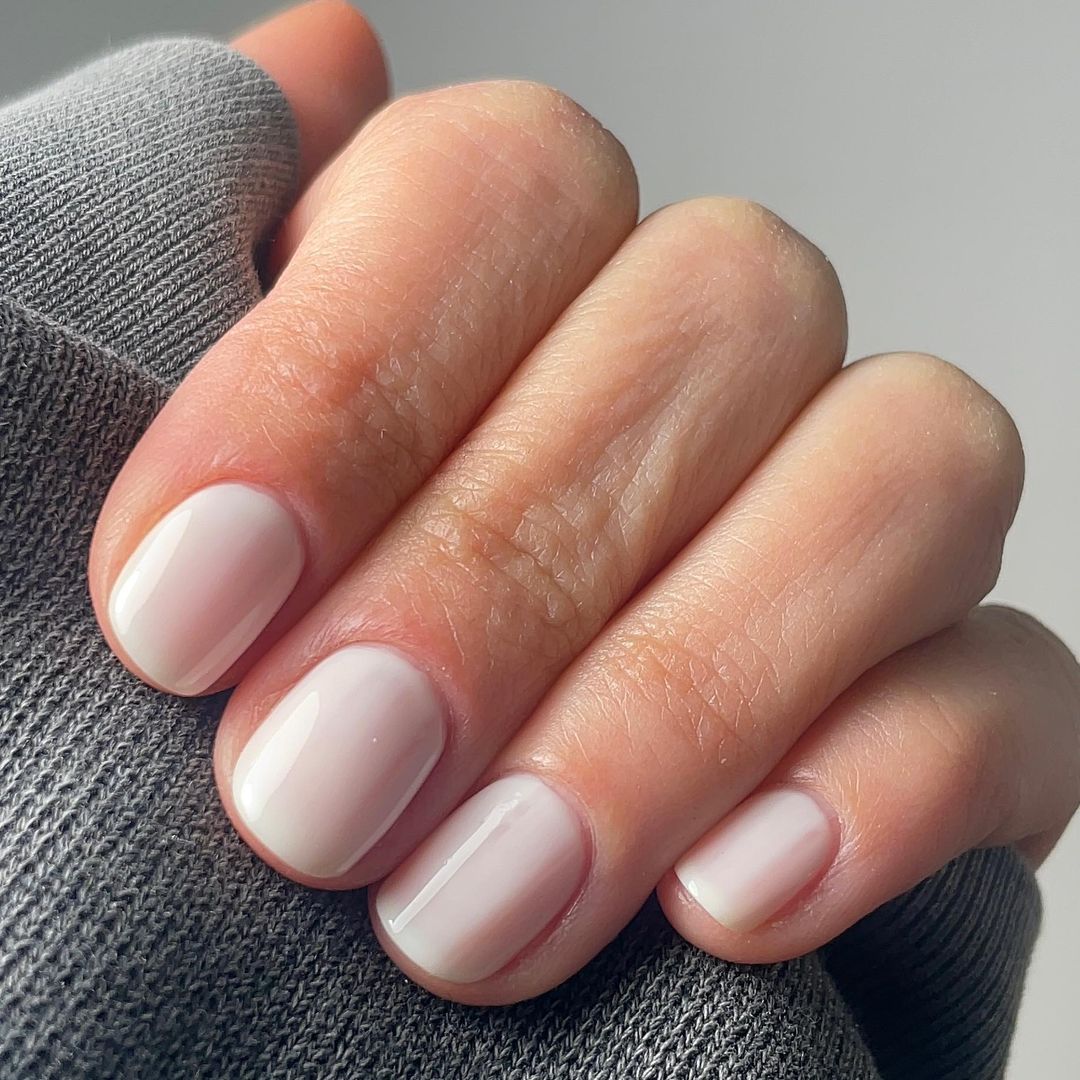
To recreate this style you need these items in your kit:
- Sheer pink polish for that natural, elegant base
- White polish for the pristine tips
- A top coat that adds a durable shine and a pretty finish
After applying the sheer pink polish, add on the white tips with precision or tip guides. Adding the top coat will give it a design that’s easy to love as much as it is to wear every day of the week.
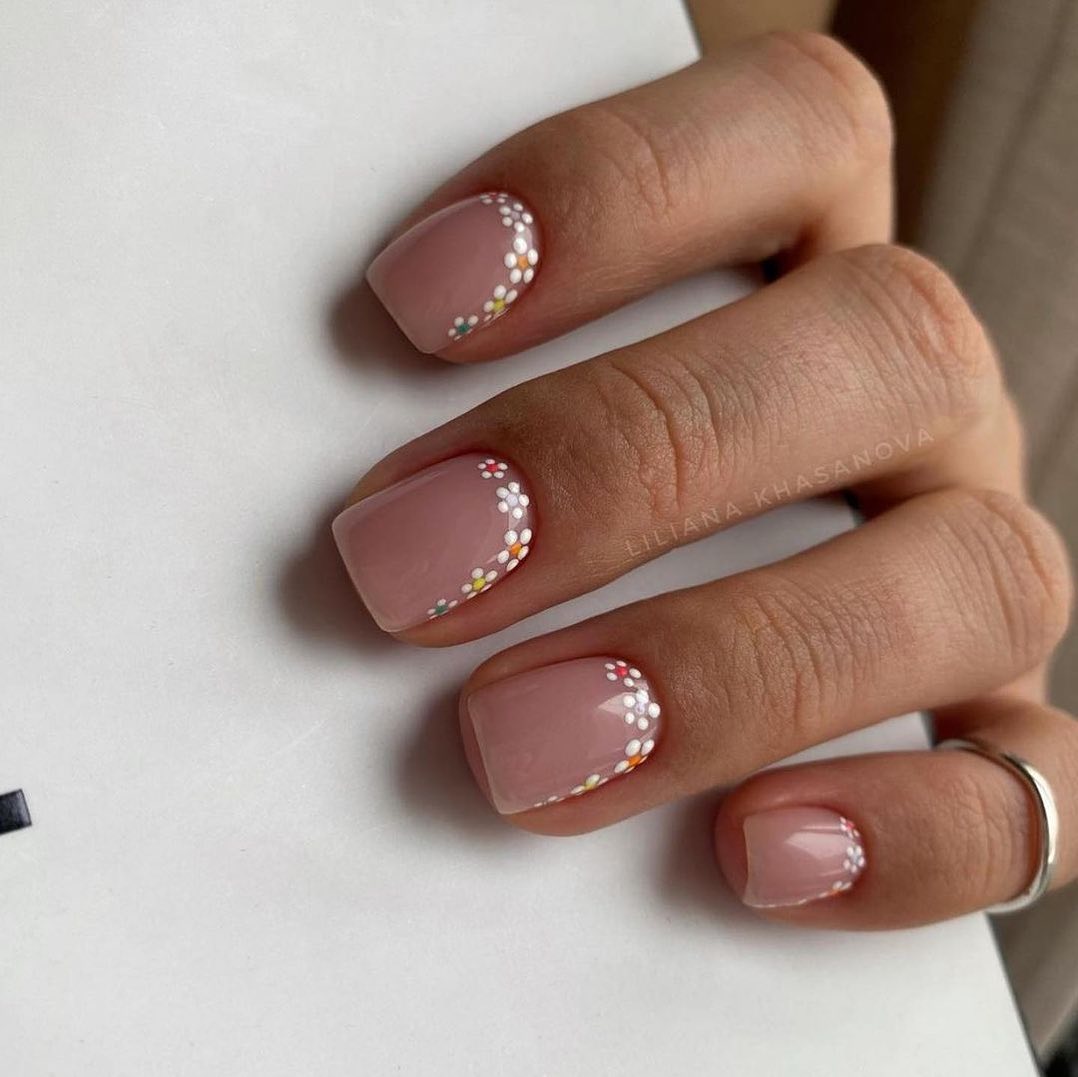
Whimsical Whispers
These nails are like talking quietly but with some charm. The gray background has small yellow spots that reminds me of the first flowers of spring. It’s a simple design that you could easily do and it brings nature right to your fingertips.
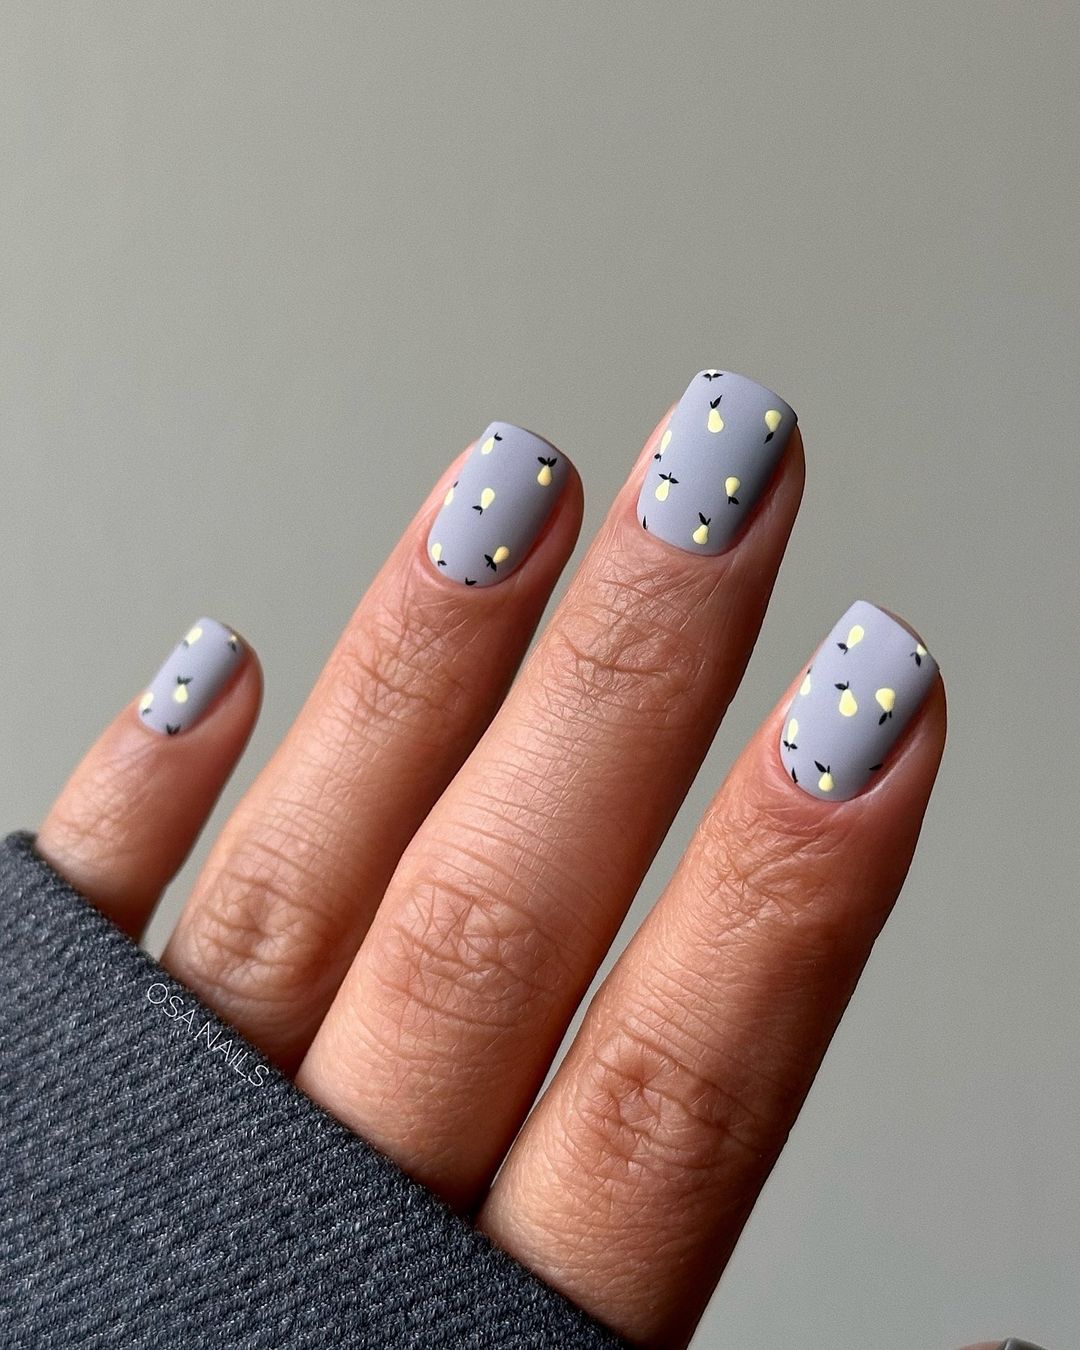
Here’s how to pull off this quiet look:
- Grab a gray polish for the base color
- You’ll also need a yellow polish to add dainty dots all over
- And then get yourself a dotting tool so everything goes on smoothly
- Finish with a top coat and you’re ready to go outside—simple as that!
This look is soft, easy, and perfect for any occasion.
Playful Pop
This nail set is a vibrant playground of personality and pop culture. Combining classic and contemporary aesthetics, it features black and yellow tones that make a bold statement. Fun designs like trendy leopard spots and smiley faces add an edge that’s perfect for summer.
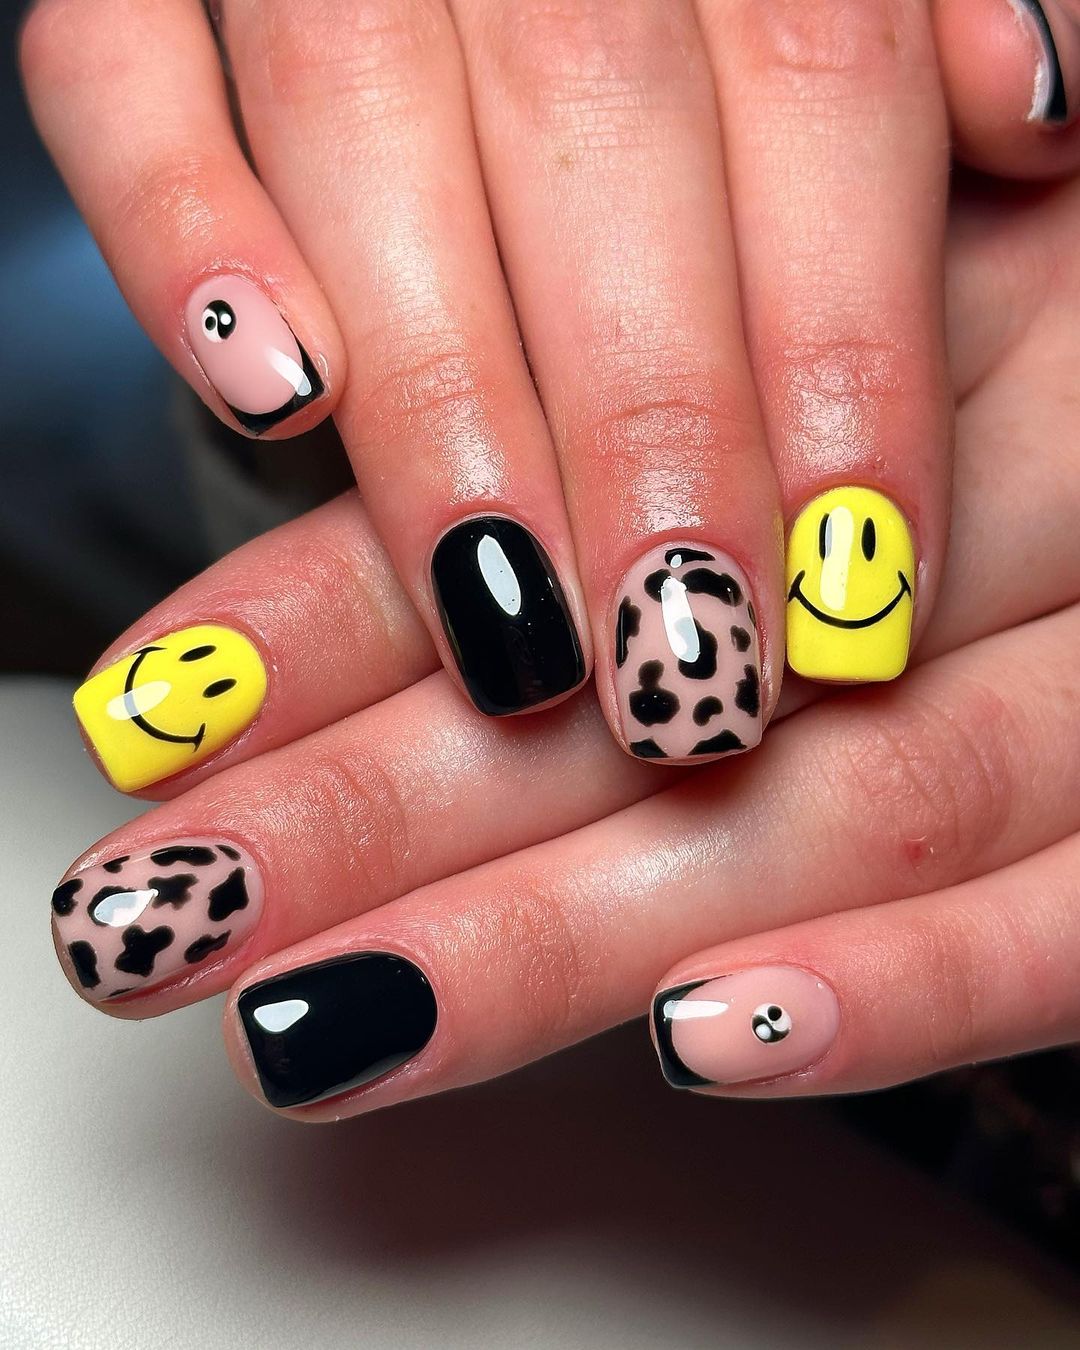
Here’s what you’ll need to recreate this funky look:
- Black, white, and yellow polishes for your bold base colors
- A detail brush to draw the smileys and leopard prints
- A dotting tool for perfect dots and eyes
- A top coat to seal in the fun and keep your nails pretty
Begin by painting each base color before getting creative with your designs. Use a detail brush to add negative-space smileys or freehand some spots on your nails with the same brush — anything goes! Finish off with a coat of top coat so your fun summer nails can travel wherever you go.
Enchanted Garden
Lastly, we have something for those who still enjoy story time. This design is the embodiment of whimsical fairy tales from our childhoods. Every nail outlines a section of this fantastical story, illustrated with delicate flora patterns and an adorable fawn; when put together, it creates art that you can wear on your fingertips. It’s sweet, beautiful, and perfect for anyone who loves storytelling or elegant detail.
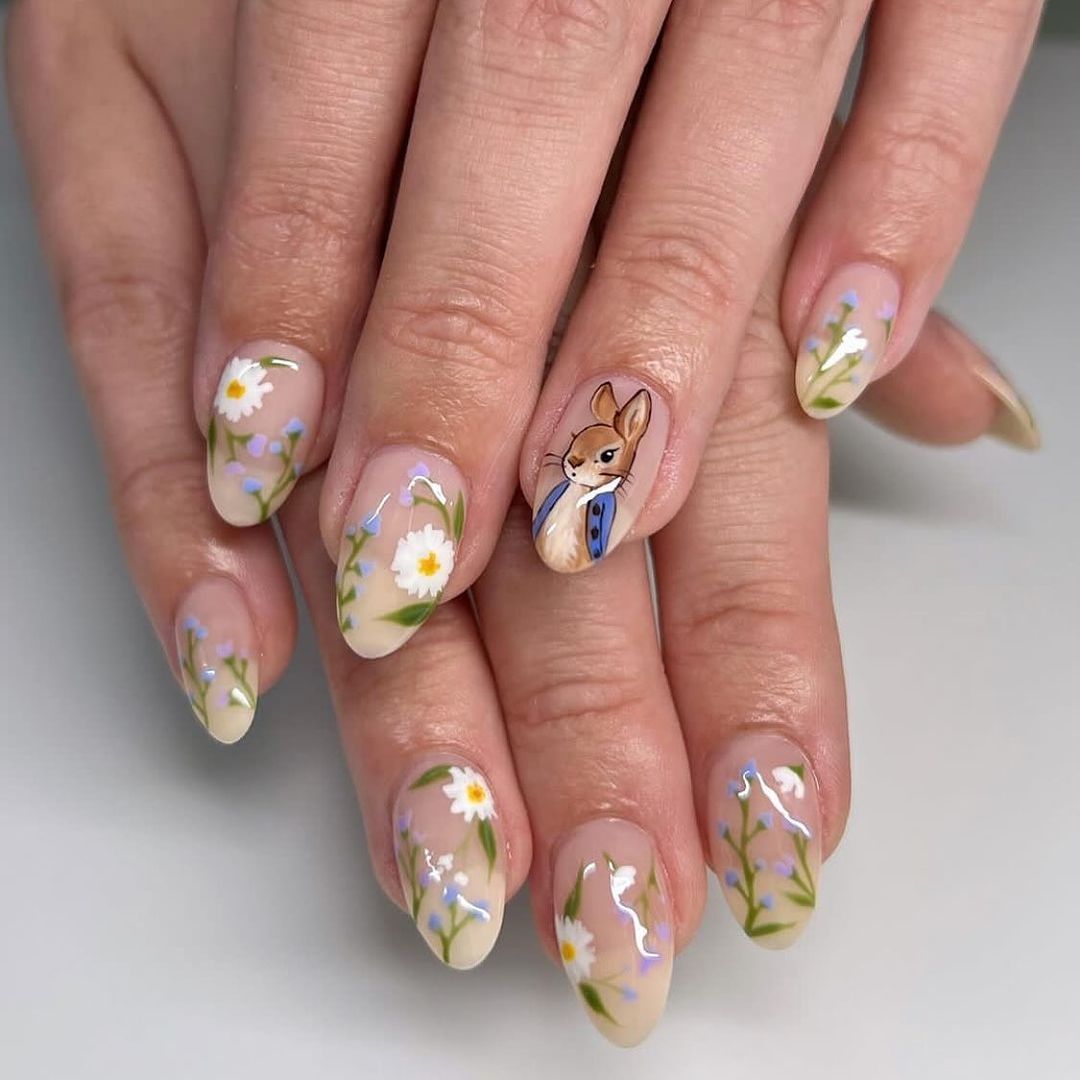
To create this storybook look, you’ll need:
- A simple base polish in a natural shade (something that won’t distract from the art)
- Multiple colored polishes to achieve your desired floral and character designs
- A fine-detail brush to lay down the scenes onto your nails
- A top coat – this will keep your miniature tales pretty and intact
Start by applying your base color, making sure not to let any of the polish overlap onto your skin. Once dried, start illustrating each scene as best as you can. They may be tiny canvases, but don’t let that stop you from adding as many details as possible. When everything is dry again, finish it off with a layer of top coat to ensure the magic lasts as long as possible.
Blossom Waltz
This soft design blooms like a spring garden, with pastel flowers on an easy-to-make base. The ballet of pinks, purples and greens brings to mind the first blooming buds of the season. It’s just natural, pretty, and fashionable.
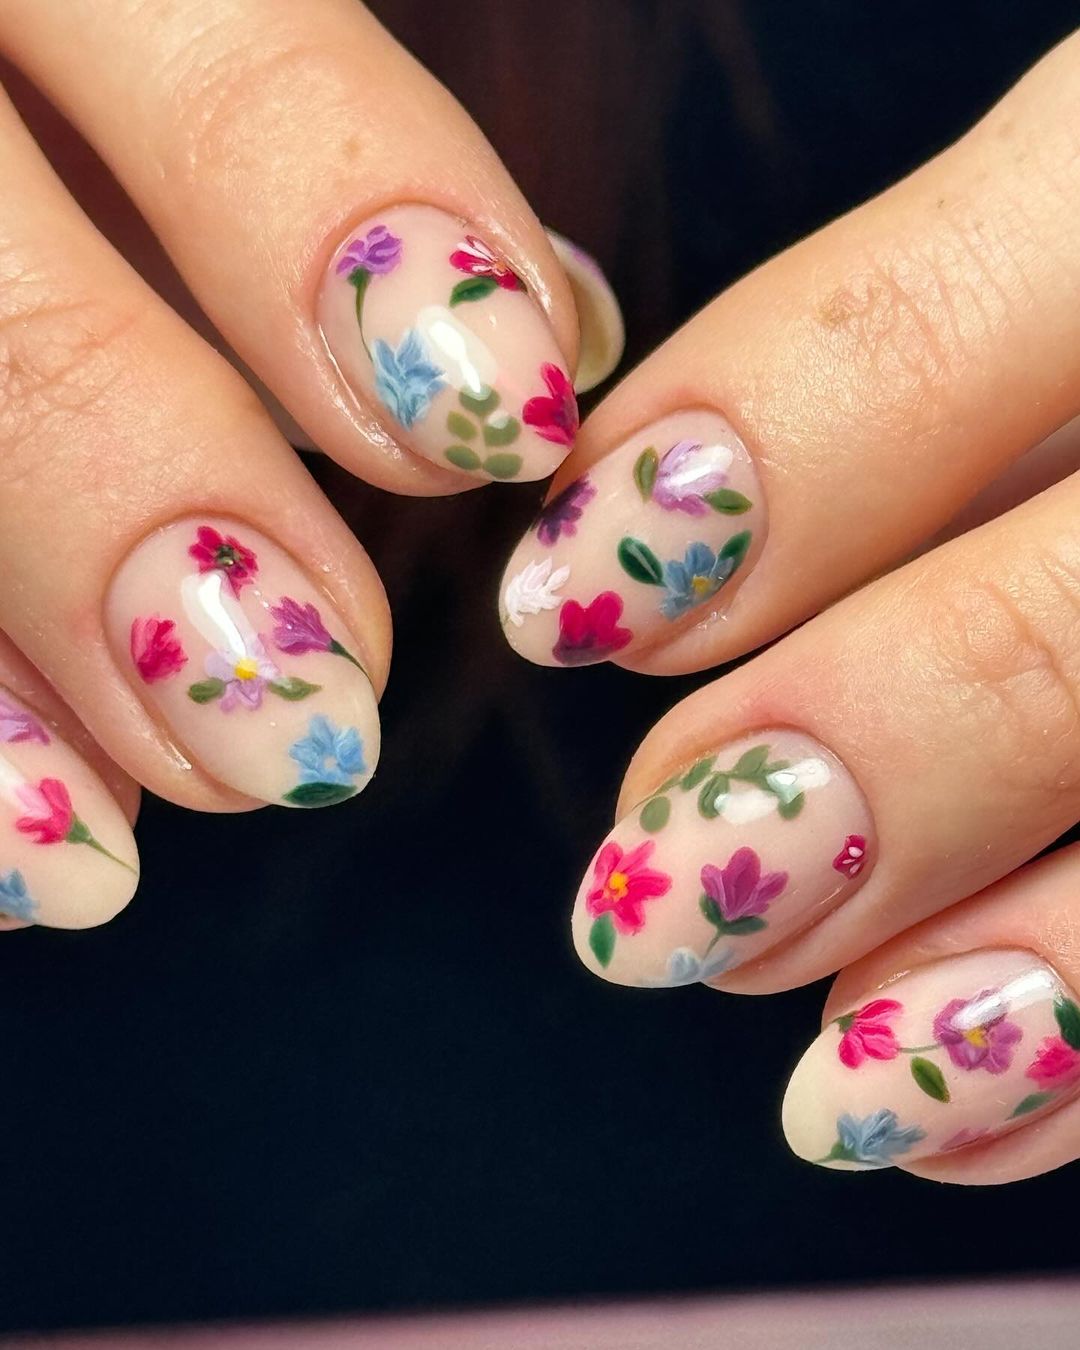
To make this delicate dance your own:
- Start with a clear or natural sheer polish as your base
- Choose a few pastel polishes for the petals
- Use a thin detail brush to paint each petal and leaf
- Finish with a top coat that leaves you with glossy nails that scream springtime
The sheer base sets up the look for success. Each stroke adds another layer of life to your nails. A final top coat will ensure it lasts through all those May showers and beyond.
Denim Daisies
This design is simple, but has a cute denim blue with white daisies to make it pop. It’s reminiscent of sunny days spent on picnics and I don’t know.. eating sandwiches? You know, summer stuff.
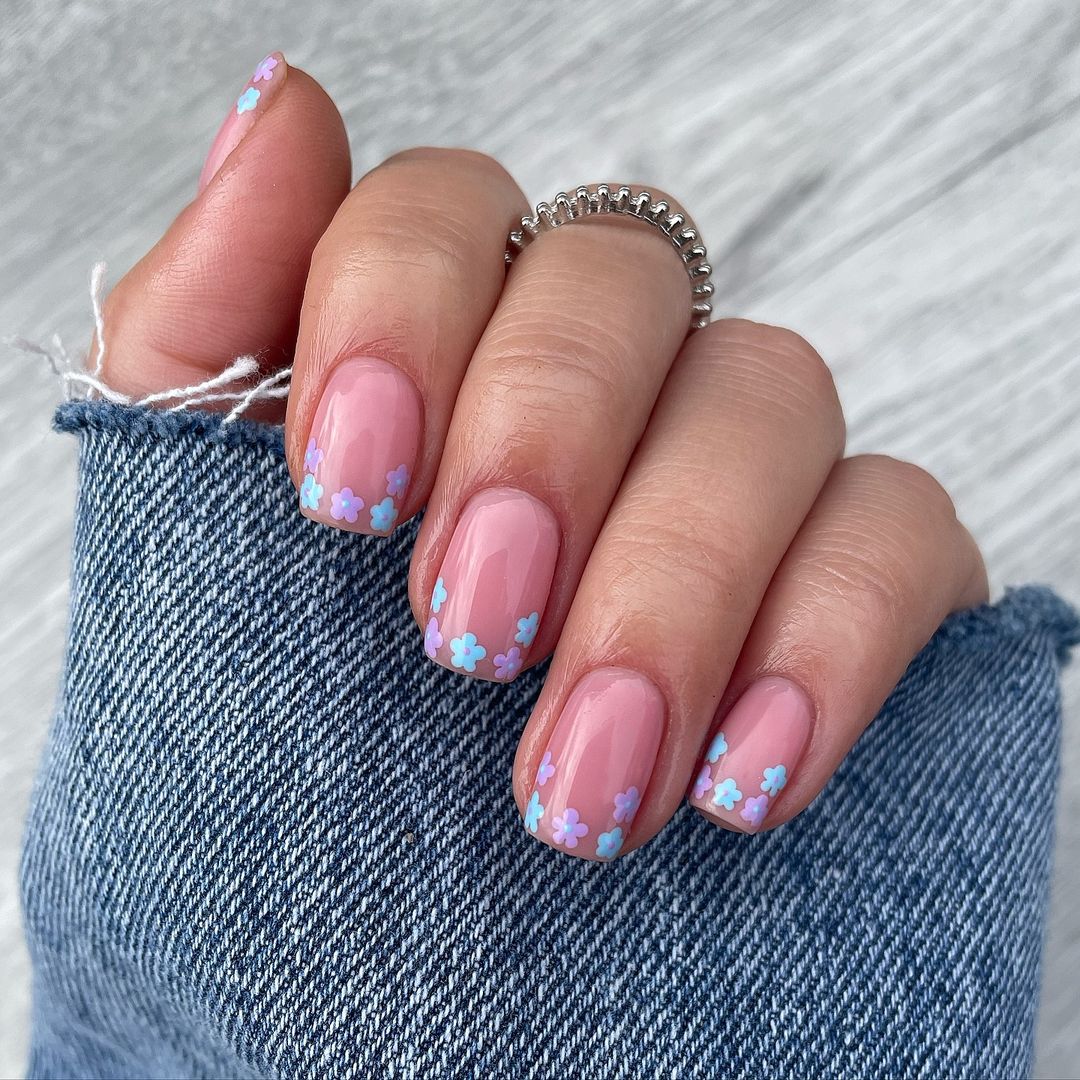
To get these nails you’ll need:
- Denim blue polish for the base coat. pretty simple
- White polish to draw in the petal shapes
- A dotting tool to create the yellow center of the flowers
- Top coat that leaves everything shiny
Once you have all your materials, apply the base coat in denim blue and go ahead and start drawing those petals around the edge with the white polish.Then finish everything off with a top coat! Now you’ve got yourself a unique little piece of summery flair.
Golden Lavender Luxury
Luxurious lavender polish meets gold glitter in this elegant, sophisticated nail design. A touch of bling takes the muted purple to the next level, and makes it a perfect match for any summer evening event.
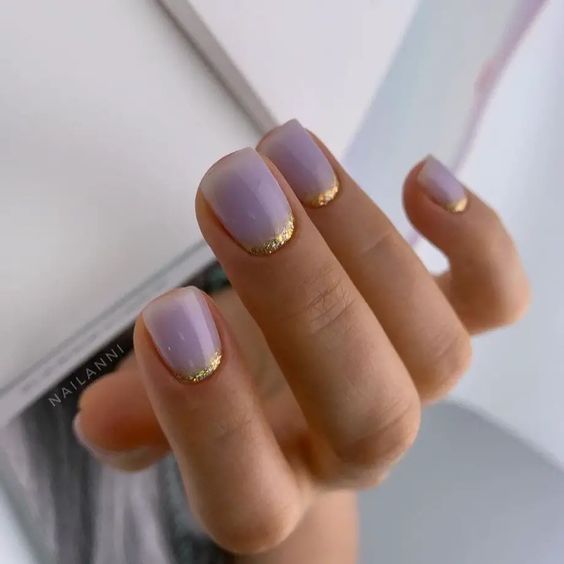
Here’s what you need to achieve this simple yet stunning design:
- Soft lavender polish
- Gold glitter polish
- Detail brush or tape
- Top coat
Apply two coats of the lavender base and let it dry completely. Then, with a detail brush or using tape as a guide, draw a crescent shape at the base or tip of your nail. Fill it in with the gold glitter polish. Once all is dry, apply your favorite topcoat to seal in the look and make them shine!
FAQ
Q: Can these designs be achieved with natural nails?
A: Absolutely! While extensions are an option, these designs are created with summer nails short in mind, making them suitable for natural nails.
Q: What’s the best way to ensure my nail art lasts through my summer activities?
A: A gel base and top coat are your best friends for longevity. They’ll keep your nails looking pretty and intact, whether you’re hitting the beach or just enjoying a simple summer day out.
Q: Are these designs beginner-friendly?
A: Yes, they’re designed to be easy to recreate at home with the right tools and a bit of practice. Each design is achievable and perfect for adding a personal touch to your summer acrylic style.
Save Pin